In recent years, PEX (cross-linked polyethylene) pipe has become a popular choice for plumbing due to its versatility, ease of installation, and durability. As homeowners and contractors embrace PEX for water supply systems, understanding how to effectively connect PEX pipes is crucial for successful plumbing projects. This article will provide a detailed overview of connecting PEX pipe plumbing, covering methods, fittings, tools required, and helpful tips for a successful installation.
Understanding PEX Pipe
What is PEX Pipe?
PEX pipe is a flexible plastic plumbing material that is widely used for various plumbing applications, including:
- Water supply lines for residential and commercial buildings
- Radiant heating systems that distribute heat evenly across spaces
- Hydronic snow melting systems for driveways and walkways
Its popularity stems from its unique characteristics, including flexibility, resistance to corrosion, and lower energy costs.
Advantages of Using PEX Pipe
- Flexibility: PEX can bend and curve, which reduces the need for multiple fittings and minimizes the risk of leaks.
- Corrosion Resistance: It does not rust or corrode like traditional metal pipes, ensuring long-term effectiveness and cleaner water quality.
- Ease of Installation: PEX is lightweight and easy to handle, allowing for faster installation compared to rigid pipes. Fewer connections mean fewer potential failure points.
- Thermal Efficiency: PEX has excellent insulation properties, helping to maintain water temperature and reduce energy costs.
- Noise Reduction: Water flowing through PEX pipes is typically quieter compared to metal pipes, minimizing noise pollution in homes.
With these advantages in mind, let’s dive into how to properly connect PEX pipe plumbing.
Tools and Materials Needed
Before starting the installation process, gather the necessary tools and materials:
Tools
- PEX Pipe Cutter: A specialized cutter designed to create clean, straight cuts on PEX pipe.
- Crimp Tool: Used for crimping metal rings onto PEX connections for secure fittings.
- Expansion Tool: If using expansion fittings, an expansion tool will help enlarge the ends of the PEX pipe.
- Deburring Tool: Helps to smoothen the edges after cutting the pipe to prevent damage to the fittings.
- Measuring Tape: For accurate pipe cutting and layout planning.
- Marker: To mark pipe lengths and fitting positions.
- Safety Gear: Such as gloves and safety glasses to protect during installation.
Materials
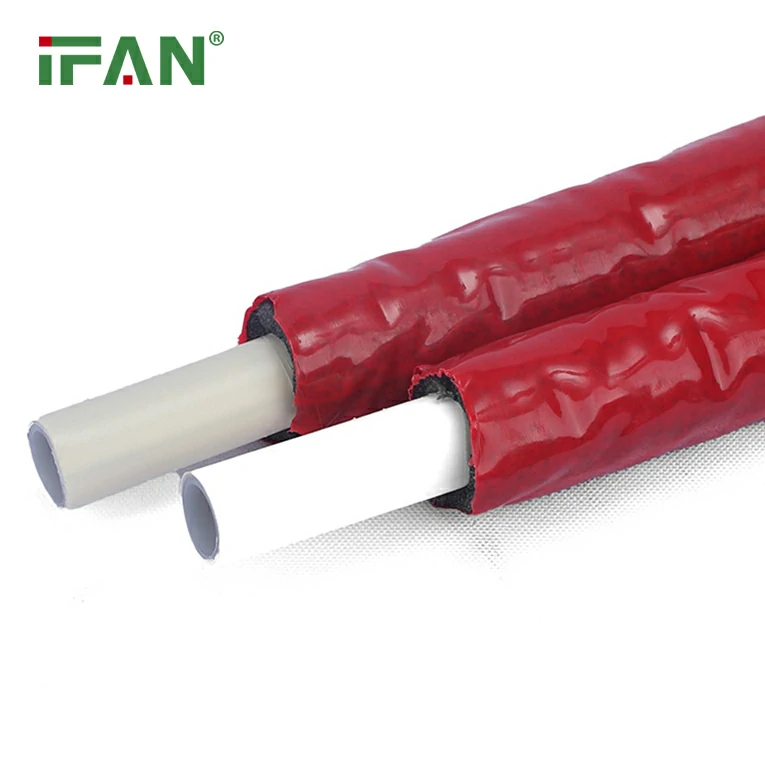
- PEX Pipes: Choose the appropriate diameter and type (white, red, or blue) for your plumbing project.
- PEX Fittings: Available in various types, such as crimp, clamp, or push-fit, depending on your preferred connection method.
- Crimp Rings or Clamps: Depending on the type of fittings used, crimp rings or clamps will be needed to secure connections.
Methods for Connecting PEX Pipe
There are several methods for connecting PEX pipes, each with its own advantages. Below, we’ll explore the most common methods: crimp, clamp, and push-fit.
1. Crimp Connection
The crimp connection is one of the most widely used methods for connecting PEX pipes. Here’s how to do it:
Steps to Create a Crimp Connection
- Cut the PEX Pipe: Use a PEX pipe cutter to cut the pipe to the desired length. Ensure the cut is straight for a proper connection.
- Debur the Pipe: Use a deburring tool to smooth rough edges that could damage fittings.
- Insert the Fitting: Push a PEX fitting into the cut end of the pipe until it reaches the stop.
- Position the Crimp Ring: Slide a crimp ring over the pipe and position it approximately 1/8 inch from the end of the pipe.
- Crimp the Ring: Using a crimp tool, apply pressure on the crimp ring until it forms a tight connection around the pipe and fitting.
- Check the Connection: After crimping, visually inspect the crimped joint to ensure it is secure.
2. Clamp Connection
The clamp connection method uses a stainless-steel clamp to secure the fitting to the PEX pipe. This method is popular for its flexibility and ease of use.
Steps to Create a Clamp Connection
- Cut and Debur the Pipe: Process the pipe as described in the crimp connection method.
- Insert the Fitting: Push a PEX fitting into the pipe as before.
- Position the Clamp: Slide the clamp over the pipe, ensuring it is approximately 1/8 inch from the end.
- Tighten the Clamp: Use a special clamp tool to apply a tight connection around the fitting. This method provides a secure fit that resists pull-out.
- Inspect the Connection: Ensure the clamp is securely fastened without any gaps.
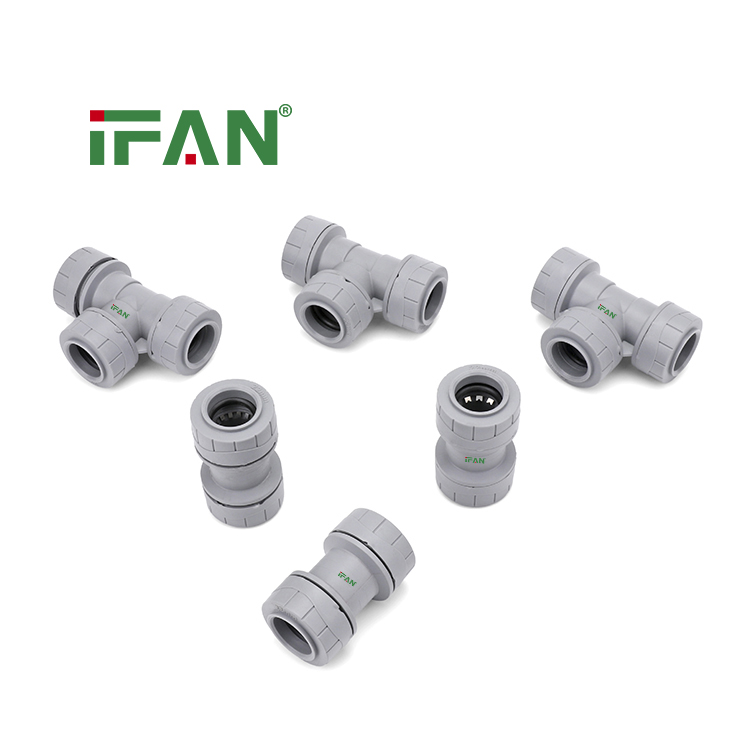
3. Push-Fit Connection
Push-fit connections are incredibly user-friendly and allow for quick installations without special tools. However, they are suitable only for certain types of PEX pipes and fittings.
Steps to Create a Push-Fit Connection
- Cut the PEX Pipe: As always, cut the PEX pipe to length and debur the edges.
- Insert the Fitting: Push the PEX fitting onto the pipe until it reaches the stop. You should hear or feel a click when the connection is secure.
- Check the Connection: Visually inspect the joint to ensure it is properly seated.
Important Considerations
1. Pipe Expansion and Contraction
PEX pipe can expand and contract with temperature fluctuations. To allow for movement, ensure that the installation maintains adequate space and is not tightly secured in a manner that restricts movement. Use PEX supports to secure the pipe, allowing for thermal expansion.
2. Pressure Testing
After completing all connections, it’s essential to conduct a pressure test to verify the integrity of the system. This test will help identify any leaks before the system is placed into operation.
3. Local Building Codes
Always check local building codes and regulations for PEX installations. Requirements may vary by region, and adhering to these guidelines ensures both safety and compliance.
4. Suitable Applications
While PEX is versatile, some applications are not recommended. Avoid using PEX in areas with direct sunlight for extended periods unless specifically rated for exterior use, as UV exposure can degrade the plastic.
Conclusion
Connecting PEX pipe plumbing is an essential skill for both professional contractors and DIY enthusiasts. With its flexibility, durability, and ease of installation, PEX piping systems are transforming the plumbing landscape. Understanding the various methods for connecting PEX pipe—whether through crimp, clamp, or push-fit—empowers individuals to undertake their plumbing projects with confidence. By following best practices, maintaining compliance with local codes, and employing the right tools, the process will ensure robust and reliable plumbing systems that last for years.
FAQs
1. What is PEX pipe?
PEX pipe is a flexible plastic plumbing material used for water supply lines, radiant heating systems, and other applications, valued for its corrosion resistance and ease of installation.
2. How do I connect PEX pipes?
There are several methods to connect PEX pipes, including crimp, clamp, and push-fit connections. Each method has its own tools and steps for installation.
3. Can PEX be used for hot water supply?
Yes, PEX pipe is suitable for both hot and cold water supply lines, making it versatile for various plumbing applications.
4. What tools do I need to connect PEX pipe?
Tools needed to connect PEX pipe include a PEX pipe cutter, crimp tool or clamp tool (depending on connection method), measuring tape, and a deburring tool.
5. How do I prevent leaks in PEX connections?
To prevent leaks, ensure clean cuts, use the appropriate fittings and rings, follow installation procedures precisely, and conduct a pressure test after completing the connections.