IFAN factory 30+ years manufacture experience support color /size customization support free sample.Welcome to consult for catalog and free samples.This is our Facebook Website:www.facebook.com,Click to watch IFAN’s product video.Compared with Tomex products, our IFAN products from quality to price are your best choice, welcome to buy!
If you’re looking to tackle a plumbing renovation, PEX press fittings offer an excellent, simple, and effective solution. Known for their ease of installation and long-term reliability, PEX press fittings can be used for both new installations and repairs in residential and commercial plumbing systems. In this guide, we will walk you through the process of installing PEX press fittings for beginners, ensuring your system remains secure, leak-free, and durable.
What Are PEX Press Fittings?
Before we dive into the installation process, let’s clarify what PEX press fittings are. PEX (Cross-Linked Polyethylene) is a flexible plastic piping system commonly used in plumbing. PEX press fittings are specialized fittings designed to connect PEX pipes together using a press tool, without the need for heat, soldering, or threading. This method is quick, simple, and provides a secure, long-lasting connection.
Tools and Materials Needed
To successfully install PEX press fittings, you’ll need a few key tools and materials:
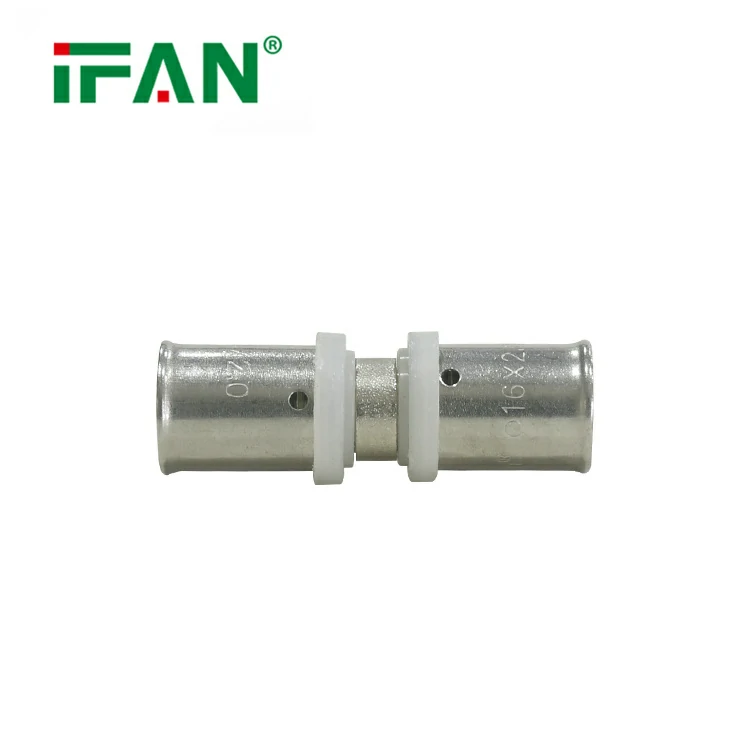
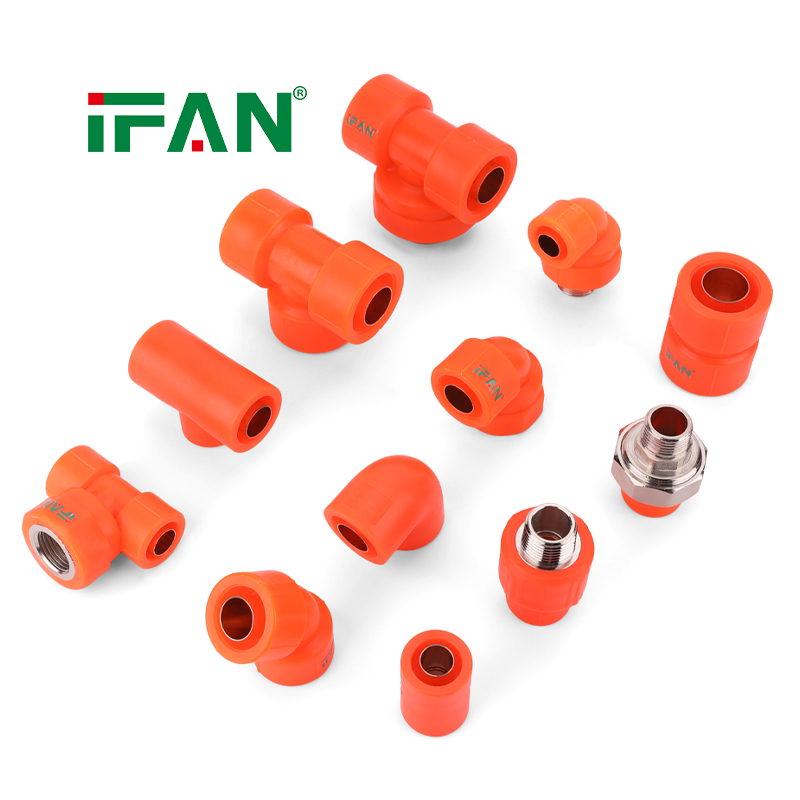
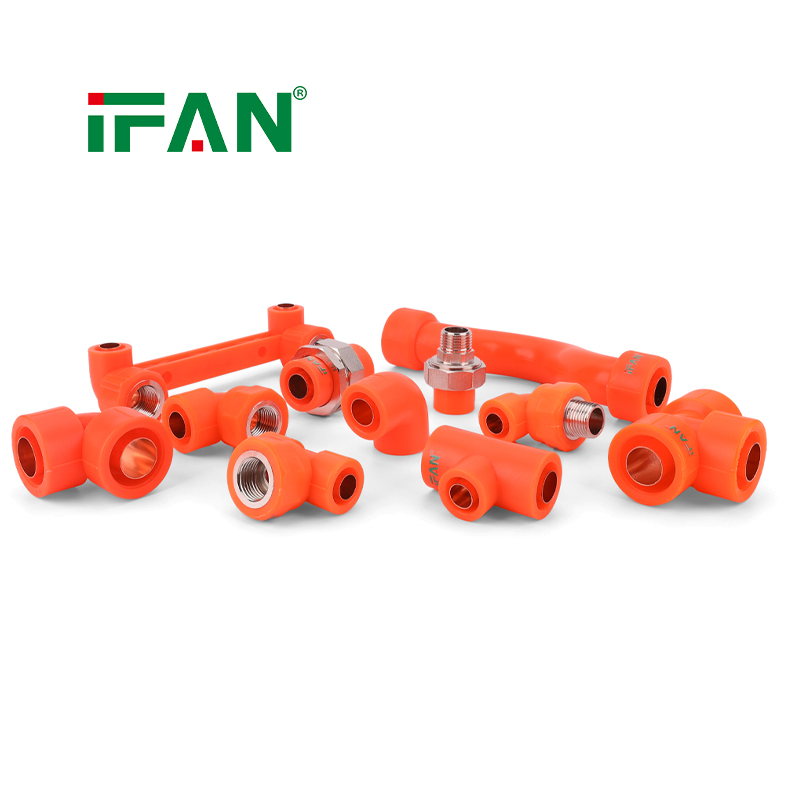
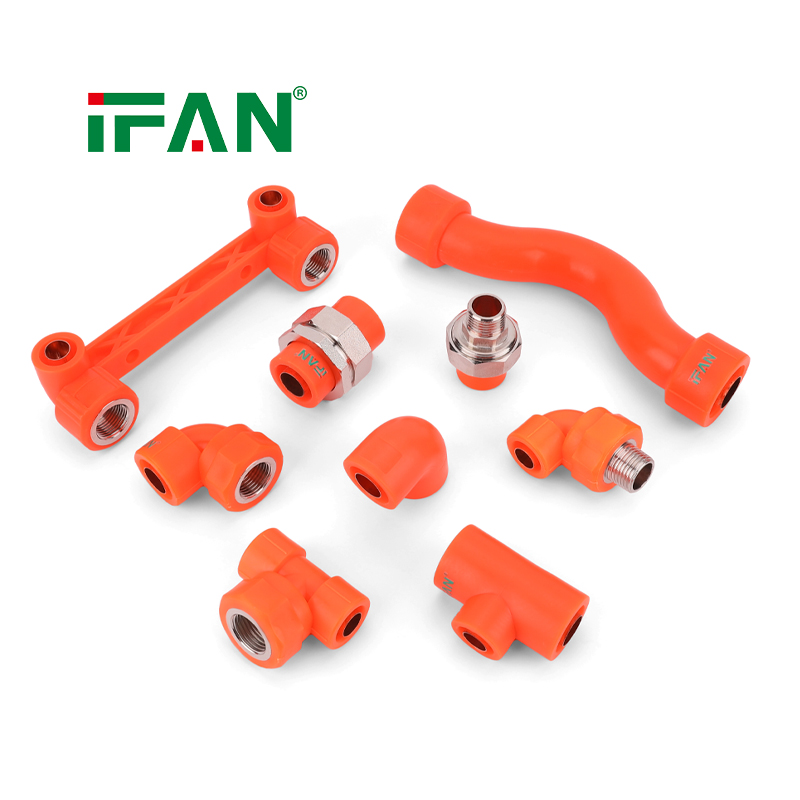
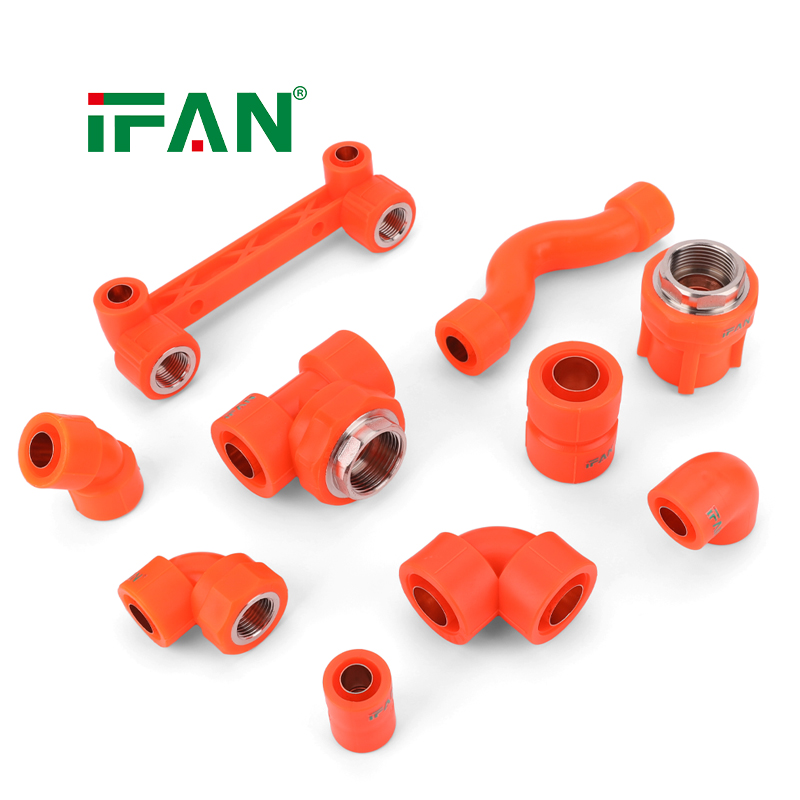
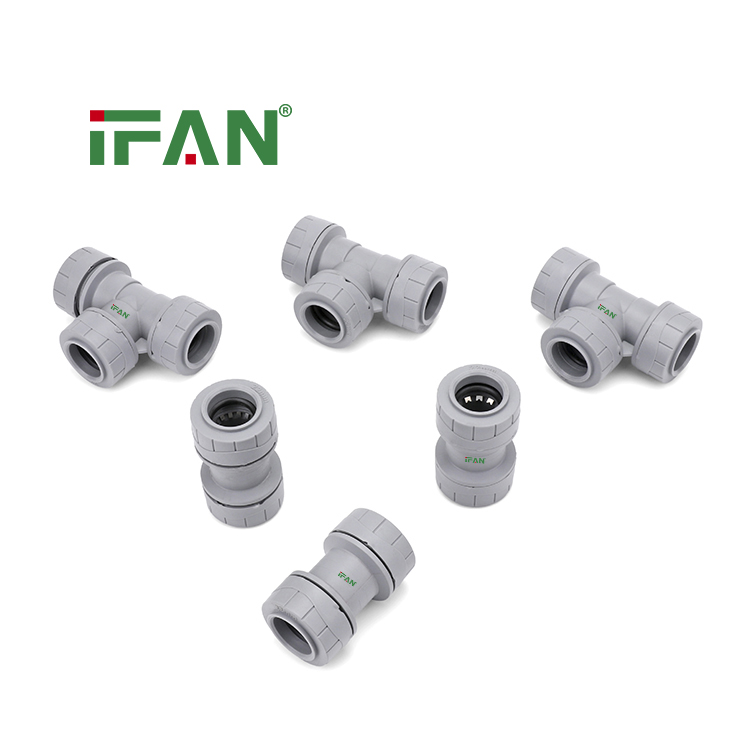
- PEX press fittings (elbows, tees, couplings, etc.)
- PEX pipe (make sure to choose the appropriate size and length)
- PEX press tool (this is the most important tool, which crimps the fitting securely onto the pipe)
- PEX pipe cutter (to make clean, straight cuts)
- Deburring tool (to smooth out rough edges after cutting the pipe)
- Measuring tape (to ensure accurate pipe lengths)
Make sure to check that all the tools and materials are compatible with the size and type of PEX fittings you’re working with.
Step-by-Step Guide to Installing PEX Press Fittings
Step 1: Measure and Cut the PEX Pipe
Start by measuring the section of PEX pipe you need for your installation. Use a measuring tape to ensure you get the correct length, making sure to account for the length of the fitting itself. It’s important to measure twice and cut once to avoid wasting materials.
Once you’ve determined the right length, use a PEX pipe cutter to make a clean, straight cut. Be sure to make the cut as square as possible, as a clean, straight edge is crucial for creating a secure seal with the fitting.
Step 2: Deburr the Cut Pipe
After cutting the PEX pipe, the edges might have some burrs or rough spots. To ensure a smooth connection, use a deburring tool to remove any rough edges. This will help the PEX press fitting slide on easily and create a tight, leak-proof seal.
Step 3: Insert the PEX Press Fitting
Take your chosen PEX press fitting and insert the PEX pipe into the fitting. Make sure the pipe is fully seated into the fitting to the depth specified by the manufacturer (usually indicated by a marking or line on the fitting). Proper insertion ensures the fitting forms a solid, leak-free connection.
If you’re installing a fitting that requires a pipe to be inserted into both ends (like a tee or elbow), ensure both pipes are inserted fully into the fitting.
Step 4: Use the PEX Press Tool
Now comes the most critical part of the installation process. Use the PEX press tool to clamp the fitting onto the pipe. Position the tool over the crimp ring (the metal ring around the fitting) and squeeze the handles firmly. You should feel resistance as the tool presses the fitting onto the pipe. Hold the tool in place for a moment to ensure a secure connection.
The PEX press tool will leave a slight indentation in the fitting, indicating a successful installation. Check that the press is complete by inspecting the fitting; it should be secure, and there should be no gaps or movement.
Step 5: Double-Check the Connection
Once the PEX press fitting is securely attached, give the fitting a gentle tug to ensure it is properly seated. It should not move, slip, or have any visible gaps around the crimp ring. If the fitting feels loose or there is visible damage, repeat the process and make sure the pipe is inserted to the correct depth.
If you’re installing multiple fittings, continue to repeat the steps, ensuring that each connection is secure before moving to the next one.
Step 6: Test the System
After completing the installation, it’s time to test the system. Turn on the water supply and check for leaks at each connection. If you notice any water seeping out, it may indicate that the press fitting wasn’t properly crimped or that the pipe wasn’t fully inserted. If you detect any leaks, turn off the water and inspect the connections.
If everything is sealed properly, you’ve successfully installed your PEX press fittings!
Benefits of Using PEX Press Fittings
Now that you know how to install PEX press fittings, it’s worth noting some of the advantages of choosing this method over traditional plumbing techniques:
- Quick and Easy Installation: No need for soldering or threading, which saves both time and labor.
- Durability: PEX press fittings provide a secure, long-lasting connection that resists leaks and corrosion.
- Versatility: PEX press fittings work well in a variety of plumbing applications, including residential and commercial systems.
- No Heat Required: Unlike soldering, there’s no need for a torch or heat, reducing the risk of accidents.
Common Mistakes to Avoid
While PEX press fittings are relatively easy to install, beginners can still make mistakes. Here are some common errors to avoid:
- Incorrect Pipe Insertion: Always make sure the pipe is fully inserted into the fitting. If the pipe is not seated properly, the fitting may not form a secure connection.
- Not Using the Right Tool: Using the wrong size or type of press tool can lead to improper crimping and leaks. Make sure you’re using a compatible tool for your PEX fittings.
- Over-tightening: While the press tool will apply pressure to the fitting, over-tightening the tool can cause damage to the fitting or the pipe. Use the tool as instructed by the manufacturer.
Conclusion
Installing PEX press fittings is a straightforward process that can significantly improve your plumbing system’s efficiency and reliability. With the right tools and a bit of practice, even beginners can successfully complete the installation with minimal hassle. The PEX press fitting system offers a fast, leak-proof, and durable solution for both new installations and repairs.
Frequently Asked Questions (FAQs)
1. What is the difference between PEX press fittings and PEX crimp fittings?
PEX press fittings use a press tool to secure the fitting onto the pipe, while PEX crimp fittings require a crimp ring and tool to attach the fitting. Press fittings are generally quicker and easier to install, requiring less skill than crimp fittings.
2. Can PEX press fittings be reused?
In most cases, PEX press fittings are designed for one-time use. Once installed, the fitting forms a secure connection and should not be reused. If you need to remove the fitting, it is recommended to replace it with a new one.
3. Are PEX press fittings compatible with other plumbing systems?
Yes, PEX press fittings can be used in conjunction with other materials such as copper, CPVC, and steel, making them highly versatile for various plumbing setups.
4. Do I need to use any sealant with PEX press fittings?
No, PEX press fittings are designed to create a secure, leak-free connection without the need for additional sealants or adhesives.
5. Can I install PEX press fittings in freezing temperatures?
It’s not recommended to install PEX press fittings in freezing temperatures, as the materials can become brittle. Always install fittings in temperatures above freezing for the best results.