Introduction
Modern plumbing has never been more accessible to homeowners, thanks to revolutionary products like PEX press fittings. As a seasoned builder, I’ve seen how these innovations have transformed complicated copper pipe soldering into simple, DIY-friendly connections. Whether you’re adding a bathroom, installing a laundry room, or repairing old pipes, PEX press fittings make water line installation achievable for any motivated homeowner.
In this guide, we’ll cover:
- Why PEX press fittings beat traditional methods
- Essential tools for DIY success
- Step-by-step installation guide
- Cost comparison to professional installation
- Common mistakes to avoid
Why PEX Press Fittings Are Perfect for DIYers
1. No Specialized Skills Required
Unlike soldering copper pipes that requires:
- Torch handling experience
- Proper flux application
- Fire safety precautions
PEX press fittings simply need:
- A press tool (rentable at most hardware stores)
- Basic measuring and cutting skills
- Following manufacturer instructions
2. Forgiving Installation Process
- Connections can be dry-fit before final pressing
- No waiting for glue or solder to cure
- Adjustable up to the moment of pressing
3. Fewer Tools Needed
Basic PEX press fittings installation requires:
- PEX tubing cutter ($15-$30)
- Deburring tool ($5-$10)
- Press tool (rent for $50/day or buy for $200-$500)
Compared to copper soldering which needs:
- Pipe cutter
- Torch kit
- Flux and solder
- Fire extinguisher
- Heat-resistant pads
Step-by-Step: Installing DIY Water Lines with PEX Press Fittings
Step 1: Plan Your Layout
- Sketch your pipe runs
- Measure twice before cutting
- Account for ¼” expansion per 10 feet of PEX
Step 2: Gather Materials
You’ll need:
- PEX tubing (type A, B, or C)
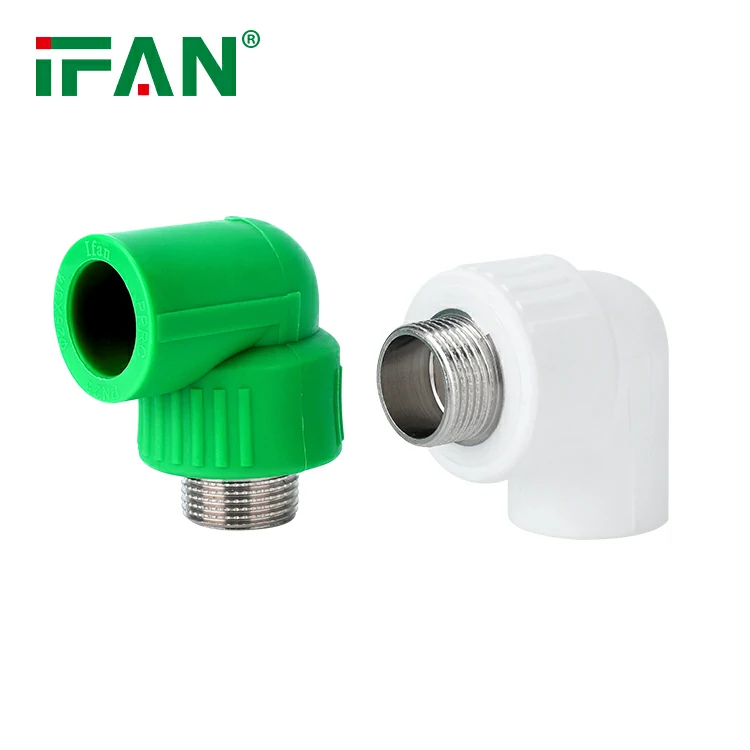
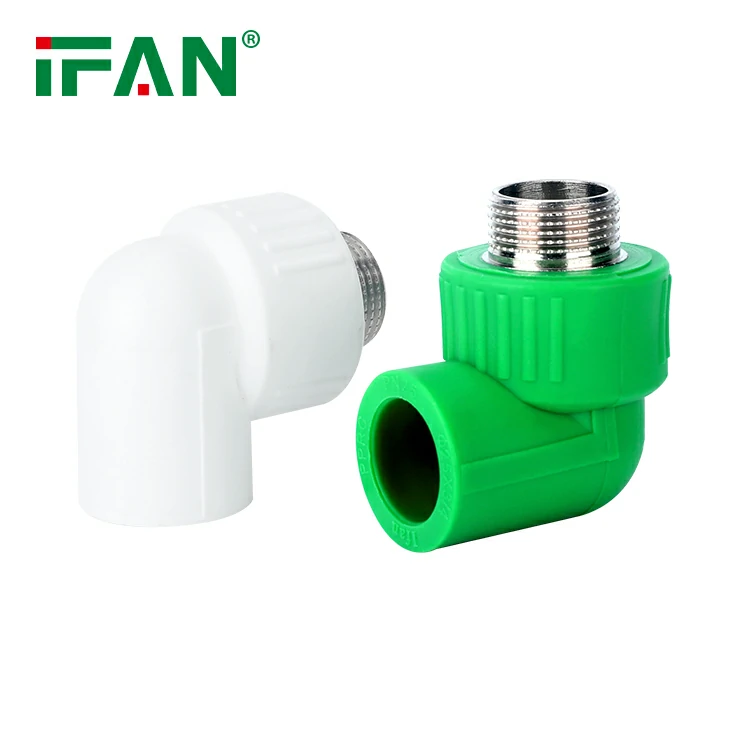
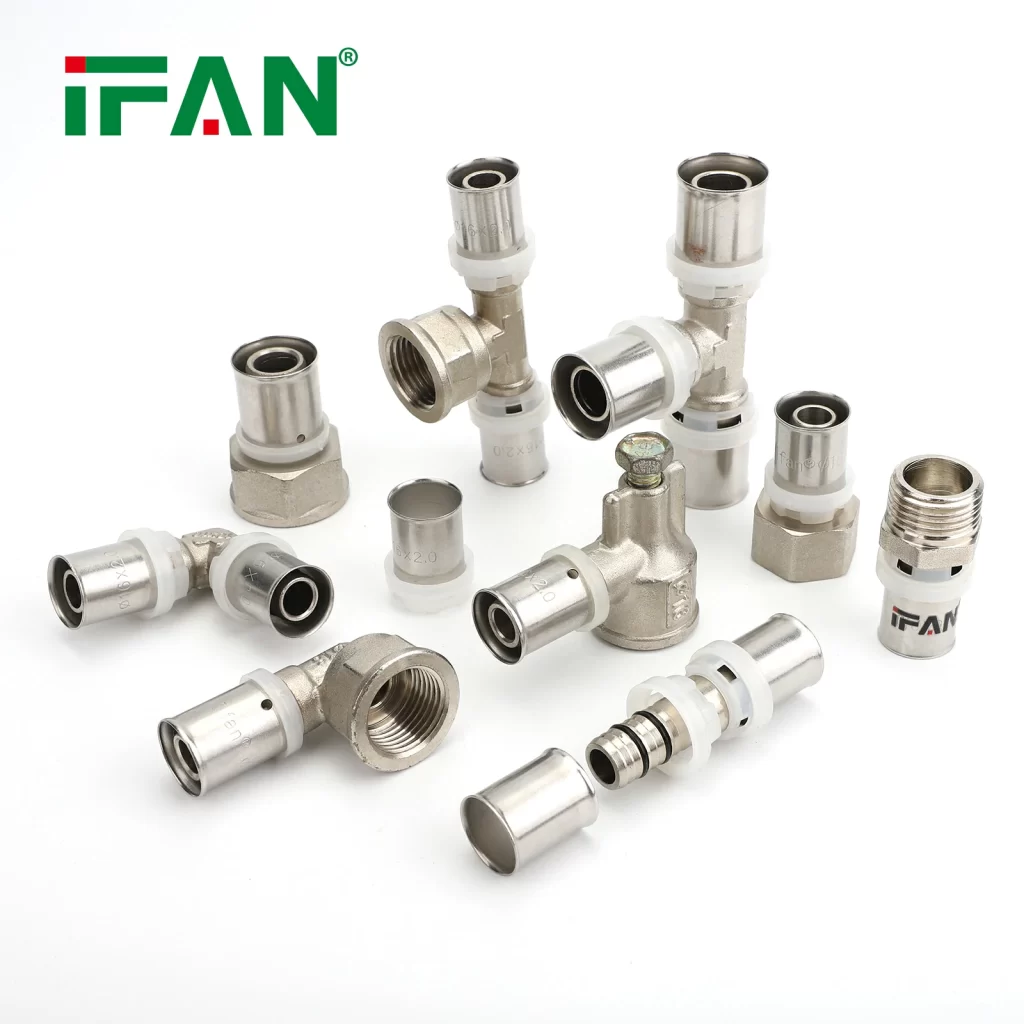
- PEX press fittings (elbows, tees, couplings)
- Pipe hangers every 32 inches
- Insulation for exterior walls
Step 3: Make Your Cuts
- Use a rotary PEX cutter for clean ends
- Cut ½” longer than measured for margin
- Deburr all cut ends
Step 4: Dry Fit Connections
- Assemble entire run without pressing
- Check all angles and clearances
- Mark insertion depths on tubing
Step 5: Make Permanent Connections
- Position press tool jaws properly
- Press until tool clicks/beeps
- Verify with go/no-go gauge
Step 6: Pressure Test
- Fill system with water
- Pressurize to 1.5x normal (about 90 psi)
- Check for leaks at all connections
Cost Comparison: DIY vs Professional Installation
| Project | DIY Cost (PEX Press) | Pro Cost | Savings |
|---|---|---|---|
| Bathroom Addition | $350-$600 | $1,800-$3,500 | 70-80% |
| Whole House Repipe | $1,200-$2,500 | $4,000-$8,000 | 60-70% |
| Laundry Hookup | $75-$150 | $400-$800 | 80% |
| Kitchen Remodel | $250-$500 | $1,200-$2,400 | 75% |
Costs assume homeowner rents press tool
5 Common DIY Mistakes to Avoid
- Using the Wrong Press Jaws
- Each fitting brand requires specific jaws
- Mixing brands causes failed connections
- Incomplete Presses
- Always press until tool releases automatically
- Partial presses will leak under pressure
- Forgetting Pipe Insulation
- PEX in exterior walls needs insulation
- Prevents freezing in cold climates
- Overlooking Local Codes
- Some areas restrict PEX for certain applications
- Always check with your building department
- Skipping the Pressure Test
- Even professional-looking connections can leak
- Test for at least 1 hour before closing walls
Frequently Asked Questions (FAQs)
1. Can I connect PEX press fittings to existing copper pipes?
Yes! Use transition fittings designed for copper-to-PEX connections. Always clean and deburr copper ends first.
2. How long do PEX press fittings last?
Properly installed PEX press fittings typically last 50+ years – often outlasting the home itself.
3. Do I need special permits for DIY PEX plumbing?
Most areas require permits for any plumbing work beyond simple repairs. Always check local regulations.
4. Can PEX press fittings be used for hot water?
Absolutely! Quality PEX press fittings are rated for temperatures up to 200°F (93°C).
5. What’s the biggest advantage over crimp-style PEX?
Press fittings don’t require the precise ring positioning of crimp systems, making them more DIY-friendly.
Final Thoughts from a Builder
After decades in construction, I confidently recommend PEX press fittings as the best DIY plumbing solution available today. The combination of:
- Ease of installation
- Forgiving connection process
- Professional-grade results
- Significant cost savings
…makes this a revolutionary option for homeowners. While no plumbing project is completely foolproof, PEX press fittings have removed nearly all the traditional barriers to DIY water line installation. Rent the tools, follow manufacturer instructions carefully, and you’ll be amazed at what you can accomplish. Happy building!