
As plumbing technology evolves, cross-linked polyethylene (PEX) piping has gained significant popularity in both residential and commercial applications due to its flexibility, durability, and resistance to corrosion. As more homeowners and contractors look to utilize PEX in their plumbing systems, questions arise about how to effectively connect PEX pipe to copper piping. This article provides a comprehensive guide on connecting Uponor PEX pipe to copper, outlining the steps involved, the necessary tools and materials, and best practices for ensuring a successful connection.
Understanding PEX Pipe
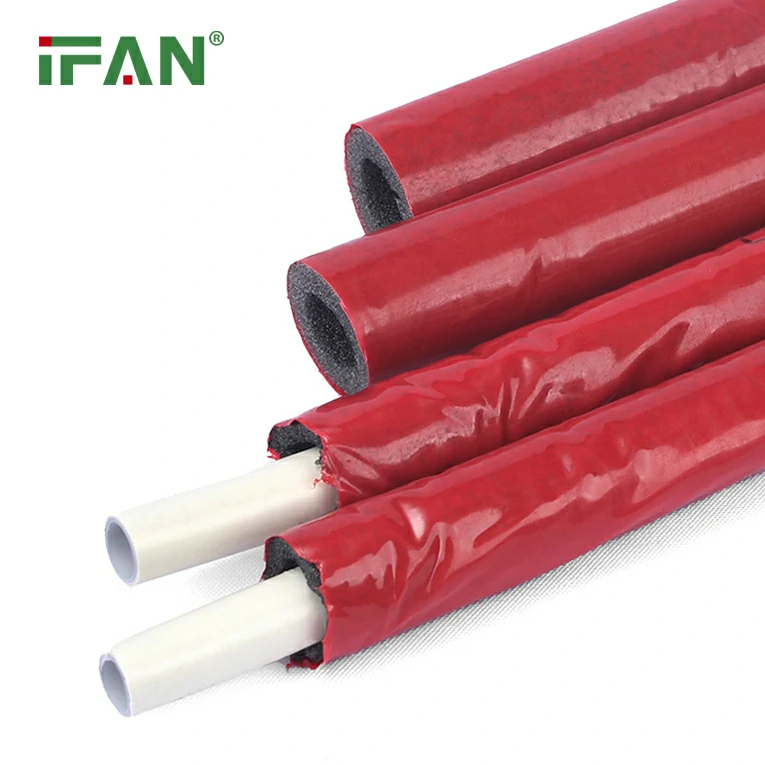
What is PEX Pipe?
PEX pipe is a type of flexible plumbing material made from cross-linked polyethylene. Its unique properties offer numerous advantages over traditional plumbing materials such as copper and PVC:
- Flexibility: PEX can bend and curve, allowing for easier installation and minimization of fittings.
- Corrosion Resistance: Unlike copper, PEX does not corrode, leading to better water quality and increased system longevity.
- Ease of Installation: PEX is lightweight, leading to reduced labor costs and faster project completion.
Applications of PEX Pipe
PEX is utilized for various plumbing applications, including:
- Water Supply Lines: PEX is commonly used for hot and cold water supply lines in residential and commercial buildings.
- Hydronic Heating Systems: PEX piping is highly effective for radiant heating systems, providing an even and comfortable heat throughout a space.
- Irrigation Systems: Many outdoor irrigation systems utilize PEX due to its durability and resistance to environmental elements.
The Importance of Connecting PEX to Copper
Transitioning to PEX
As more builders and homeowners opt for PEX due to its benefits, transitioning from existing copper piping to PEX becomes a common scenario. Understanding the correct methods for connecting PEX to copper is essential to ensure the integrity of the plumbing system and to prevent leaks.
Common Connection Types
When transitioning from copper to PEX, it is essential to use appropriate fittings designed for compatibility with both materials. The most common connection methods include:
- Crimp Fittings: These are used to secure PEX pipes to copper connections using crimp rings.
- Expansion Fittings: Expansion fittings involve slightly expanding the end of the PEX pipe to allow it to fit over a copper fitting.
Tools and Materials Needed for the Connection
Tools Required
- PEX Pipe Cutter: A specialized cutter designed to create clean, straight cuts in PEX piping.
- Crimp Tool: Used for crimping the rings onto the connections securely.
- Expansion Tool: If utilizing expansion fittings, an expansion tool is necessary to enlarge the end of the PEX pipe.
- Deburring Tool: To smooth any rough edges after cutting the pipes, preventing damage to fittings.
- Measuring Tape: For accurate measurements during cutting and installation.
- Marker: For marking cut lengths and fitting positions.
Materials Required
- Uponor PEX Pipe: Choose the appropriate diameter for your plumbing needs.
- Copper Fittings: Elbows, tees, and adapters compatible with PEX and copper.
- Crimp Rings or Clamps: Depending on the type of fittings used, you’ll need crimp rings or clamps to secure connections.
Step-by-Step Guide to Connecting PEX to Copper
Step 1: Prepare the PEX Pipe and Copper Fitting
- Cut the PEX Pipe: Use a PEX pipe cutter to cut the PEX to the required length. Always ensure the cut is straight and even.
- Debur the Edges: Use a deburring tool to smooth any rough edges that could damage the fitting upon installation.
- Prepare the Copper Fitting: If connecting to an existing copper pipe, ensure that the end of the copper pipe is clean and free from corrosion. If necessary, use sandpaper or a wire brush to clean any oxidation from the surface.
Step 2: Install the Fitting
For Crimp Connections:
- Insert the Fitting: Push the copper fitting into the end of the PEX pipe until it reaches the stop.
- Position the Crimp Ring: Slide a crimp ring over the PEX pipe and position it approximately 1/8 inch from the end.
- Crimping the Ring: Use the crimp tool to crimp the ring securely onto the PEX pipe, ensuring a tight fit around the copper fitting. Check that the crimped ring is uniform and secure.
For Expansion Connections:
- Expand the PEX Pipe: Using the expansion tool, expand the end of the PEX pipe until it is sufficiently enlarged to fit over the copper fitting.
- Insert the Fitting: Quickly push the copper fitting into the expanded end of the PEX pipe. The pipe will contract as it cools, ensuring a tight fit.
- Allow to Set: Ensure the connection is left undisturbed until it fully contracts, forming a secure seal.
Step 3: Pressure Testing
After completing the connections between PEX and copper, it’s important to conduct pressure tests to ensure there are no leaks. Here’s how:
- Turn On the Water Supply: Gradually turn on the water supply and check for any visible leaks at the connections.
- Perform Pressure Testing: If applicable, conduct a full pressure test on the entire system to identify any weak points or leaks that may have developed during installation.
- Monitor for Changes: After the pressure test, watch for any fluctuations in the pressure or visible leaks over the next few days.
Tips for Successful Connections
- Use Quality Materials: Ensure that you are using high-quality connections, fittings, and pipes to avoid premature failures.
- Stay Within Temperature and Pressure Ratings: Always adhere to the temperature and pressure ratings indicated by the manufacturers to avoid compromising the system’s integrity.
- Follow Manufacturer Instructions: Each component will have specific installation guidelines. Review these instructions thoroughly to ensure proper connections.
- Keep Records: Document your installation, including materials used and any challenges faced. This will assist in future troubleshooting and maintenance.
- Consult Local Building Codes: Make sure your installation complies with local plumbing codes and standards.
Conclusion
Connecting Uponor PEX pipe to copper is a practical solution for homeowners and contractors looking to leverage the benefits of PEX piping in their plumbing systems. By understanding the best practices for installation, utilizing the right tools and materials, and following appropriate guidelines, you can achieve secure and reliable connections.
As demand for PEX continues to grow in the plumbing industry, the flexibility and adaptability of PEX make it an excellent option for modern plumbing solutions. With knowledge and diligence, you can enjoy the advantages of PEX piping while ensuring the integrity of your plumbing system.
FAQs
1. What is PEX pipe?
PEX pipe is a flexible plumbing material made from cross-linked polyethylene, widely used in various applications such as water supply lines and heating systems.
2. Can PEX pipe be connected to copper piping?
Yes, PEX pipe can be connected to copper pipes using appropriate fittings and proper installation methods, such as crimp or expansion connections.
3. What tools do I need to connect PEX to copper?
Essential tools for connecting PEX to copper include a PEX pipe cutter, crimp tool, expansion tool, deburring tool, and a measuring tape.
4. How do I prevent leaks when connecting PEX to copper?
Ensure all connections are secure, use high-quality fittings, and follow the manufacturer’s guidelines during installation. Conduct pressure tests after installation to check for any leaks.
5. Is PEX suitable for potable water systems?
Yes, PEX piping is suitable for potable water applications, as it is safe for drinking water due to its corrosion-resistant properties and lack of leaching materials.
