IFAN factory 30+ years manufacture experience support color /size customization support free sample.Welcome to consult for catalog and free samples.This is our Facebook Website:www.facebook.com,Click to watch IFAN’s product video.Compared with Tomex products, our IFAN products from quality to price are your best choice, welcome to buy!
Introduction
A bibcock, also known as an outdoor faucet or hose bib, is an essential fixture in most homes and commercial buildings. It allows you to control the flow of water to areas like your garden, lawn, or outdoor washing space. However, like any plumbing fixture, bibcocks can develop leaks over time. Whether you’re dealing with a minor drip or a major leak, understanding the causes and solutions can save you time, money, and frustration. In this article, we’ll walk you through common causes of bibcock leaks and provide practical troubleshooting tips and solutions.
What is a Bibcock?
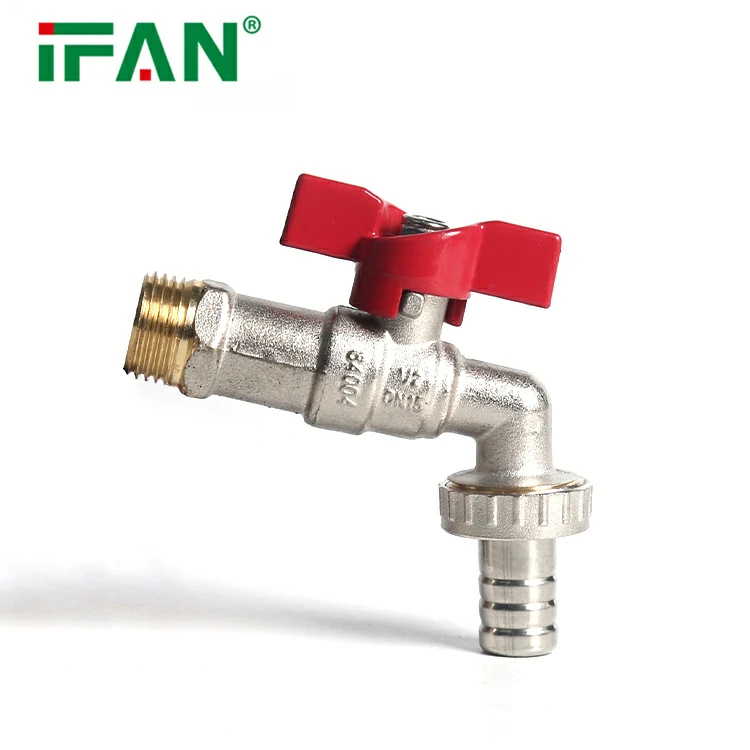
A bibcock is a type of valve used to control the flow of water to outdoor areas. It’s commonly installed on exterior walls and is typically operated with a simple lever or knob. Bibcocks are primarily used to attach hoses for watering gardens, washing vehicles, or performing outdoor maintenance. Although they are durable, they can wear out, and leaks are a common issue.
Common Causes of Bibcock Leaks
1. Worn-Out Washer or O-Ring
One of the most frequent causes of a leaking bibcock is a worn-out washer or O-ring. These rubber components seal the valve and prevent water from leaking around the stem. Over time, they can deteriorate due to exposure to water, heat, and wear.
Solution: Replacing the washer or O-ring is an easy fix. To do this, turn off the water supply to the bibcock, unscrew the handle, and remove the valve stem. Replace the worn washer or O-ring with a new one, making sure it fits tightly. Reassemble the bibcock, turn on the water, and check for leaks.
2. Damaged Valve Seat
The valve seat is the part of the bibcock that forms a seal with the washer when the valve is turned off. If the valve seat becomes damaged or corroded, it can cause leaks.
Solution: To fix a damaged valve seat, you’ll need to remove the valve stem and inspect the seat for wear or corrosion. If it’s damaged, you may need to use a valve seat tool to smooth it out. If the seat is severely damaged, it may require replacement, which could involve replacing the entire bibcock.
3. Loose Packing Nut
The packing nut holds the stem in place and keeps the bibcock from leaking around the stem. Over time, this nut can loosen, leading to water dripping from the base of the faucet.
Solution: Tighten the packing nut with a wrench, but be careful not to overtighten, as this could damage the valve or cause it to malfunction. If tightening the nut doesn’t solve the problem, you may need to replace the packing washer inside the nut.
4. Corrosion or Mineral Buildup
Mineral buildup from hard water can cause corrosion on the bibcock’s internal components, leading to leaks. This can also happen if the bibcock is exposed to rust or other environmental factors.
Solution: To remove corrosion or mineral buildup, you can soak the affected parts in a vinegar-water solution to dissolve the deposits. If the corrosion is severe, you might need to replace the affected components.
5. Frozen Pipes
In colder climates, pipes can freeze during the winter, leading to cracks or breaks in the bibcock or the pipes connected to it. This can cause serious leaks when the weather warms up.
Solution: To prevent freezing, you should install a frost-proof bibcock or ensure that the faucet is properly insulated during the winter months. If you suspect the bibcock has been damaged by freezing, turn off the water supply and inspect the fixture for visible cracks. If necessary, replace the bibcock.
6. Faulty Installation
A bibcock that was improperly installed can develop leaks shortly after use. If the faucet is not aligned correctly with the wall or has not been sealed properly, water can seep around the base.
Solution: If installation is the issue, you may need to remove the bibcock and reinstall it properly. Ensure that the faucet is tightly secured to the wall and that the sealing materials, such as Teflon tape, are applied correctly to prevent leaks.
Troubleshooting Steps for Bibcock Leaks
1. Turn Off the Water Supply
Before attempting any repairs, always turn off the water supply to the bibcock. This will prevent water from spilling out when you disassemble the faucet.
2. Inspect the Faucet
Examine the bibcock for visible signs of wear, such as rust, corrosion, or cracks. Pay close attention to the handle, valve stem, and base of the faucet.
3. Disassemble the Bibcock
Carefully remove the handle, valve stem, and other components as necessary. This will allow you to inspect the internal parts for damage or wear.
4. Replace Damaged Parts
If you identify a worn-out washer, O-ring, valve seat, or other component, replace it with a new part. Be sure to get the correct size and type of part to ensure a proper seal.
5. Reassemble the Bibcock
After replacing any damaged parts, reassemble the bibcock carefully. Tighten all components securely, but avoid overtightening, which could cause damage.
6. Turn On the Water Supply
Once everything is reassembled, turn on the water supply and test the bibcock for leaks. If there are no leaks, your repair is complete. If the leak persists, double-check the components to ensure they were installed correctly.
Preventive Maintenance for Bibcocks
Preventing bibcock leaks before they start can save you time and money. Here are some simple tips to keep your bibcock in good working condition:
– Regularly inspect your bibcock for signs of wear, corrosion, or leaks.
– Replace washers and O-rings every few years, or sooner if you notice any leaks.
– Insulate the bibcock during winter months to prevent freezing and potential damage.
– Clean the faucet periodically to remove mineral deposits and prevent corrosion.
– Lubricate the valve stem with plumber’s grease to keep the valve moving smoothly and prevent it from seizing.
Conclusion
Bibcock leaks can be frustrating, but with the right tools and knowledge, they can be easily fixed. Regular maintenance and quick troubleshooting can help extend the life of your bibcock and prevent costly repairs. If you are unsure about repairing the leak yourself, consider contacting a professional plumber for assistance. Remember, a little prevention goes a long way in keeping your bibcock in good working order.
FAQs
1. Why is my bibcock leaking water?
A bibcock can leak due to a worn-out washer, a damaged valve seat, a loose packing nut, or corrosion. Identifying the exact cause can help you determine the appropriate solution.
2. How do I fix a leaking bibcock?
To fix a leaking bibcock, turn off the water supply, disassemble the faucet, and replace any worn or damaged parts, such as washers or valve seats.
3. Can I prevent my bibcock from freezing?
Yes, installing a frost-proof bibcock or insulating the faucet during winter can prevent freezing and potential damage.
4. What is the best way to maintain my bibcock?
Inspect your bibcock regularly for wear, clean it periodically to remove mineral deposits, and replace worn-out parts like washers and O-rings as needed.
5. Should I hire a plumber to fix my bibcock?
If you are unsure about how to repair a leaking bibcock or if the damage is extensive, it’s a good idea to hire a professional plumber to handle the repair.
Related products
-
-
-
 Brass Tap
Brass Bibcock (R08)
-
 Brass Tap
Brass Bibcock (R06)