PEX (cross-linked polyethylene) tubing has become a go-to choice for modern plumbing systems due to its flexibility, durability, and corrosion resistance. When it comes to securing PEX connections, Viega PEX Press Fittings offer a fast, reliable, and tool-efficient solution.
In this guide, we’ll walk you through how to properly connect PEX tubing using Viega PEX Press Fittings, their benefits, installation steps, and why they outperform traditional crimp or clamp methods.
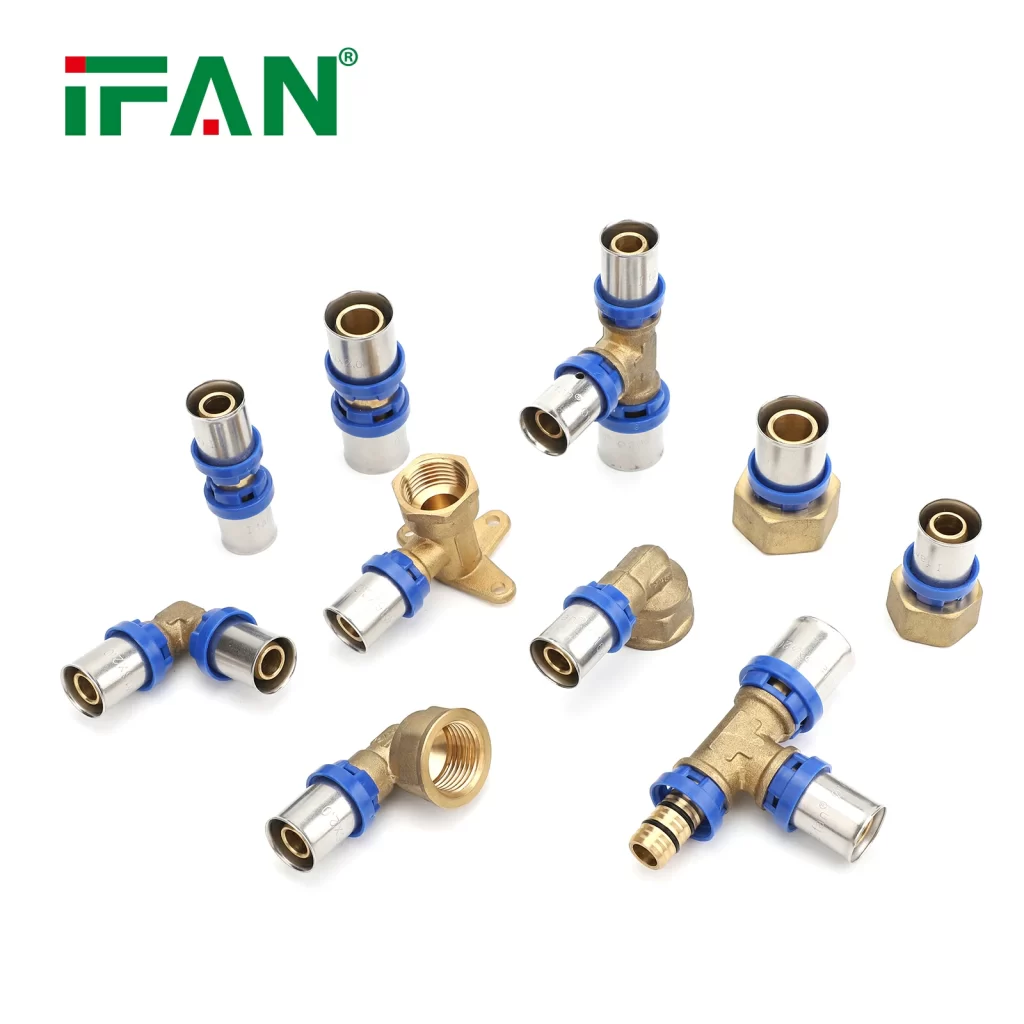
Why Choose Viega PEX Press Fittings?
Viega is a trusted name in plumbing technology, and their PEX press fittings provide several advantages:
✔ No Special Tools Needed – Unlike crimp rings, Viega press fittings use a simple press tool for quick installation.
✔ Leak-Proof Connections – Engineered for a secure, long-lasting seal.
✔ Time-Saving – Faster than crimping or clamping, ideal for large projects.
✔ Versatile – Compatible with PEX-A, PEX-B, and PEX-C tubing.
✔ Durable – Resistant to corrosion and scaling.
Tools & Materials Needed
Before starting, gather the following:
- Viega PEX Press Fittings (elbows, tees, couplings, etc.)
- PEX tubing (correct size for your fittings)
- Viega PEX Press Tool (manual or battery-powered)
- PEX tubing cutter (for clean cuts)
- Deburring tool (to smooth edges)
- Measuring tape & marker
Step-by-Step Installation Guide
Step 1: Cut the PEX Tubing
- Measure and mark the tubing where the fitting will be installed.
- Use a sharp PEX cutter for a clean, straight cut.
Step 2: Deburr the Tubing
- Remove any rough edges with a deburring tool to ensure a smooth fit.
Step 3: Mark Insertion Depth
- Viega fittings have a depth mark on the fitting.
- Mark the same depth on the PEX tubing to ensure full insertion.
Step 4: Insert the PEX Tubing
- Push the tubing into the fitting until it reaches the depth mark.
Step 5: Press the Fitting
- Position the Viega press tool jaws over the fitting.
- Squeeze the tool firmly until it clicks (for manual tools) or completes the cycle (for battery-powered tools).
Step 6: Inspect the Connection
- Ensure the fitting is fully pressed and the PEX tubing is secure.
Advantages of Viega PEX Press vs. Traditional Methods
| Feature | Viega PEX Press | Crimp Rings | Clamp (Cinch) Rings |
|---|---|---|---|
| Installation Speed | ⚡ Fastest | Moderate | Slowest |
| Tool Requirement | Press tool only | Crimp tool + go/no-go gauge | Clamp tool |
| Reusability | ❌ No | ❌ No | ✅ Yes (some types) |
| Leak Risk | Lowest | Moderate | Moderate |
Common Mistakes to Avoid
❌ Not fully inserting the tubing – Leads to weak connections.
❌ Using the wrong press tool – Viega fittings require Viega-compatible press jaws.
❌ Skipping deburring – Rough edges can cause leaks.
❌ Over-pressing – Can damage the fitting.
Final Thoughts
Viega PEX Press Fittings provide a fast, reliable, and professional-grade solution for PEX plumbing systems. Whether you’re a contractor or a DIYer, this method ensures leak-free installations with minimal effort.
For best results, always use Viega-approved tools and fittings and follow the manufacturer’s guidelines.
Frequently Asked Questions (FAQs)
1. Can I use Viega PEX Press Fittings with any PEX tubing?
Yes, they are compatible with PEX-A, PEX-B, and PEX-C, but always check manufacturer specs.
2. Do I need a special tool for Viega press fittings?
Yes, you need a Viega PEX Press Tool (manual or battery-powered).
3. Are Viega press fittings reusable?
No, once pressed, they cannot be removed or reused.
4. How do I know if the press connection is secure?
The press tool will click or complete a cycle, and the fitting should have a uniform crimp.
5. Are Viega fittings more expensive than crimp rings?
Initially, yes, but they save labor costs and reduce leak risks, making them cost-effective long-term.

