Step-by-Step Guide to Installing PPR Fittings
Introduction
Installing PPR (polypropylene random copolymer) fittings requires careful attention to detail and proper technique. Whether you are a professional plumber or a DIY enthusiast, following a step-by-step guide is essential to ensure a successful installation. In this article, we will provide a comprehensive guide to installing PPR fittings, covering key steps and important considerations along the way. Let’s delve into the details of how to install PPR fittings effectively.
1. Prepare the Work Area
Before starting the installation process, it’s crucial to prepare the work area. Clear the area of any obstacles and ensure proper lighting. Lay out all the necessary tools, PPR pipes, and fittings within easy reach. Checking that you have all the required materials and tools beforehand will help streamline the installation process.
2. Cut the PPR Pipes
Measure and mark the desired length of the PPR pipe using a measuring tape and marker. Ensure the pipe is clean and free from any debris. Use a specialized PPR pipe cutter or a fine-toothed saw to make a clean, straight cut. Remove any burrs or rough edges using a deburring tool or sandpaper to ensure the pipe fits smoothly into the fittings.

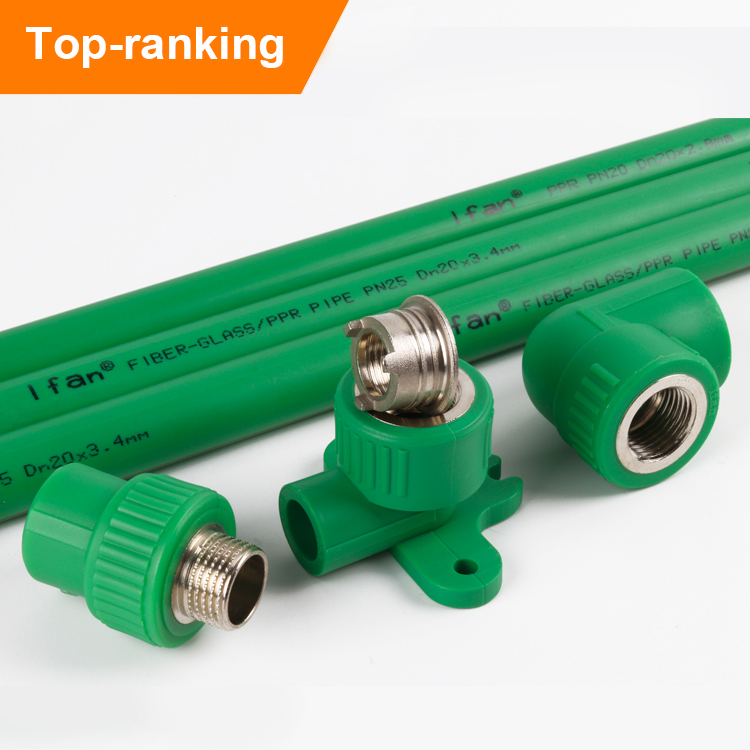
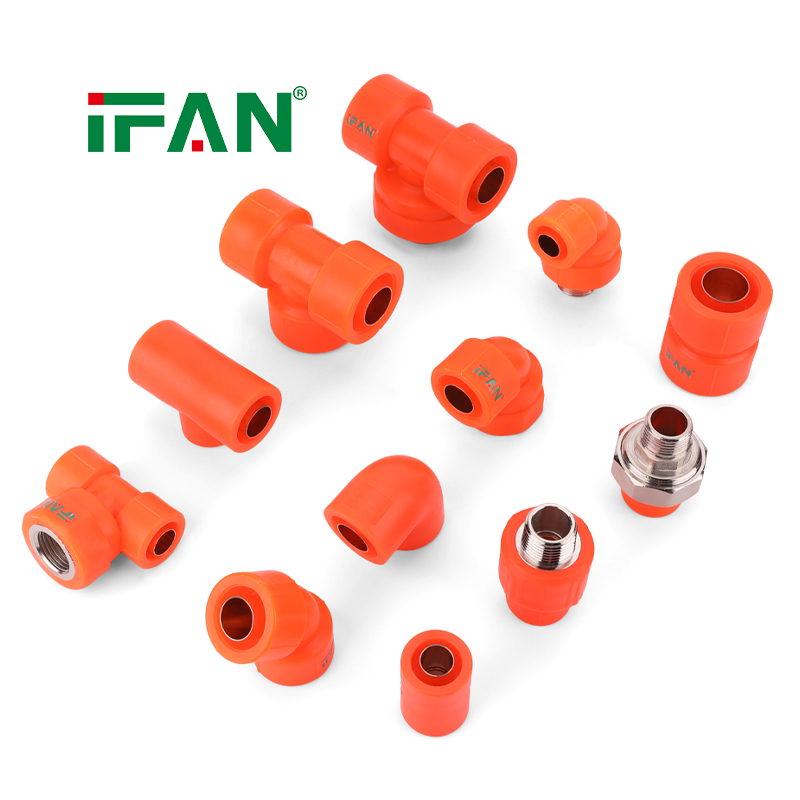
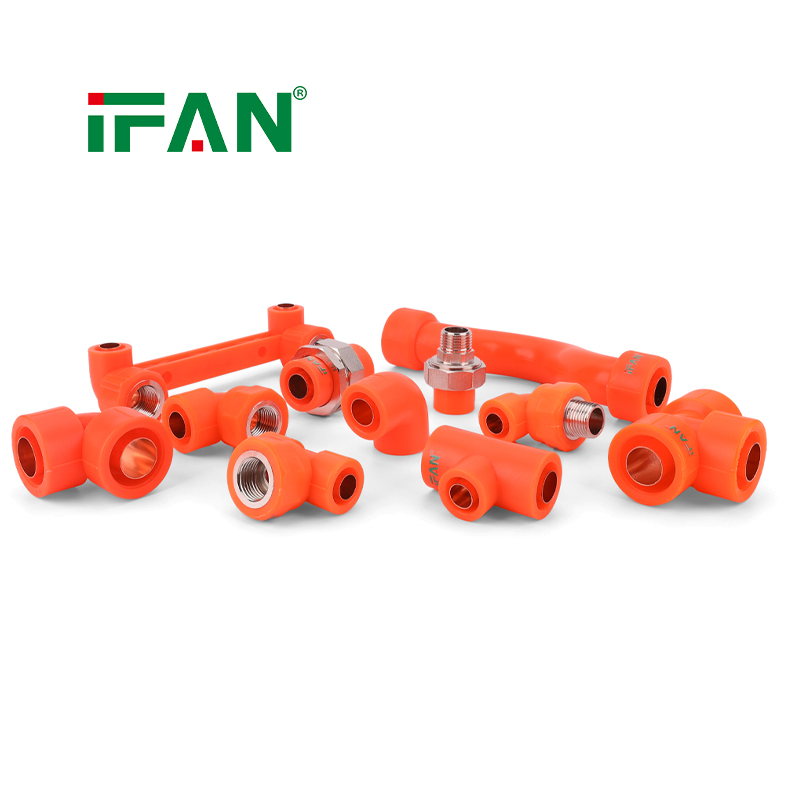
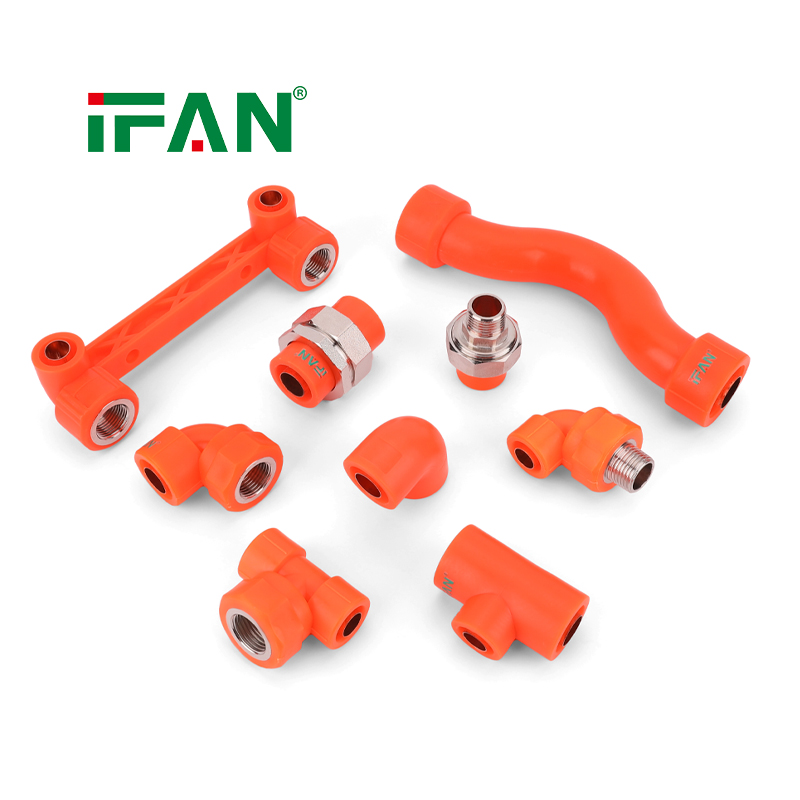
3. Prepare the PPR Fittings
Inspect the PPR fittings for any defects or irregularities. Apply a thin layer of PPR pipe lubricant or sealant to the inside of the fitting sockets. This lubricant helps facilitate the insertion of the PPR pipe into the fittings and ensures a watertight connection. Use a brush or your finger to evenly distribute the lubricant inside the fitting sockets.
4. Heat Fusion Welding
Heat fusion welding is the most common method for joining PPR pipes and fittings. Using a specialized PPR fusion welding machine, set the temperature and heating time according to the manufacturer’s guidelines. Insert the PPR pipe into the fitting socket while the heating element is hot, ensuring the pipe is fully inserted. Hold the pipe in place until the heating time is complete, allowing the material to fuse and create a strong, seamless connection.
5. Proper Alignment
Align the PPR pipes and fittings accurately to ensure a proper connection. Misalignment can lead to leaks or weak joints. Use a spirit level or visual inspection to verify that the pipes and fittings are correctly aligned. Adjust the position if necessary before proceeding to the next step.
6. Cooling and Finalizing the Connection
Allow the fused PPR pipes and fittings to cool down completely before moving or applying any pressure. The cooling process ensures the fusion is solidified and creates a strong bond. Once cooled, perform a final check to ensure the connection is secure and leak-free. Avoid applying excessive force or pressure immediately after the fusion welding process to prevent damage to the joint.
7. Testing and Flushing
After the installation is complete, it is essential to test the PPR fittings for leaks. Use a pressure testing device to apply air or water pressure to the system. Inspect all connections and joints for any signs of leakage. If leaks are detected, make necessary adjustments or repeat the fusion welding process. Once the system is leak-free, flush the pipes with water to remove any debris or impurities before putting the system into regular use.
Conclusion
Installing PPR fittings requires careful preparation, proper cutting techniques, heat fusion welding, accurate alignment, and thorough testing. By following a step-by-step guide, users can ensure a successful installation of PPR fittings, resulting in a reliable and efficient plumbing system. Adhering to manufacturer guidelines, using the appropriate tools, and paying attention to detail will help achieve a seamless installation and minimize the risk of leaks or failures.