Introduction
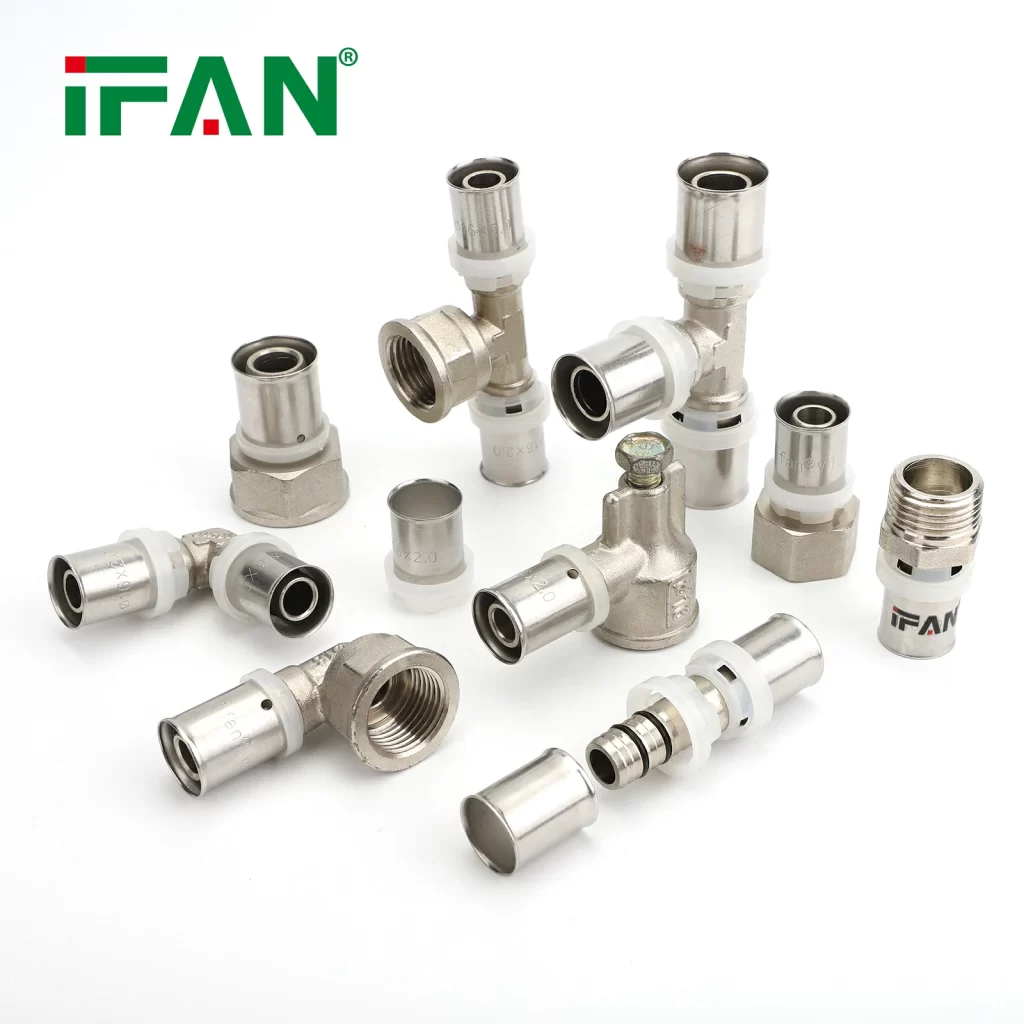
Viega’s PEX press fittings offer a fast, reliable, and leak-proof solution for modern plumbing systems. Whether you’re a professional plumber or a DIY enthusiast, learning how to properly connect PEX with Viega PEX press fittings can save time, reduce labor costs, and ensure long-lasting performance.
In this guide, we’ll cover:
- The benefits of Viega PEX press fittings
- Step-by-step installation instructions
- Essential tools needed
- Common mistakes to avoid
By the end, you’ll be equipped with the knowledge to make secure, durable connections every time.
Why Choose Viega PEX Press Fittings?
1. Speed & Efficiency
Unlike traditional soldering or crimping, Viega press fittings allow for tool-activated connections in seconds, drastically reducing installation time.
2. Leak-Proof Reliability
Viega’s ProPress system ensures a permanent, watertight seal that withstands high pressure and temperature fluctuations.
3. Corrosion Resistance
Made from high-quality brass with a lead-free design, Viega PEX press fittings resist corrosion and scaling, extending system lifespan.
4. Versatility
Compatible with:
- PEX-A, PEX-B, and PEX-C tubing
- Radiant heating systems
- Potable water and hydronic piping
Tools Needed for Viega PEX Press Fittings Installation
To connect PEX with Viega press fittings, you’ll need:
- Viega ProPress or MegaPress tool (manual or battery-powered)
- PEX tubing cutter (for clean, burr-free cuts)
- Deburring tool (to smooth edges)
- Calibration tool (for proper PEX expansion, if using PEX-A)
- Go/No-Go gauge (to verify crimp integrity)
Step-by-Step Guide: Connecting PEX with Viega Press Fittings
Step 1: Cut the PEX Tubing
- Use a sharp PEX cutter to ensure a clean, square cut.
- Avoid saws, as they create uneven edges that can cause leaks.
Step 2: Deburr and Clean the Tubing
- Remove any rough edges with a deburring tool.
- Wipe the tube end and fitting with a clean cloth to ensure no debris interferes with the seal.
Step 3: Mark the Insertion Depth
- Viega fittings have a depth mark—insert the PEX tubing until it stops.
- For PEX-A (expansion-style), use a calibration tool before pressing.
Step 4: Press the Fitting
- Place the Viega press tool jaws over the fitting.
- Squeeze the trigger (for battery-powered) or handles (for manual) until the tool beeps or releases.
Step 5: Inspect the Connection
- Check for a uniform crimp ring around the fitting.
- Use a go/no-go gauge to confirm proper compression.
Common Mistakes to Avoid
❌ Using the Wrong Tool – Only Viega-approved press tools guarantee a proper seal.
❌ Improper Tube Cutting – Jagged edges lead to leaks.
❌ Not Fully Inserting the Tubing – If the tube isn’t seated fully, the connection will fail.
❌ Skipping the Deburring Step – Burrs can damage O-rings and cause leaks.
Conclusion
Connecting PEX with Viega PEX press fittings is a fast, reliable, and code-compliant method for modern plumbing systems. By following the correct steps and using the right tools, you can achieve leak-proof, long-lasting connections without soldering or glue.
Whether you’re installing a new water line or upgrading an existing system, Viega press fittings provide a superior alternative to traditional methods.
Frequently Asked Questions (FAQs)
1. Can I use Viega PEX press fittings with any PEX tubing?
Yes, Viega fittings work with PEX-A, PEX-B, and PEX-C, but PEX-A may require expansion before pressing.
2. Do I need a special tool for Viega press fittings?
Yes, you must use a Viega ProPress or MegaPress tool for proper crimping.
3. Are Viega press fittings reusable?
No, once pressed, the fitting cannot be reused. Always double-check alignment before crimping.
4. How do I know if my press connection is secure?
A proper crimp will have a uniform ring, and a go/no-go gauge should confirm tightness.
5. Are Viega PEX press fittings approved for potable water?
Yes, Viega fittings meet NSF/ANSI 61 and ASTM standards for safe drinking water use.
Upgrade your plumbing projects with Viega PEX press fittings—fast, reliable, and built to last!

