IFAN factory 30+ years manufacture experience support color /size customization support free sample.Welcome to consult for catalog and free samples.This is our Facebook Website:www.facebook.com,Click to watch IFAN’s product video.Compared with Tomex products, our IFAN products from quality to price are your best choice, welcome to buy!
PEX (cross-linked polyethylene) piping has become one of the most popular materials for residential and commercial plumbing systems. One of the most beneficial components of a PEX system is the sliding fitting, which allows for easy connections and modifications without requiring extensive labor. To install PEX sliding fittings successfully, having the right tools is essential. This guide will cover the necessary tools for PEX sliding fittings installation, along with tips and insights for a smooth process.
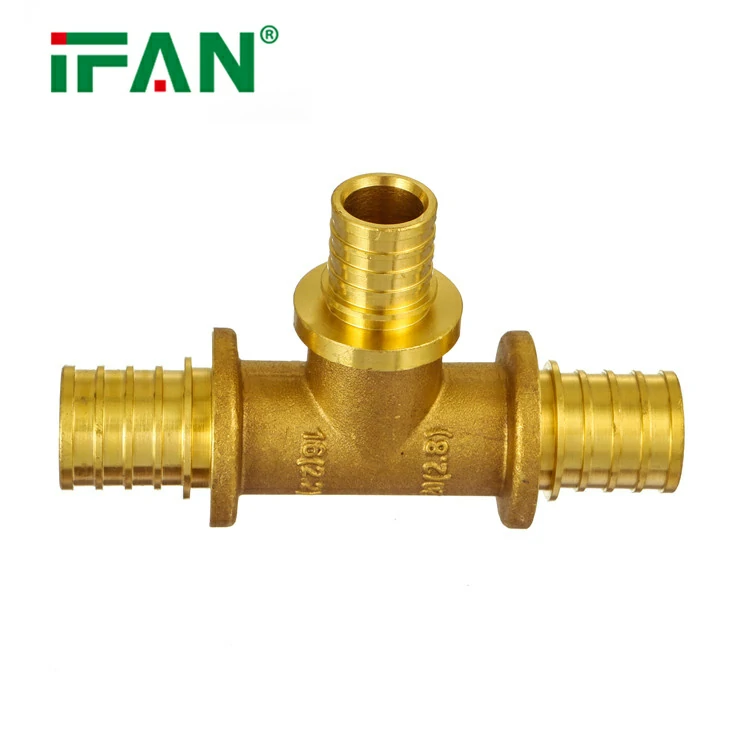
What Are PEX Sliding Fittings?
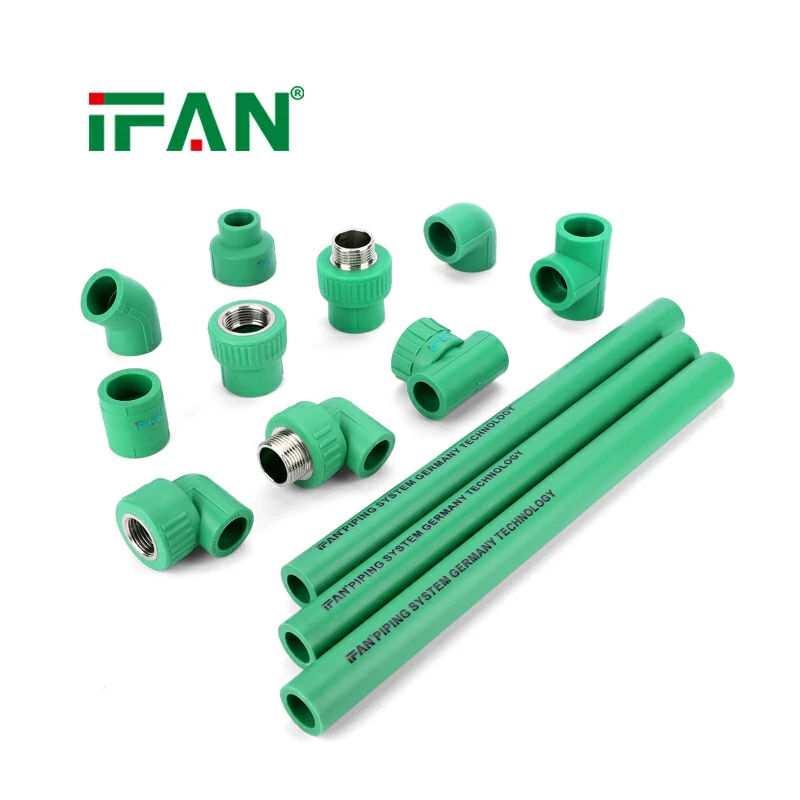
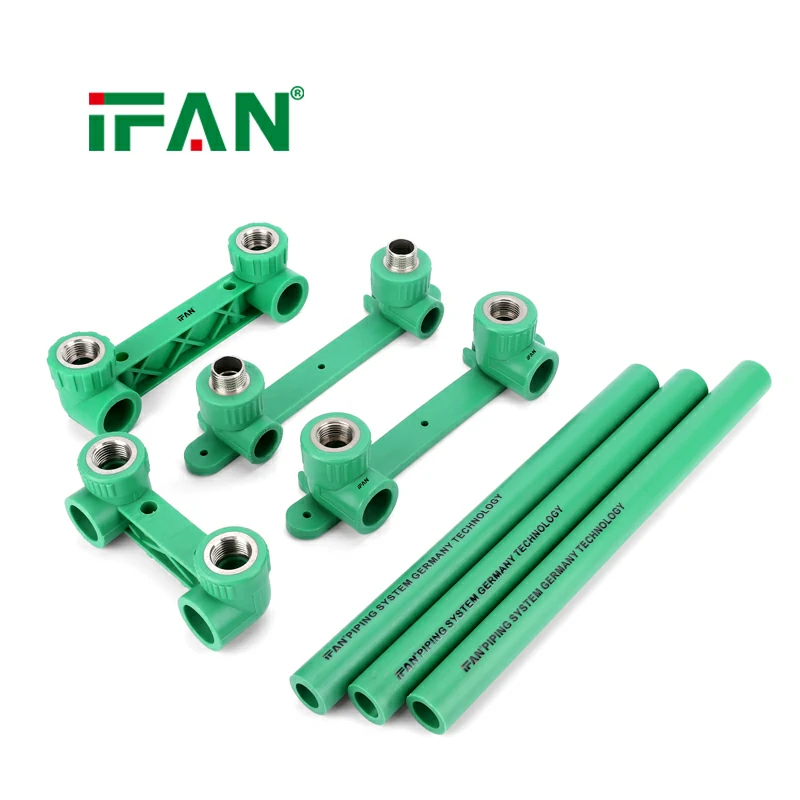
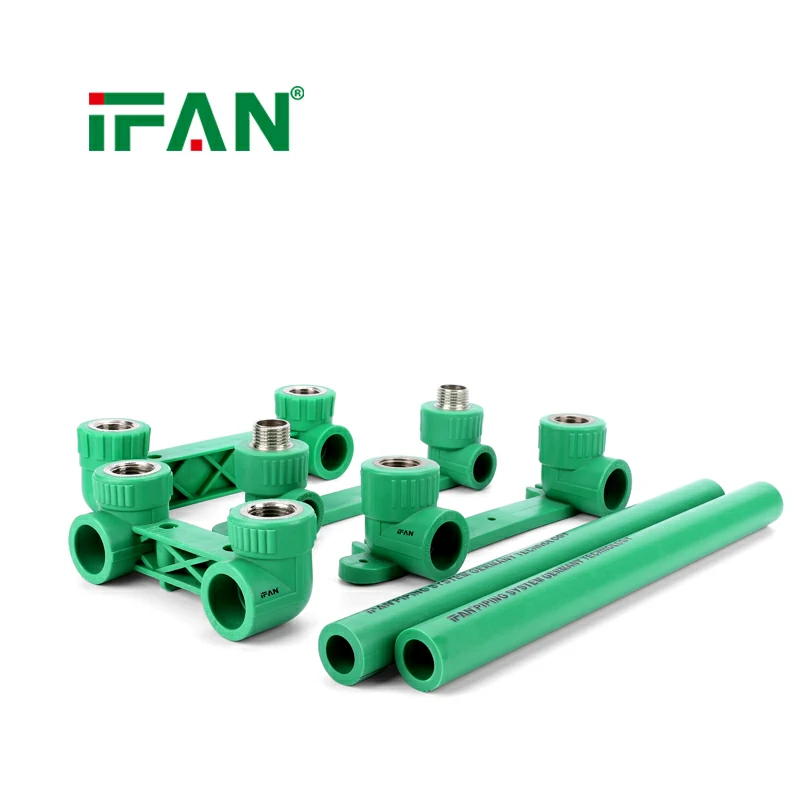
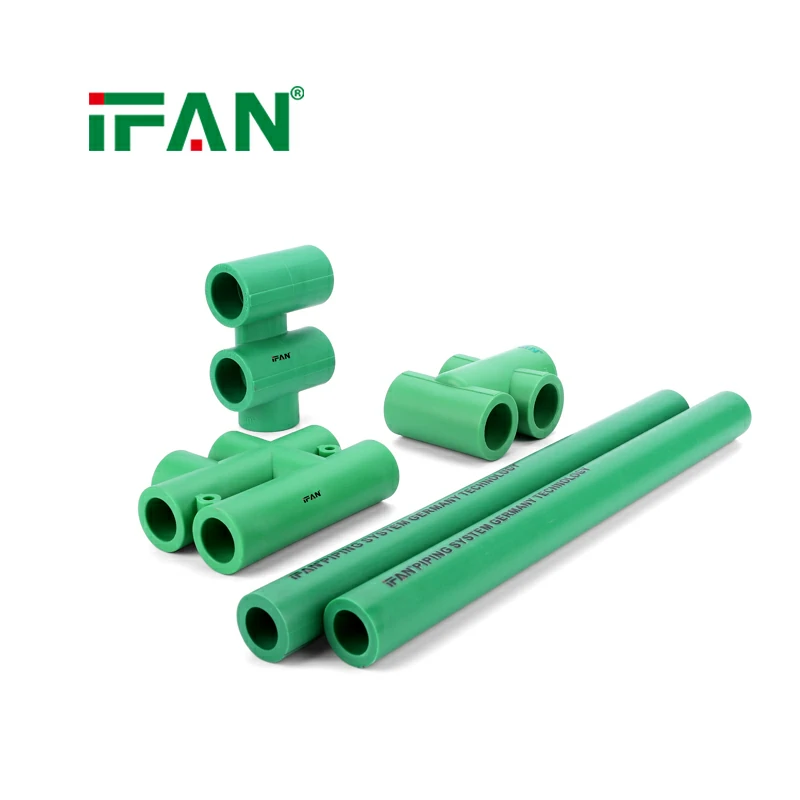
PEX sliding fittings are connectors that allow for quick and secure connections between PEX pipes. These fittings enable the pipes to slide and adjust without disassembling the whole system, making them especially convenient for system modifications and troubleshooting. Available in various shapes and sizes, including elbows, tees, couplings, and end caps, these fittings help create leak-free connections while offering flexibility during installation and future adjustments.
Importance of Choosing the Right Tools for Installing PEX Sliding Fittings
Proper installation of PEX sliding fittings depends on using the correct tools. Using inappropriate tools may lead to improper sealing, leaks, or even damage to the pipes and fittings. Ensuring that you have the essential tools will improve installation efficiency and the longevity of your plumbing system.
Essential Tools for Installing PEX Sliding Fittings
1. PEX Pipe Cutter
The PEX pipe cutter is one of the most essential tools when installing PEX piping and fittings. This tool ensures clean, straight cuts in the PEX pipe, which is crucial for achieving a proper seal when connecting the pipe to the sliding fitting. A precise cut eliminates the risk of leaks and ensures that the fitting can properly slide onto the pipe.
- Features to Look For:
- Sharp, durable blade for clean cuts.
- Ergonomic handle for comfort and leverage.
- Adjustable blade for different pipe sizes.
2. PEX Crimping Tool
The PEX crimping tool is designed for use with crimp rings, which are used to secure the PEX pipe to the sliding fittings. The tool applies the necessary pressure to compress the crimp ring tightly, ensuring a secure, leak-proof connection. This tool is essential for creating a stable, long-lasting bond between the PEX pipe and the fitting.
- Features to Look For:
- Adjustable settings for various crimp ring sizes.
- Built-in gauge to check the crimp quality.
- High-quality steel construction for durability.
3. PEX Sliding Fitting Tool
This specialized tool is designed specifically for working with sliding fittings. It helps you properly insert the PEX pipe into the sliding fitting, ensuring that it slides in smoothly without any resistance. The tool is also useful for adjusting the fittings after installation, allowing for minor changes to the system layout.
- Features to Look For:
- Ergonomically designed for ease of use.
- Non-slip handle for better grip.
- Compatibility with various PEX fitting sizes.
4. Deburring Tool
After cutting the PEX pipe, it’s important to remove any burrs or rough edges to avoid damage to the fitting or O-ring. A deburring tool is designed to smooth out the edges of the pipe, ensuring a clean and precise fit when inserting the pipe into the sliding fitting. This step helps prevent leaks and prolongs the lifespan of your plumbing system.
- Features to Look For:
- Compact, easy-to-handle design.
- Adjustable blade for different pipe diameters.
- Quick and efficient burr removal.
5. Pipe Support Brackets
While not strictly a tool, pipe support brackets are essential to maintain the integrity of your PEX plumbing system. They prevent the pipes from shifting or moving, especially in areas with frequent temperature fluctuations. These brackets help ensure that the sliding fittings remain secure and the pipes do not become dislodged over time.
- Features to Look For:
- Adjustable size to fit various pipe diameters.
- Made from durable, corrosion-resistant materials.
- Easy installation process.
6. PEX Fitting Lubricant
Using a lubricant designed for PEX fittings can make the installation process easier. It reduces friction and helps the PEX pipe slide smoothly into the fitting. Lubricant also ensures that the O-rings remain intact and functional, providing a leak-free connection. Be sure to choose a lubricant that is compatible with PEX materials to avoid damage.
- Features to Look For:
- Water-based or silicone-based for compatibility.
- Non-toxic and safe for potable water systems.
- Easily applied with minimal mess.
7. Measuring Tape
Accurate measurements are critical for ensuring that the PEX pipes are cut to the correct length and that the sliding fittings are installed properly. A measuring tape will help you measure the distances between fittings and mark where cuts are needed. Precision is important to avoid unnecessary adjustments after installation.
- Features to Look For:
- Clear, easy-to-read markings.
- Durability for long-term use.
- Compact design for easy handling.
Step-by-Step Guide to Installing PEX Sliding Fittings
Step 1: Measure and Cut the PEX Pipe
Begin by measuring the required length of the PEX pipe using a measuring tape. Use a pipe cutter to make clean, straight cuts. Ensure that the ends of the pipe are free from burrs by using a deburring tool.
Step 2: Slide the Fitting onto the Pipe
Apply a small amount of PEX fitting lubricant to the end of the pipe. Slide the PEX pipe into the sliding fitting, ensuring it is fully inserted.
Step 3: Secure the Connection
For most PEX sliding fittings, no additional securing mechanism is required. However, if you are using crimp rings, use the PEX crimping tool to securely attach the pipe to the fitting.
Step 4: Test for Leaks
After installation, turn on the water and check for any leaks around the connection. If there are no leaks, the fitting is properly installed.
Step 5: Support the PEX Pipe
Install pipe support brackets at regular intervals to keep the PEX pipe in place and prevent any shifting or movement.
Conclusion
PEX sliding fittings are an excellent solution for modern plumbing systems, providing flexibility and ease of installation. To ensure a successful installation, having the right tools is crucial. Tools such as a PEX pipe cutter, crimping tool, sliding fitting tool, and deburring tool will make the installation process smoother and more efficient. With the proper tools and techniques, you can enjoy a durable, leak-free plumbing system that stands the test of time.
Frequently Asked Questions (FAQs)
1. Can I install PEX sliding fittings without special tools?
While it is possible to install PEX sliding fittings without some specialized tools, using the right tools will make the process easier and more efficient, ensuring a leak-free connection.
2. How long do PEX sliding fittings last?
PEX sliding fittings are designed to last for decades when properly installed and maintained. With proper care, they can last up to 50 years.
3. Can PEX sliding fittings be used for both hot and cold water systems?
Yes, PEX sliding fittings are suitable for both hot and cold water applications, as PEX piping is highly resistant to temperature extremes.
4. How do I prevent leaks with PEX sliding fittings?
Ensure that the pipe is inserted fully into the fitting and that all connections are tight. If using crimp rings, check for secure compression to avoid leaks.
5. Can PEX sliding fittings be reused?
Yes, PEX sliding fittings can be reused if they are not damaged. However, be sure to inspect the fittings for wear or corrosion before reusing them.