Introduction
Installing brass fittings is an essential skill for any DIY enthusiast or professional plumber. Brass fittings are widely used in plumbing systems due to their durability and resistance to corrosion. In this step-by-step guide, we will walk you through the process of installing brass fittings, ensuring a secure and leak-free connection.
Step 1: Gather the Necessary Tools and Materials
Before you begin the installation process, make sure you have all the required tools and materials handy. Here’s a list of what you’ll need:
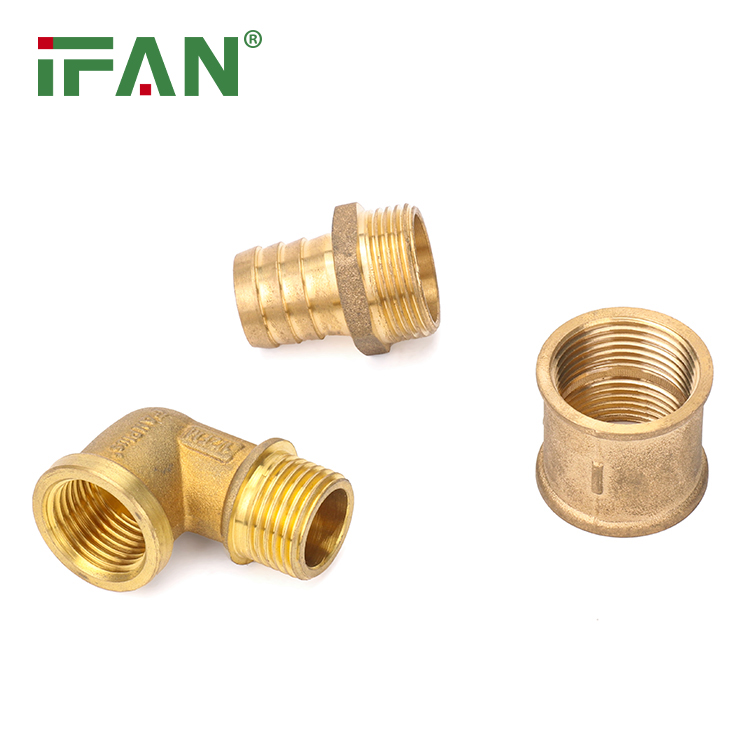
- Brass fittings (various sizes and types)
- Pipe cutter or hacksaw
- Deburring tool
- Teflon tape or pipe joint compound
- Adjustable wrench
- Pipe wrench
- Pipe thread sealant
Step 2: Prepare the Pipes
Start by determining the appropriate location for the brass fittings on the pipes. Measure and mark the desired positions using a marker. Once marked, cut the pipes to the required length using a pipe cutter or hacksaw. Ensure that the cut is clean and straight.
Step 3: Deburr the Cut Ends
After cutting the pipes, it is crucial to remove any burrs or sharp edges from the cut ends. Utilize a deburring tool to smooth out the edges, ensuring a proper fit for the brass fittings.
Step 4: Apply Teflon Tape or Pipe Joint Compound
To prevent leaks, it is necessary to apply a sealant on the threads of the brass fittings. There are two common options: Teflon tape or pipe joint compound. Wrap the Teflon tape clockwise around the male threads of the brass fitting, or apply a thin layer of pipe joint compound to the threads.
Step 5: Attach the Brass Fittings
Carefully screw the brass fittings onto the prepared pipes. Ensure a tight connection by using an adjustable wrench or pipe wrench. Be cautious not to overtighten, as it may damage the fittings or pipes.
Step 6: Check for Leaks
Once all the brass fittings are securely attached, it is essential to check for leaks. Turn on the water supply and carefully examine each fitting for any signs of leakage. If you notice any leaks, tighten the fittings further or apply pipe thread sealant as necessary.
Conclusion
Installing brass fittings requires careful preparation and attention to detail. By following this step-by-step guide, you can confidently install brass fittings for your plumbing needs. Remember to gather the necessary tools, prepare the pipes, apply a sealant, attach the fittings securely, and check for leaks. With proper installation, brass fittings will provide a reliable and durable plumbing solution.