IFAN factory 30+ years manufacture experience support color /size customization support free sample.Welcome to consult for catalog and free samples.This is our Facebook Website:www.facebook.com,Click to watch IFAN’s product video.Compared with Tomex products, our IFAN products from quality to price are your best choice, welcome to buy!
Polypropylene Random Copolymer (PPR) fittings have gained immense popularity in residential plumbing due to their durability, resistance to corrosion, and cost-effectiveness. Installing PPR fittings is a relatively straightforward process, but proper steps need to be followed to ensure a leak-proof, reliable system. In this step-by-step installation guide, we’ll walk you through the entire process of installing PPR fittings.
Table of Contents
- What Are PPR Fittings?
- Tools Required for Installing PPR Fittings
- Step-by-Step Installation Process
- Preparing the Pipes
- Cutting the PPR Pipe
- Heating the Pipe and Fittings
- Joining the Pipe and Fittings
- Cooling and Checking the Joints
- Tips for Proper Installation
- Common Mistakes to Avoid
- Conclusion
- Frequently Asked Questions (FAQs)
1. What Are PPR Fittings?
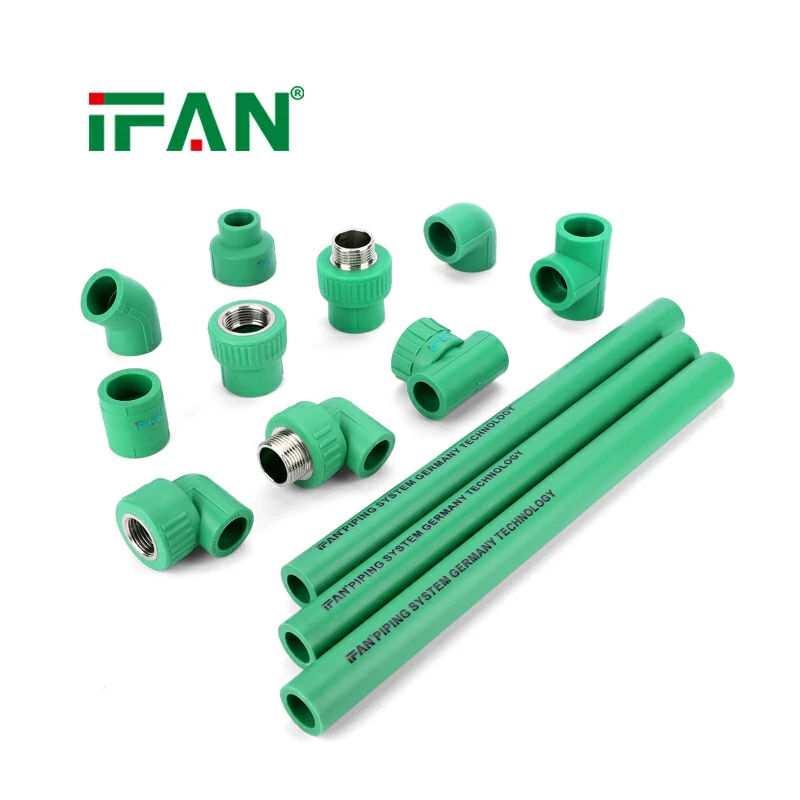
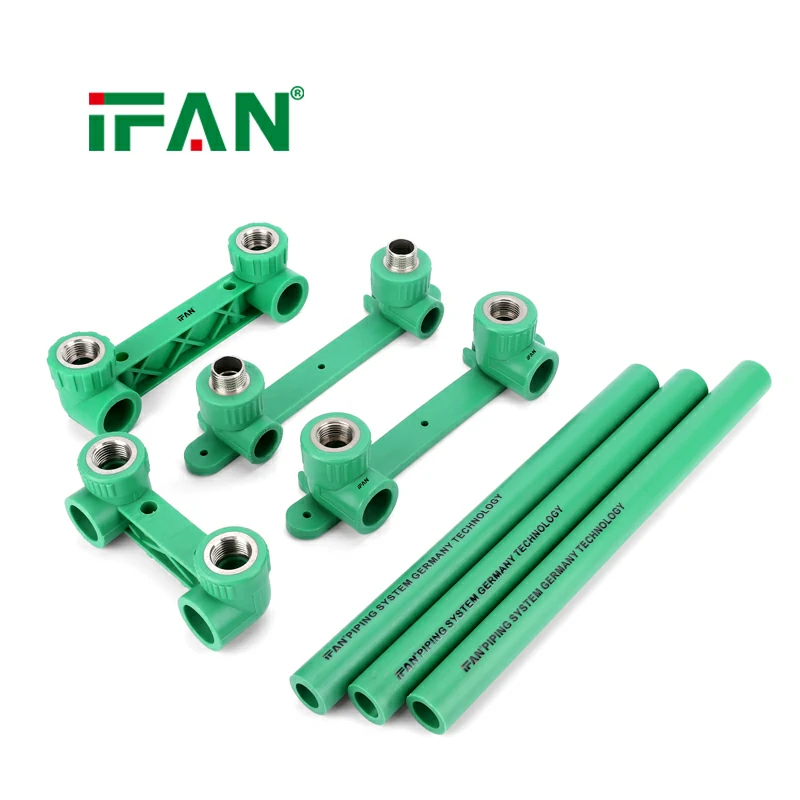
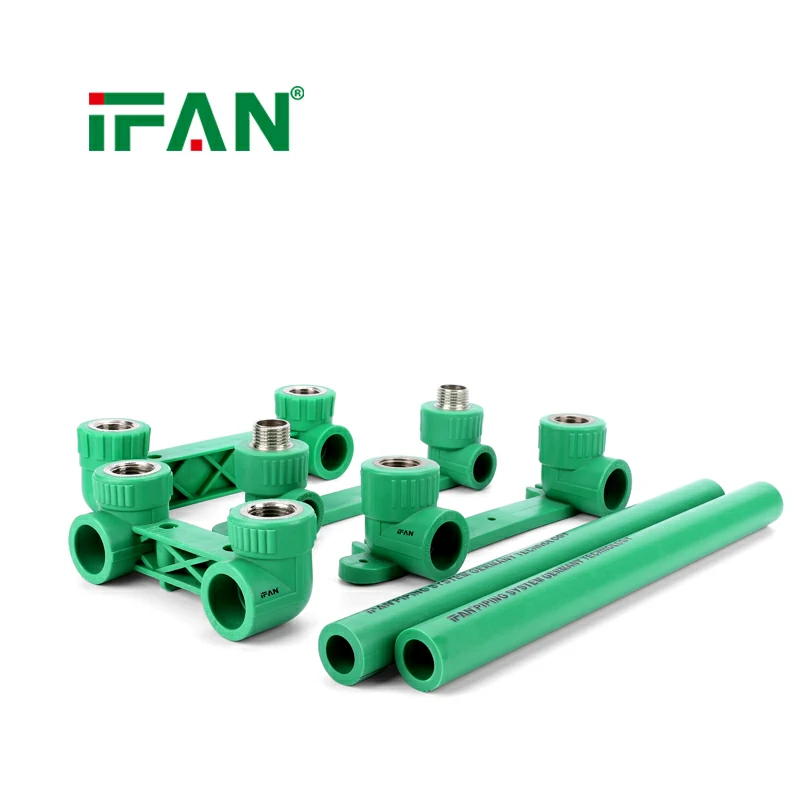
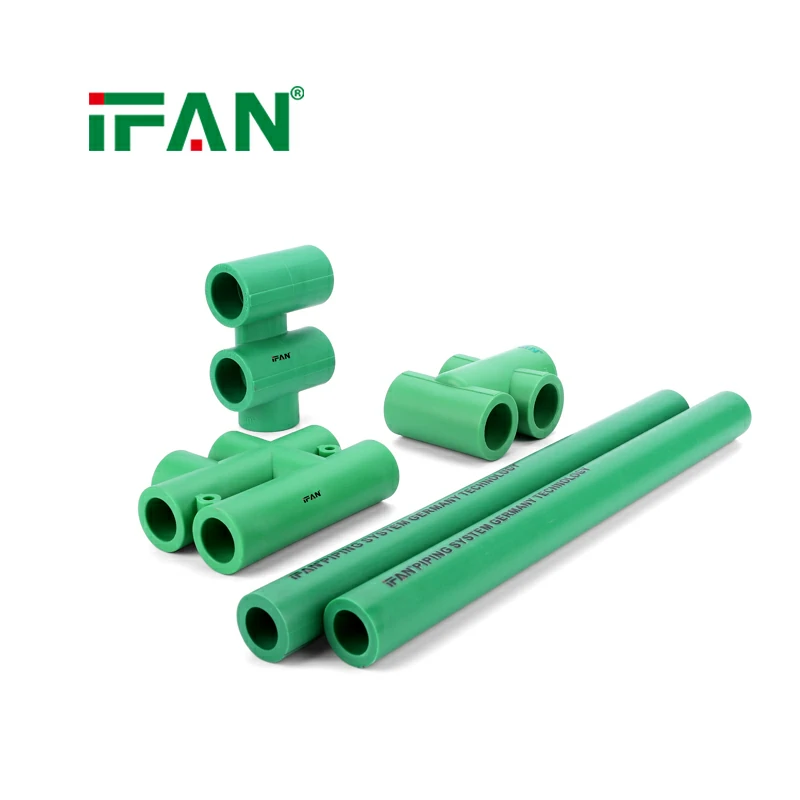
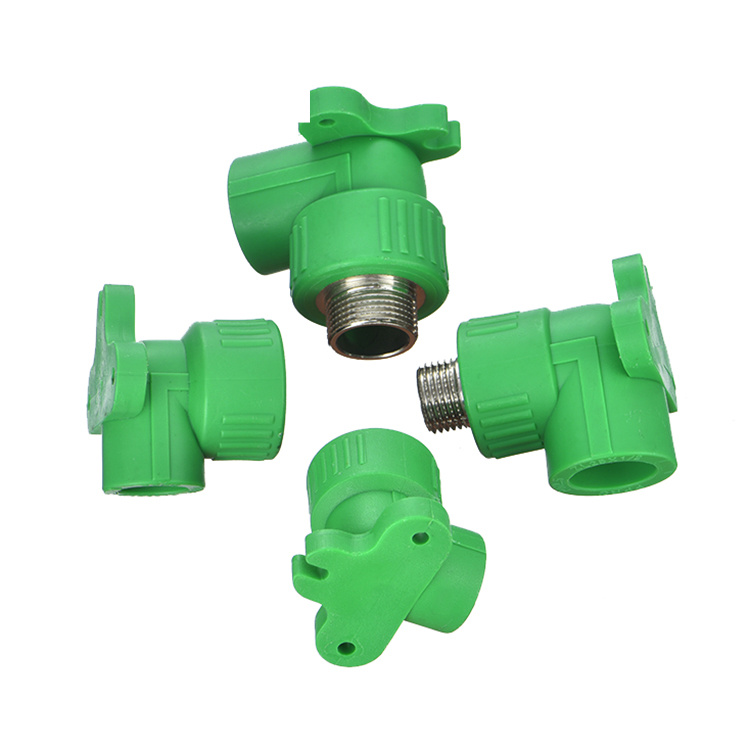
PPR fittings are plumbing components made from polypropylene, a thermoplastic polymer. These fittings are commonly used in hot and cold water systems, heating systems, and other plumbing applications due to their excellent durability and resistance to high temperatures and pressure. PPR fittings are joined to PPR pipes using a welding process, creating a solid, leak-free connection.
2. Tools Required for Installing PPR Fittings
Before you begin installing PPR fittings, gather the following tools:
- PPR pipes and fittings
- Pipe cutter or hacksaw
- Fusion welding tool (specific to PPR pipes)
- Deburring tool or sandpaper
- Measuring tape
- Marker pen
- Clamps (optional)
Make sure all tools are clean and in good working condition to ensure a smooth installation process.
3. Step-by-Step Installation Process
Step 1: Preparing the Pipes
Start by measuring the required length of the PPR pipe. Using a measuring tape, mark the cutting points on the pipe with a marker pen. Ensure that the length is correct, considering any turns or bends in your plumbing layout.
Step 2: Cutting the PPR Pipe
Using a pipe cutter or hacksaw, cut the PPR pipe to the marked length. Be sure to cut the pipe as straight as possible to ensure a good fit with the fittings. After cutting, remove any burrs from the edges of the pipe using a deburring tool or sandpaper. This will ensure a smooth surface for welding.
Step 3: Heating the Pipe and Fittings
To join the PPR pipe and fittings, you’ll need to use a fusion welding tool. This tool heats the pipe and fittings to the appropriate temperature, making the materials soft and ready to bond. Follow these steps:
- Plug in the fusion welding tool and let it heat up.
- Attach the PPR pipe and fitting to the tool. The pipe and fitting should be placed into the welding tool at the same time for uniform heating.
- Wait for the recommended time (typically 5-10 seconds, depending on the tool and pipe size) for the pipe and fitting to heat up.
Step 4: Joining the Pipe and Fittings
Once the pipe and fitting have been heated, remove them from the welding tool. Quickly and carefully join the heated pipe and fitting by pushing them together. Rotate them slightly to ensure a proper connection. Hold the pipe and fitting together for a few seconds to allow them to cool and solidify.
Step 5: Cooling and Checking the Joints
After joining the pipe and fitting, let the connection cool for a few minutes. Once the joint has cooled and solidified, check the joint for any leaks. You can do this by running water through the system or visually inspecting the joint to ensure there are no gaps or cracks.
4. Tips for Proper Installation
- Cleanliness is key: Make sure the pipe ends and fittings are free of dust and debris before welding. Contaminants can interfere with the bonding process.
- Precision in measurement: Accurate measurements and cuts are essential to ensure the fittings and pipes fit properly.
- Use the right temperature: Follow the manufacturer’s guidelines for heating the pipe and fitting. Overheating or underheating can weaken the joint.
- Secure the pipe: If necessary, use clamps to hold the pipe in place during installation to prevent shifting or movement.
5. Common Mistakes to Avoid
While installing PPR fittings, avoid these common mistakes to ensure a successful installation:
- Incorrect pipe alignment: Misaligned pipes can lead to leaks. Always ensure that the pipe and fitting are properly aligned before welding.
- Overheating or underheating the pipe: This can lead to weak joints or incomplete fusion. Be sure to follow the correct heating time.
- Not cleaning the pipe ends: Dust and dirt can prevent a good bond. Clean the pipe and fitting ends thoroughly before welding.
- Insufficient cooling time: Don’t rush the cooling process. Allow sufficient time for the joint to cool and solidify before testing.
6. Conclusion
Installing PPR fittings is a relatively simple process when done correctly. By following the proper steps and using the right tools, you can create a leak-proof and durable plumbing system. Always remember to clean the pipes and fittings, measure accurately, and allow proper heating and cooling time for a successful installation.
If you’re unsure about the installation process or need assistance, consider consulting a professional plumber to ensure that the system is installed correctly.
7. Frequently Asked Questions (FAQs)
1. How long do PPR fittings last?
PPR fittings can last up to 50-70 years when installed properly and maintained regularly.
2. Can I use PPR fittings for gas pipes?
PPR fittings are designed primarily for water and heating systems and are not suitable for gas pipelines due to different pressure and chemical resistance requirements.
3. Are PPR fittings safe for drinking water?
Yes, PPR fittings are non-toxic and safe for use with drinking water, as they meet health and safety standards.
4. Do I need any special skills to install PPR fittings?
While the process is relatively straightforward, some experience with plumbing tools and fusion welding is helpful. If you’re new to PPR installation, it’s best to consult a professional plumber.
5. Can I install PPR fittings without a fusion welding tool?
No, fusion welding is essential for PPR fittings. This tool heats the pipe and fitting to the necessary temperature to ensure a proper bond. Using alternatives like glue is not recommended.