A threaded brass check valve is an essential component in many plumbing and piping systems. It allows fluid to flow in one direction while preventing backflow. These valves are widely used in residential water lines, industrial pipelines, air compressors, irrigation systems, and pump installations. Proper installation is important because an incorrectly installed check valve can reduce efficiency, create leaks, or damage the piping system.
This threaded brass check valve installation guide explains the preparation steps, installation process, and maintenance tips for long-term performance.
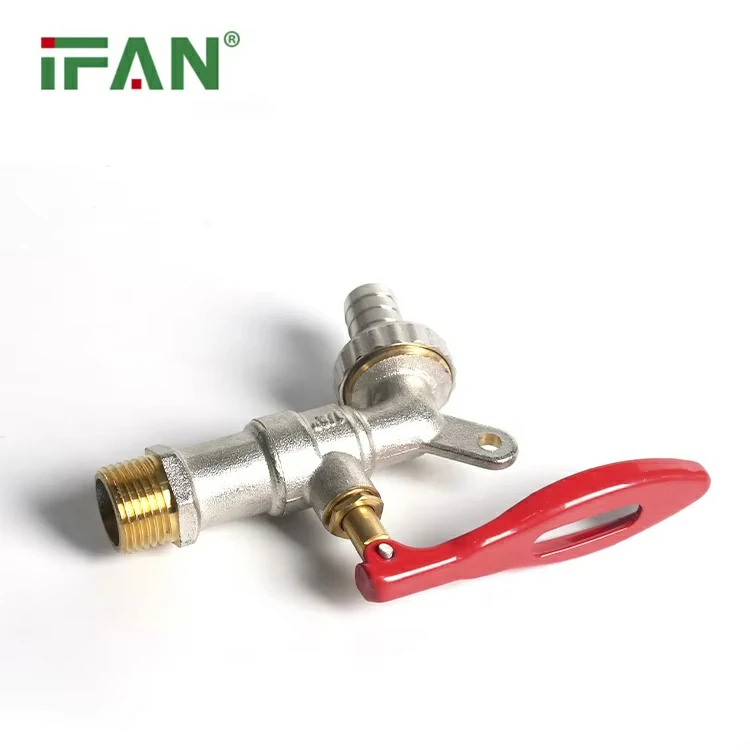
What Is a Threaded Brass Check Valve?
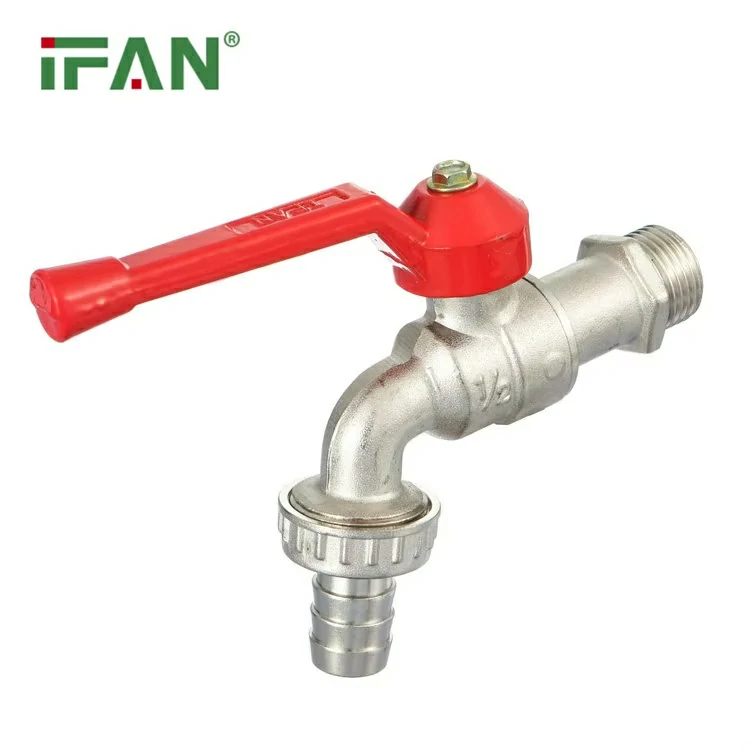
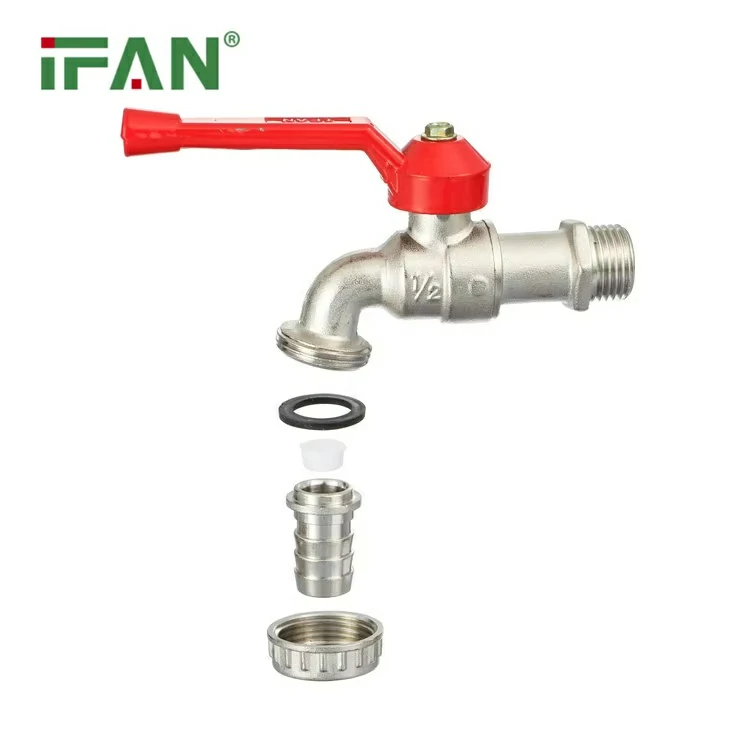
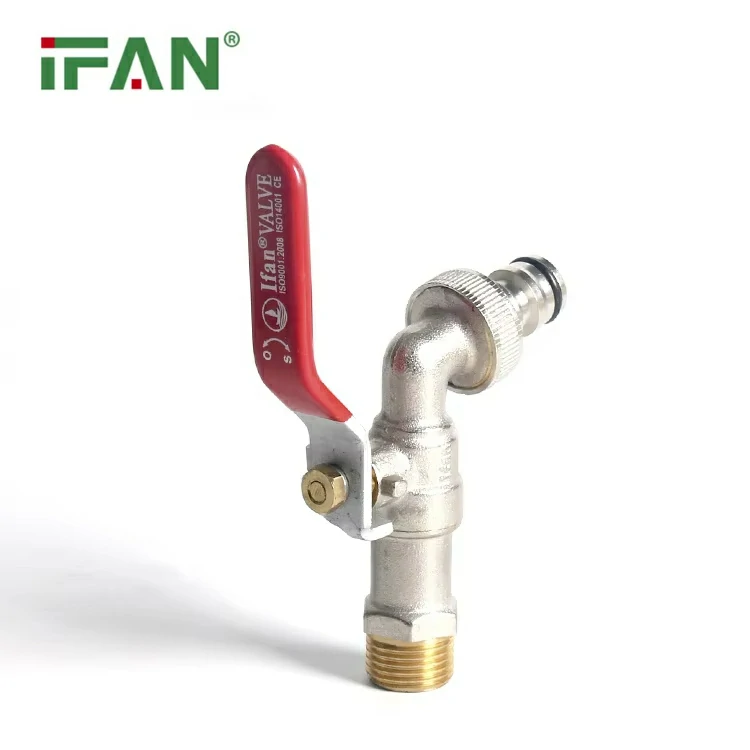
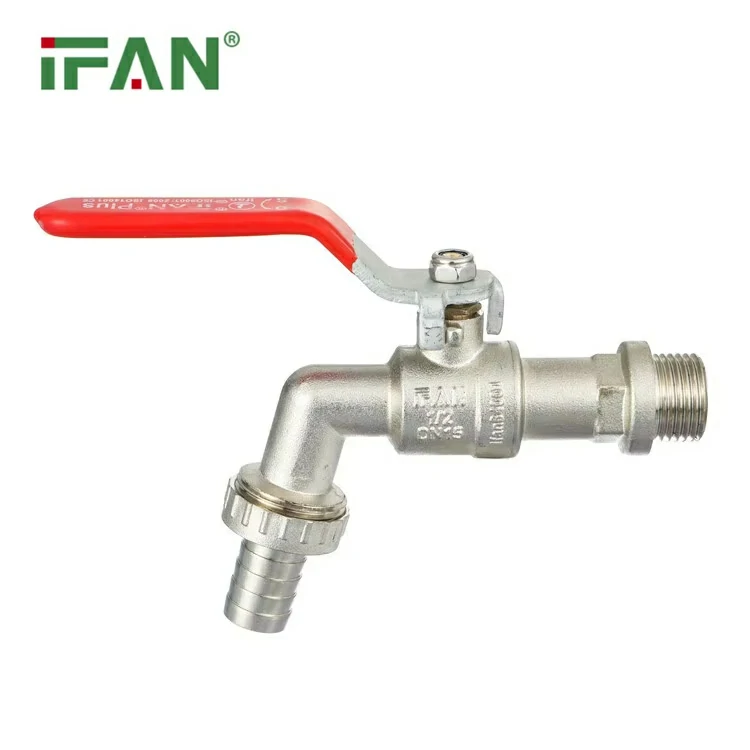
A threaded brass check valve is a mechanical valve made from brass with threaded ends for easy pipe connection. The valve automatically opens when pressure moves in the correct direction and closes when flow reverses.
Brass is commonly used because it offers excellent corrosion resistance, good durability, and reliable sealing performance. Threaded connections also simplify installation and replacement compared to welded systems.
These valves are often installed in:
- Domestic water systems
- Booster pump lines
- HVAC systems
- Irrigation networks
- Air compressor pipelines
- Industrial fluid systems
Tools Needed for Installation
Before starting the installation, prepare the necessary tools and materials. Using the correct equipment helps avoid leaks and thread damage.
You will typically need:
- Pipe wrench
- Adjustable wrench
- PTFE thread seal tape
- Pipe sealant
- Cleaning cloth
- Correctly sized threaded brass check valve
Always confirm that the valve matches the pipe size, pressure rating, and media type used in the system.
Check the Flow Direction
One of the most important steps is identifying the valve flow direction. Most threaded brass check valves include an arrow on the body. This arrow shows the correct direction of fluid movement.
Installing the valve backward will block flow and may damage pumps or other equipment. Always double-check the arrow before tightening the valve onto the pipeline.
Clean the Pipe Threads
Dirty or damaged threads often cause leaks after installation. Before connecting the valve, clean both the male and female pipe threads carefully.
Remove:
- Dust
- Metal particles
- Old sealant
- Rust
- Oil residue
Smooth and clean threads create a better seal and reduce installation problems.
Apply Thread Seal Tape Properly
Wrap PTFE thread seal tape around the male pipe threads in the same direction as the tightening rotation. Usually, two to three wraps are enough.
Do not apply excessive tape because too much material may crack the brass fitting or interfere with valve operation.
Some installers also use pipe thread sealant for additional leak protection in high-pressure systems.
Install the Threaded Brass Check Valve
Carefully screw the valve onto the pipe by hand first. Hand-tightening helps avoid cross-threading, which can permanently damage the brass threads.
After hand-tightening, use a wrench to secure the valve. Avoid overtightening because brass is softer than steel and excessive force may deform the valve body.
During installation:
- Support nearby pipes properly
- Avoid twisting connected fittings
- Keep the valve aligned with the pipeline
- Prevent unnecessary stress on the valve body
Proper alignment improves sealing performance and extends valve lifespan.
Test the System After Installation
Once installation is complete, slowly restore pressure to the system. Check all threaded connections carefully for leaks.
If leakage appears:
- Shut off the system pressure
- Remove the valve carefully
- Reapply seal tape or thread sealant
- Reinstall and retest
Never ignore small leaks because they may become larger under continuous pressure.
Common Installation Mistakes
Several common mistakes can reduce the performance of a threaded brass check valve.
Installing the Valve Backward
Incorrect flow direction is one of the most frequent installation problems. Always follow the directional arrow marked on the valve body.
Using Excessive Tightening Force
Overtightening can crack brass threads or deform the valve seat. Tighten firmly but avoid unnecessary force.
Choosing the Wrong Valve Size
A mismatched valve size may reduce flow efficiency or increase pressure loss. Always select a valve compatible with the pipe diameter and system requirements.
Maintenance Tips for Longer Service Life
Routine inspection helps maintain stable valve performance. Although brass check valves require limited maintenance, periodic checks are still important.
Inspect regularly for:
- External leaks
- Corrosion
- Reduced flow
- Unusual vibration
- Water hammer issues
If the valve no longer seals properly, replacement is usually more economical than repair.
High-quality brass valves from trusted manufacturers such as IFAN can provide stable sealing performance and long-term durability in residential and industrial applications.
Conclusion
Proper installation is critical for achieving the best performance from a threaded brass check valve. Correct flow direction, clean pipe threads, proper sealing methods, and careful tightening all contribute to leak-free operation and longer service life.
Whether used in water supply systems, irrigation networks, or industrial pipelines, a well-installed brass check valve helps protect equipment and maintain efficient fluid control. Choosing reliable products and following professional installation practices can significantly reduce future maintenance problems.