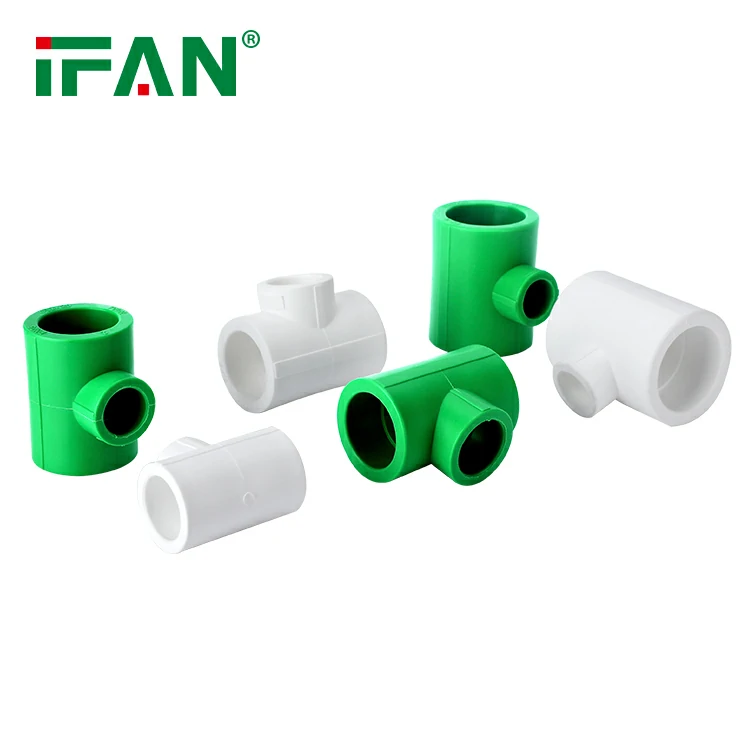
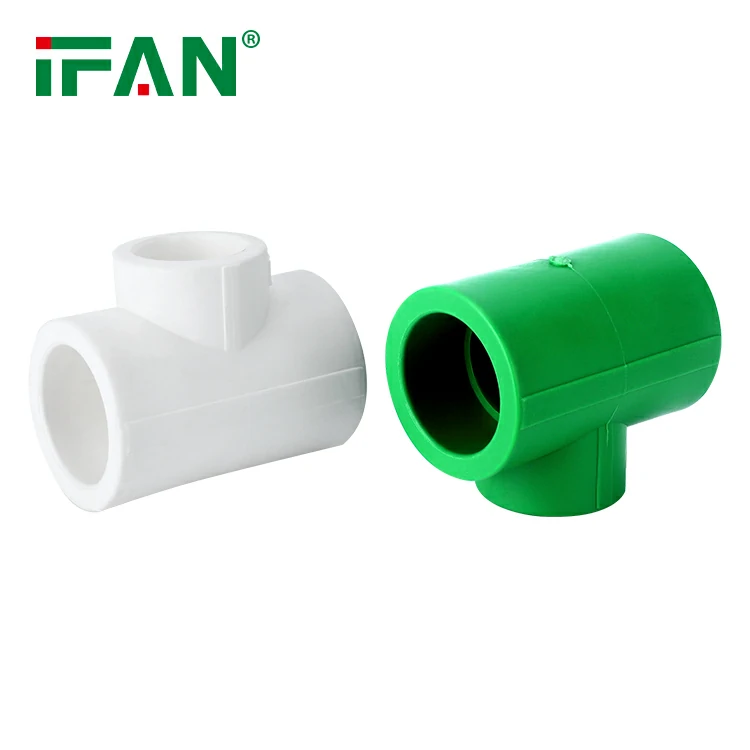
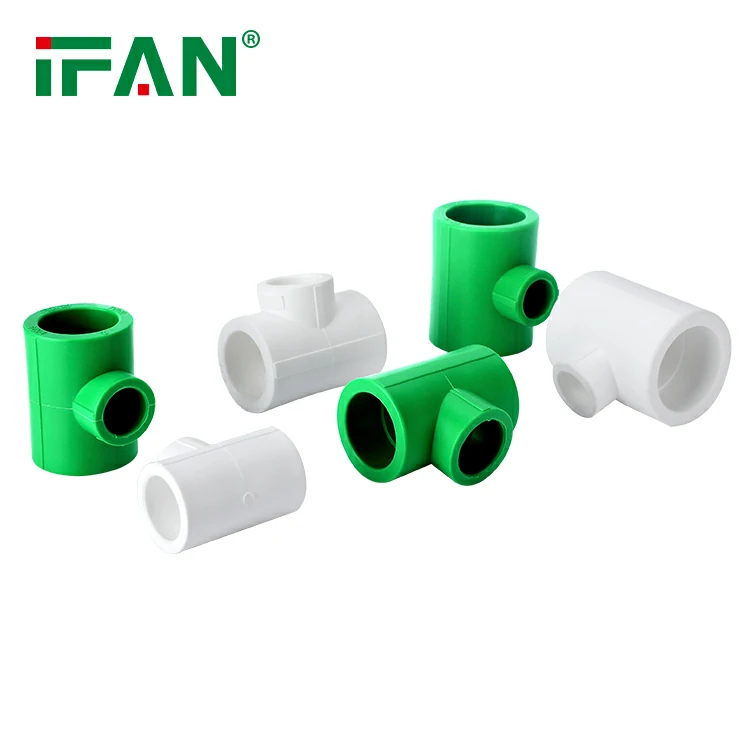
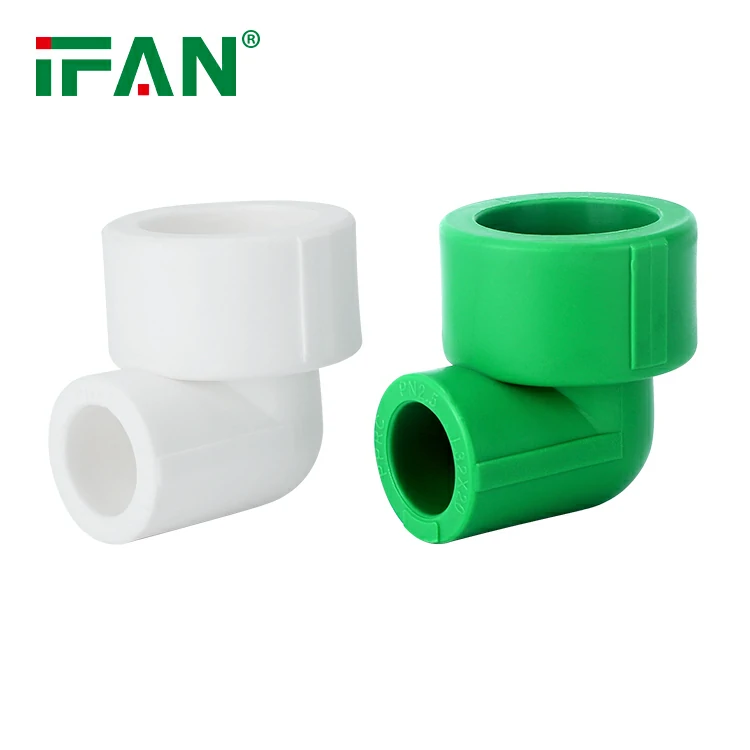
IFAN factory 30+ years manufacture experience support color /size customization support free sample.Welcome to consult for catalog and free samples.This is our Facebook Website:www.facebook.com,Click to watch IFAN’s product video.Compared with Tomex products, our IFAN products from quality to price are your best choice, welcome to buy!
Installing PEX sliding fittings may seem daunting to beginners, but with the right tools and a little know-how, it’s a project you can easily tackle yourself. Whether you’re working on a new plumbing system or making upgrades, PEX sliding fittings provide a reliable, leak-proof solution for joining PEX pipes. In this step-by-step guide, we’ll take you through the process of installing PEX sliding fittings like a pro!
What Are PEX Sliding Fittings?
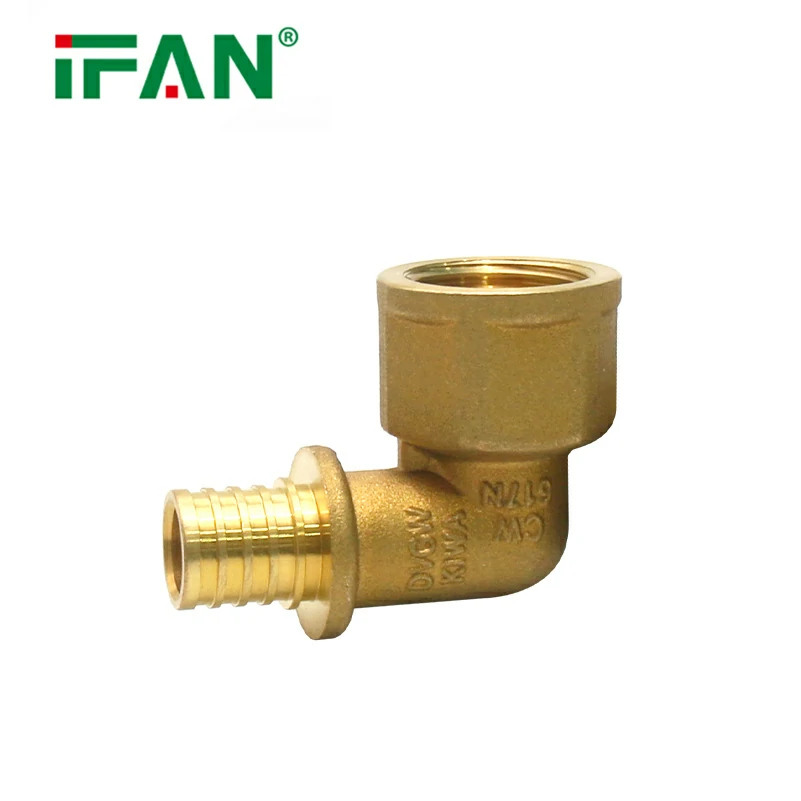
Before diving into the installation process, it’s essential to understand what PEX sliding fittings are and how they function. PEX sliding fittings are connectors used to join PEX pipes without the need for crimping, soldering, or special tools. These fittings are designed to securely lock the PEX pipe in place using a sliding mechanism, creating a leak-free connection.
Tools and Materials Needed
To ensure a smooth installation, you’ll need the following tools and materials:
- PEX sliding fittings
- PEX pipe
- Pipe cutter (designed for PEX)
- Deburring tool (optional, but helpful)
- Measuring tape
- PEX pipe expansion tool (if required for your type of fitting)
- Clamps or pipe supports (optional)
Step-by-Step Guide to Installing PEX Sliding Fittings
1. Turn Off the Water Supply
Before you start any plumbing project, make sure to turn off the water supply to prevent any unwanted leaks or accidents. This is especially important when working with PEX sliding fittings that will be connected to your water system.
2. Measure and Cut the PEX Pipe
Measure the length of PEX pipe you need for your project and mark it using a measuring tape. Make sure to measure twice to avoid mistakes. Next, use a pipe cutter to cut the PEX pipe to the desired length. Ensure the cut is clean and straight for optimal fitting.
Pro Tip: Always use a pipe cutter designed for PEX to ensure a clean, precise cut. Avoid using a hacksaw or any other tool that might damage the pipe.
3. Deburr the Edges of the Pipe
Once you’ve made the cut, check the edges of the PEX pipe for any rough spots or burrs. Use a deburring tool to smooth out the cut edges. This will help the PEX sliding fittings slide on more easily and prevent any damage during installation.
4. Prepare the Fitting
Before you install the PEX sliding fitting, make sure to inspect it for any defects or damage. Depending on the type of PEX sliding fitting you’re using, you may need to expand the pipe end slightly. Use the PEX expansion tool (if required) to make the pipe fit the fitting securely.
5. Slide the Fitting onto the Pipe
Insert the PEX pipe into the PEX sliding fitting. For most fittings, you will need to slide the pipe into the fitting and push it until it locks in place. The sliding mechanism in the fitting will ensure a tight seal around the pipe.
If you’re using a fitting that requires a crimp or expansion ring, ensure that the ring is securely in place before you continue.
6. Lock the Fitting in Place
Now that the PEX pipe is inserted into the PEX sliding fitting, the fitting should lock in place automatically. The sliding feature of the fitting ensures that the pipe won’t come loose under pressure. If your fitting requires you to use a tool to lock it into place, follow the manufacturer’s instructions carefully.
7. Secure the Pipe
After the fitting is locked into place, you may want to use pipe clamps or supports to secure the PEX pipe along its route. This step is not always necessary, but it can help keep your plumbing system organized and reduce the risk of any shifting or movement.
8. Test the Connection
Before you turn the water supply back on, it’s essential to test the connection. Turn the water back on slowly and check the newly installed PEX sliding fitting for any signs of leaks. If everything is secure and dry, you’re ready to move on to the next fitting or continue with your plumbing system.
Why Choose PEX Sliding Fittings?
Now that you know how to install PEX sliding fittings, you may be wondering why they are such a popular choice. Here are a few reasons:
- Easy Installation: PEX sliding fittings do not require specialized tools like crimpers or soldering equipment. You can install them yourself, saving time and money on professional services.
- Durability: These fittings are designed to be resistant to corrosion, wear, and leaks, making them a long-lasting solution for your plumbing needs.
- Flexibility: PEX pipes are flexible, making them easy to maneuver in tight spaces and around corners. PEX sliding fittings complement this flexibility, providing a smooth and secure connection.
- Leak-Proof: The locking mechanism in PEX sliding fittings creates a strong, leak-proof seal that ensures your plumbing system is watertight.
Common Mistakes to Avoid When Installing PEX Sliding Fittings
While installing PEX sliding fittings is relatively straightforward, there are a few mistakes you should avoid:
- Improper Cutting: A rough or angled cut can prevent the fitting from sealing correctly. Always use a sharp pipe cutter for clean, straight cuts.
- Forgetting to Deburr the Pipe: Any burrs or rough edges left on the pipe can damage the fitting or cause leaks. Always smooth the edges of the pipe before installing the fitting.
- Over-Expanding the Pipe: If your PEX sliding fitting requires an expansion tool, be careful not to over-expand the pipe. This can cause the pipe to be too loose and result in leaks.
- Not Testing for Leaks: Always test your installation for leaks before finishing the job. Even a small leak can cause significant damage over time.
Frequently Asked Questions (FAQs)
1. Do I need any special tools to install PEX sliding fittings?
No, PEX sliding fittings are designed to be easy to install. You’ll only need basic tools like a PEX pipe cutter and a deburring tool.
2. How do I know if my PEX fitting is installed correctly?
After installation, turn the water supply on and check for leaks. If there are no leaks, the fitting is installed correctly.
3. Can I use PEX sliding fittings for both hot and cold water systems?
Yes, PEX sliding fittings are suitable for both hot and cold water systems, making them versatile for a wide range of plumbing applications.
4. How long do PEX sliding fittings last?
PEX sliding fittings are designed to last for several decades, typically around 30 to 50 years, depending on water quality and usage.
5. Can I install PEX sliding fittings outdoors?
Yes, many PEX sliding fittings are UV-resistant, but always check the manufacturer’s instructions to ensure the fittings are suitable for outdoor use.
By following these steps, you can confidently install PEX sliding fittings and enjoy a secure, leak-proof plumbing system. Happy plumbing!

