IFAN factory 30+ years manufacture experience support color /size customization support free sample.Welcome to consult for catalog and free samples.This is our Facebook Website:www.facebook.com,Click to watch IFAN’s product video.Compared with Tomex products, our IFAN products from quality to price are your best choice, welcome to buy!
Bibcocks are an essential part of any household plumbing system, providing controlled access to water for outdoor tasks such as gardening, car washing, and irrigation. However, like any plumbing fixture, bibcocks can encounter problems over time. Understanding the common issues that can arise with bibcocks and how to fix them can help you keep your outdoor water systems functioning smoothly. In this article, we’ll explore some common problems with bibcocks and how to fix them, along with helpful tips to maintain your bibcocks for long-lasting performance.
Common Bibcock Problems and Solutions
1. Leaking Bibcock
One of the most common problems with bibcocks is leaking. If you notice water dripping from the spout or around the base of the valve, it’s likely that there is an issue with the washer or the valve seat.
Cause:
The washer inside the bibcock may have worn out or become damaged, causing water to leak when the valve is turned off. The valve seat may also be worn or corroded, leading to an improper seal.
Solution:
- Step 1: Turn off the water supply to the bibcock and relieve any pressure by opening the faucet.
- Step 2: Use a wrench to remove the bibcock handle and valve cover.
- Step 3: Inspect the washer and the valve seat for wear or damage.
- Step 4: Replace the washer with a new one and, if necessary, regrind or replace the valve seat to ensure a tight seal.
- Step 5: Reassemble the bibcock, test it for leaks, and turn the water supply back on.
If the bibcock continues to leak after replacing the washer and valve seat, it may be time to replace the entire bibcock.
2. Low Water Flow
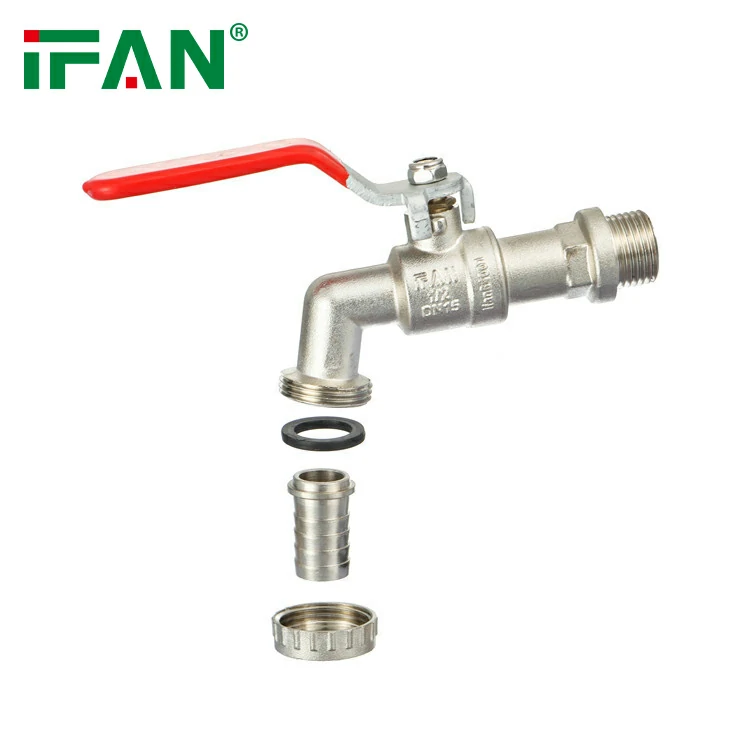
Another common problem with bibcocks is low water flow. If you notice that the water flow has decreased significantly when you open the faucet, it could be due to a blocked or partially closed valve, or mineral buildup inside the bibcock.
Cause:
Over time, mineral deposits from hard water can accumulate inside the bibcock, clogging the valve or nozzle. In some cases, debris may be blocking the water flow.
Solution:
- Step 1: Turn off the water supply and open the bibcock to relieve pressure.
- Step 2: Inspect the nozzle for any visible obstructions or mineral buildup.
- Step 3: Soak the nozzle and any affected parts in a vinegar solution to dissolve the mineral deposits.
- Step 4: Use a small brush or toothpick to remove any remaining debris or buildup.
- Step 5: Reassemble the bibcock and test the water flow to ensure the issue has been resolved.
If mineral buildup is a recurring issue, consider installing a water softener to reduce the effects of hard water on your plumbing fixtures.
3. Frozen Bibcock
In colder climates, bibcocks can freeze during the winter months. When water inside the bibcock freezes, it can expand and cause the pipes or faucet body to crack, leading to leaks and permanent damage.
Cause:
Freezing occurs when water inside the bibcock or the connecting pipes drops below freezing temperatures and expands.
Solution:
- Step 1: To prevent freezing, always drain the water from the bibcock before the onset of winter. Open the faucet and allow any residual water to drain out.
- Step 2: Insulate the exposed bibcock and pipes with foam pipe insulation or a specially designed bibcock cover.
- Step 3: If your bibcock is already frozen, never attempt to thaw it using an open flame. Instead, use a hair dryer or a heat gun on a low setting to gently warm the faucet until the ice melts.
- Step 4: Once thawed, inspect the bibcock for any damage caused by the freeze and replace any cracked parts.
4. Broken Handle or Valve
The handle or valve of a bibcock can break due to overuse, physical damage, or corrosion. A broken handle can make it difficult or impossible to turn the faucet on or off, while a broken valve may cause constant leaking or a failure to control the water flow.
Cause:
Over time, frequent turning of the handle can cause wear on the internal components, leading to breakage. Corrosion and rust can also weaken the handle and valve, causing them to break.
Solution:
- Step 1: Turn off the water supply to the bibcock.
- Step 2: Use a wrench to remove the broken handle or valve.
- Step 3: Replace the damaged parts with new ones. You can purchase replacement handles and valves from a local hardware store or plumbing supply store.
- Step 4: Reassemble the bibcock and test it to ensure that the handle or valve operates smoothly.
If the body of the bibcock is also corroded or damaged, it may be more cost-effective to replace the entire bibcock.
5. Rust and Corrosion
Rust and corrosion can develop on the surface of the bibcock, especially if it is made from metal. Corrosion can weaken the structure of the bibcock, leading to leaks, cracks, or a reduced lifespan.
Cause:
Exposure to moisture and environmental elements can cause rust and corrosion on metal bibcocks. This is particularly common in outdoor installations where the bibcock is exposed to rain, snow, or humidity.
Solution:
- Step 1: Regularly inspect the bibcock for any signs of rust or corrosion.
- Step 2: Clean the bibcock surface with a wire brush to remove any visible rust.
- Step 3: Apply a rust-resistant coating or paint to the bibcock to protect it from further corrosion.
- Step 4: Consider replacing the bibcock with a more durable material, such as brass, to prevent future corrosion.
Tips for Maintaining Your Bibcocks
- Regular Inspections: Periodically check your bibcocks for signs of wear, leaks, or corrosion. Early detection can prevent more significant issues down the line.
- Winterization: If you live in a cold climate, be sure to winterize your bibcocks by draining them and covering them with insulated covers to prevent freezing.
- Clean the Nozzles: Clean the nozzle regularly to prevent mineral buildup and ensure a consistent water flow.
Frequently Asked Questions (FAQ)
1. How do I stop my bibcock from leaking?
- To fix a leaking bibcock, replace the washer and check the valve seat for wear. If the issue persists, consider replacing the entire bibcock.
2. Why is my water flow low from the bibcock?
- Low water flow is often caused by mineral buildup or debris blocking the nozzle. Clean the nozzle and soak it in vinegar to remove the buildup.
3. Can I repair a frozen bibcock myself?
- Yes, you can thaw a frozen bibcock using a hair dryer or heat gun, but never use an open flame. Make sure to insulate the faucet to prevent future freezing.
4. How can I prevent my bibcock from rusting?
- Clean your bibcock regularly and apply a rust-resistant coating. Consider replacing metal bibcocks with brass ones for better resistance to corrosion.
5. Is it necessary to replace the entire bibcock if the handle breaks?
- If the handle is the only damaged part, you can usually replace just the handle. However, if the valve or body is also damaged, you may need to replace the entire bibcock.