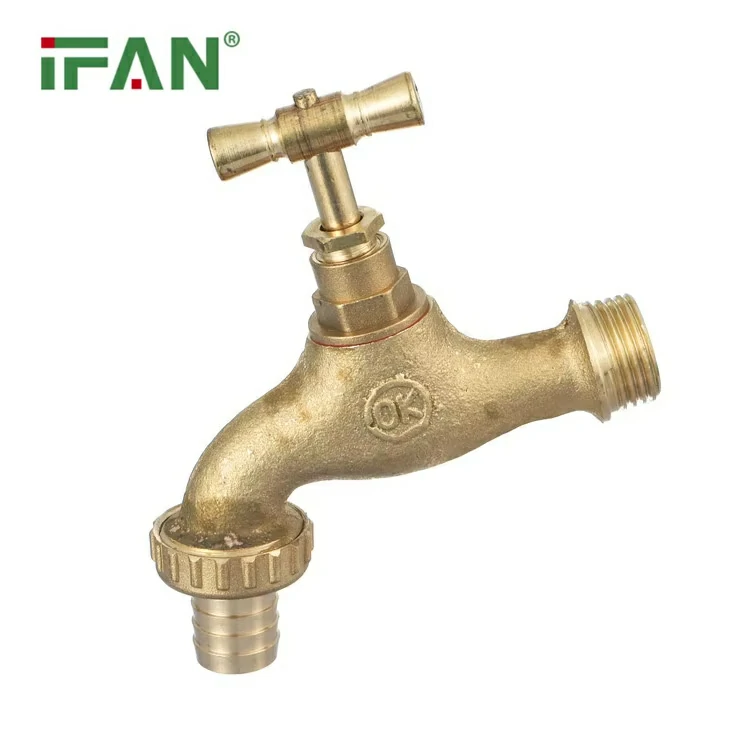
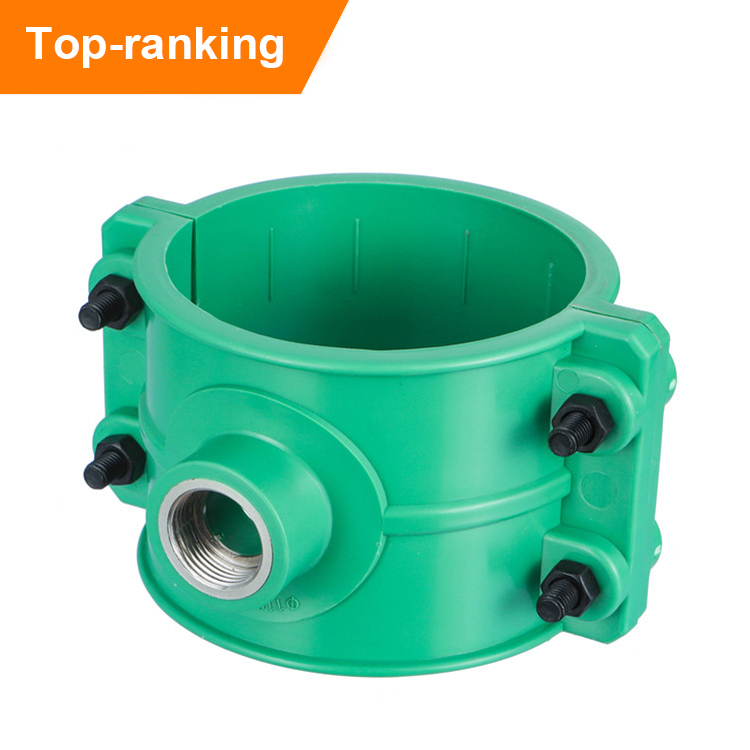
A clamp saddle is a convenient way to connect pipes and fittings in plumbing and irrigation systems. This device is easy to install and provides a reliable and long-lasting seal that can withstand high pressure and temperature. In this article, we will guide you through the steps of installing a clamp saddle, so you can enjoy a leak-free and efficient piping system.
Step 1: Preparing the Pipe
Before you start installing the clamp saddle, you need to prepare the pipe by cleaning and sanding the area where the saddle will be placed. Use a wire brush to remove any debris, rust, or dirt from the surface of the pipe. Then, use sandpaper or emery cloth to smooth the area and ensure a good adhesion between the pipe and the clamp saddle. Make sure to wipe the surface clean and dry before proceeding to the next step.
Step 2: Marking the Cut
Next, you need to mark the cut on the pipe where the clamp saddle will be placed. Use a measuring tape to determine the distance between the center of the pipe and the center of the outlet or connection point. Then, mark this distance on the pipe using a marker or chalk. Make sure the mark is straight and evenly spaced from the ends of the pipe.
- Step 3: Cutting the Pipe
Once you have marked the cut, you need to cut the pipe using a hacksaw or pipe cutter. Make sure to follow the mark and cut the pipe straight and evenly. Use a deburring tool to remove any burrs or rough edges from the cut. This will ensure a smooth and clean surface for the clamp saddle to be placed.
- Step 4: Placing the Clamp Saddle
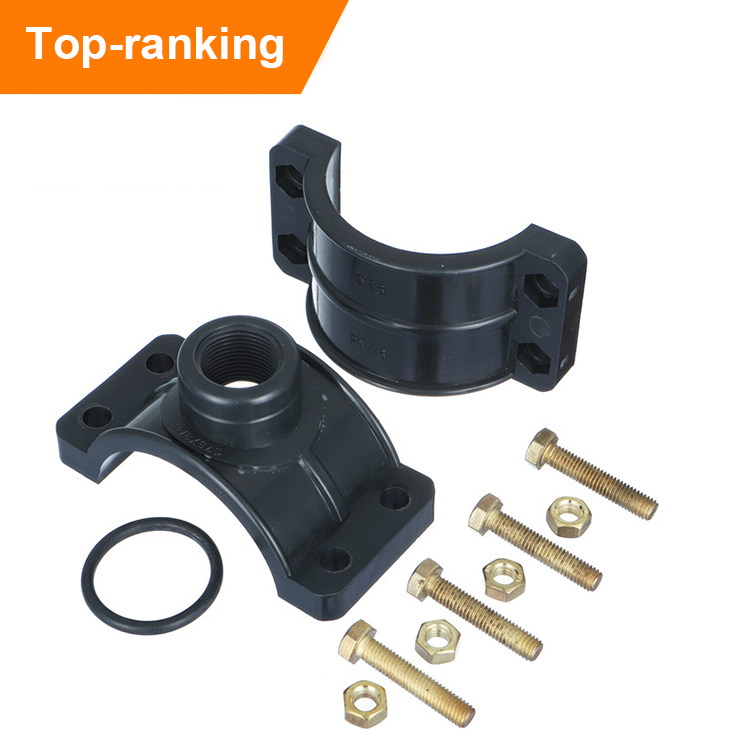
Now, you can place the clamp saddle over the cut on the pipe. Make sure the saddle is centered and aligned with the mark you made on the pipe. Tighten the nuts on the saddle evenly and gradually, using a wrench or pliers. Make sure not to over-tighten the nuts, as this may damage the saddle or the pipe. The saddle should be snug and secure, but not too tight that it distorts the pipe or causes leaks.
Step 5: Attaching the Outlet or Connection
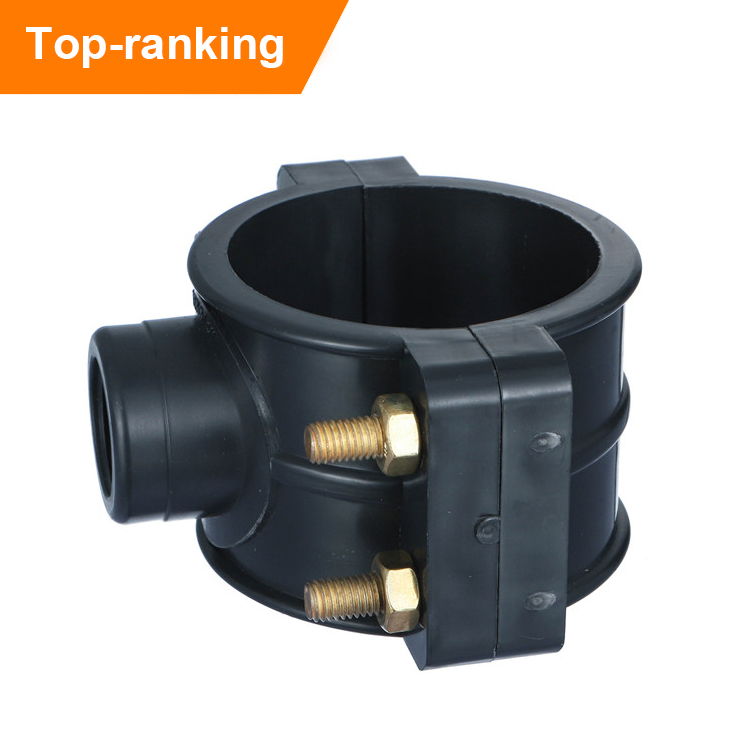
Finally, you can attach the outlet or connection to the clamp saddle. This may require a threaded or socket fitting, depending on the type of connection you need. Tighten the fitting evenly and gradually, using a wrench or pliers. Make sure not to cross-thread or over-tighten the fitting, as this may cause leaks or damage to the clamp saddle.
Congratulations! You have successfully installed a clamp saddle on your pipe. Remember to test the system for leaks and pressure before using it. If you notice any leaks or problems, tighten the nuts or fittings as needed and re-test the system. With proper installation and maintenance, your clamp saddle should provide a reliable and durable seal for your piping system.