IFAN PEX Insulation Board Installation Under Radiant Tubing: Get the Base Right or Waste Half Your Heat
Let’s Clear One Thing Up First — The Insulation Board Is Not Optional
Most people installing underfloor heating focus on the pipes and manifold, then slap down insulation board however it fits. That’s a costly mistake. The industry has a saying — “30% product, 70% installation” — and the quality of your insulation board layout directly decides whether your floor heating actually works or just heats your neighbor’s apartment.
The board does two things: insulates downward so heat doesn’t escape to the floor below, and reflects upward so heat stays in your living space. Get this wrong, and you’re burning gas to warm the entire building.
Let’s walk through the full installation process using IFAN PEX tubing as the reference — specifically, how to get the insulation board step right.
What Insulation Board Pairs with IFAN PEX Tubing?
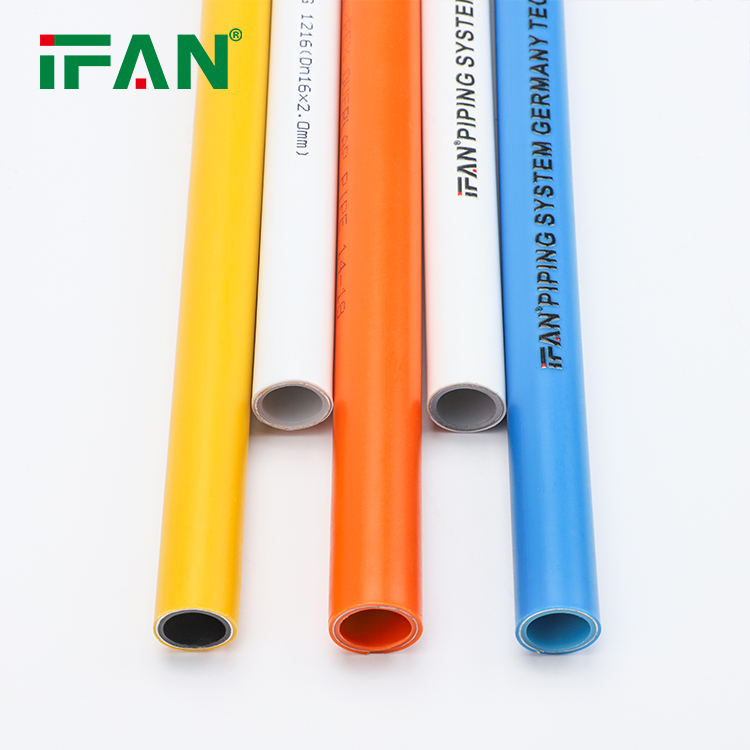
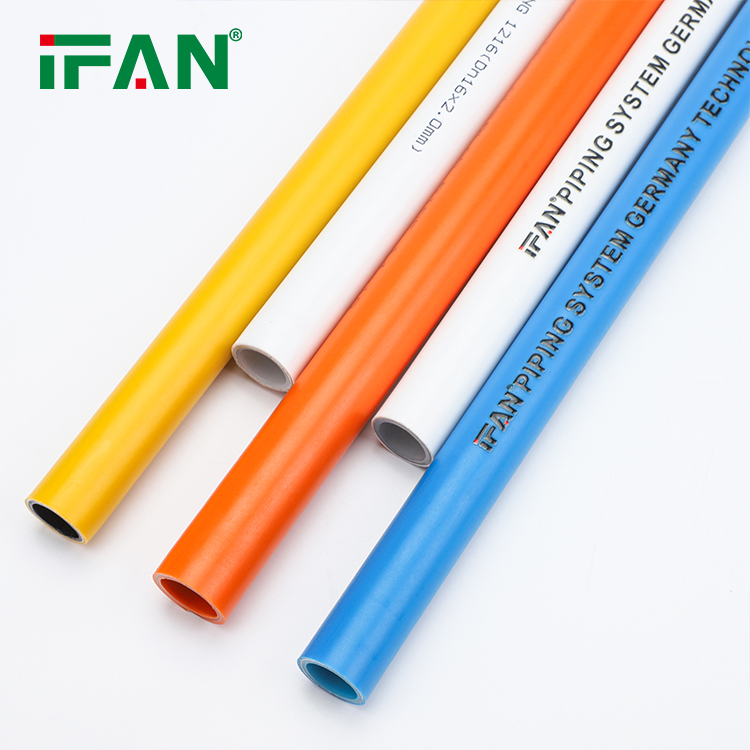
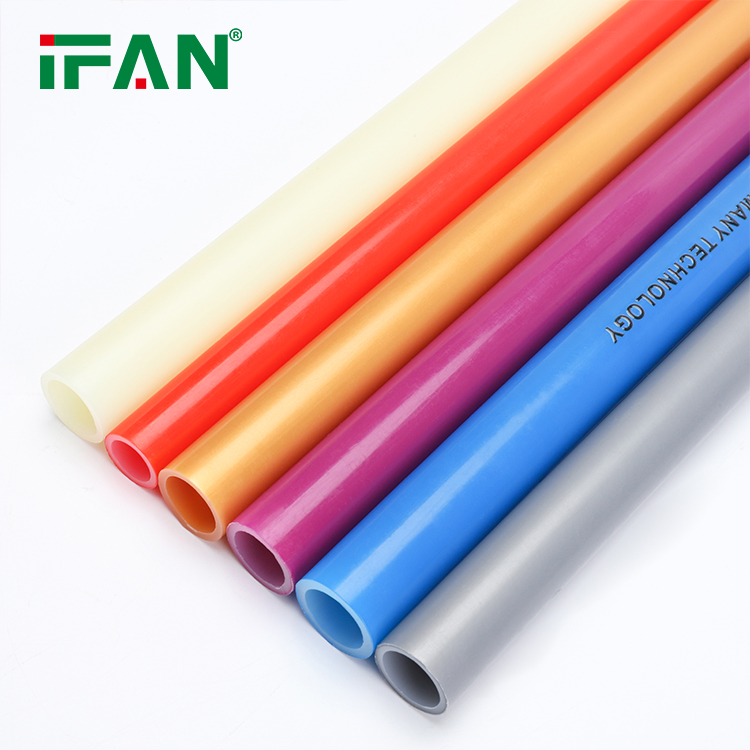
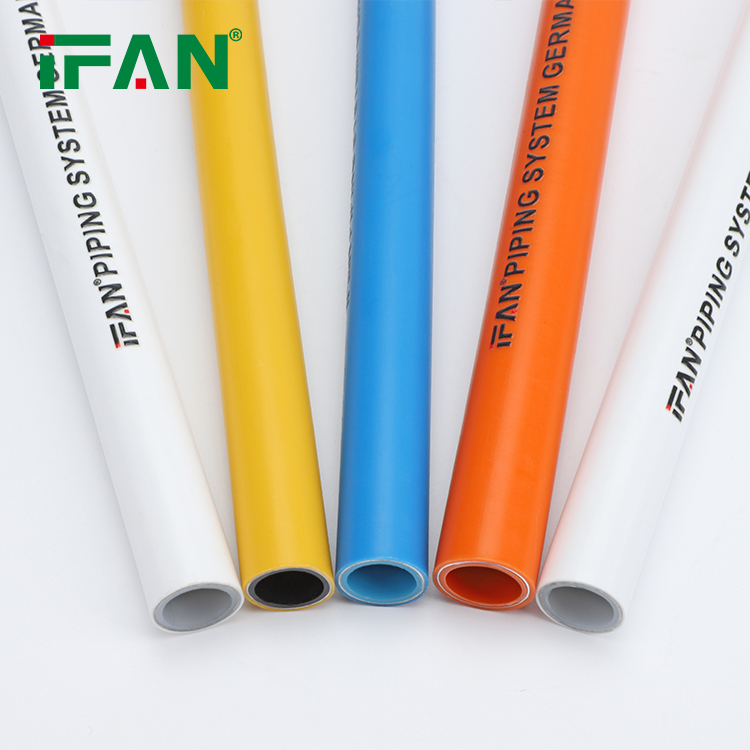
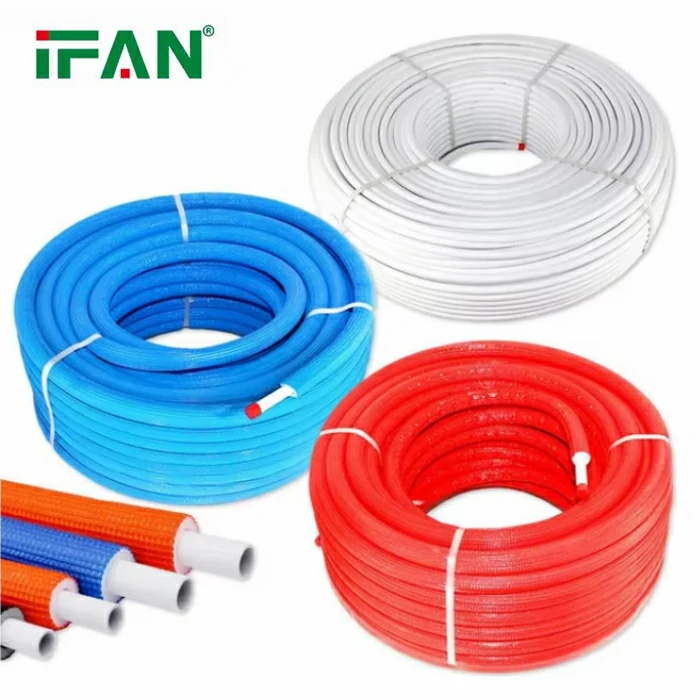
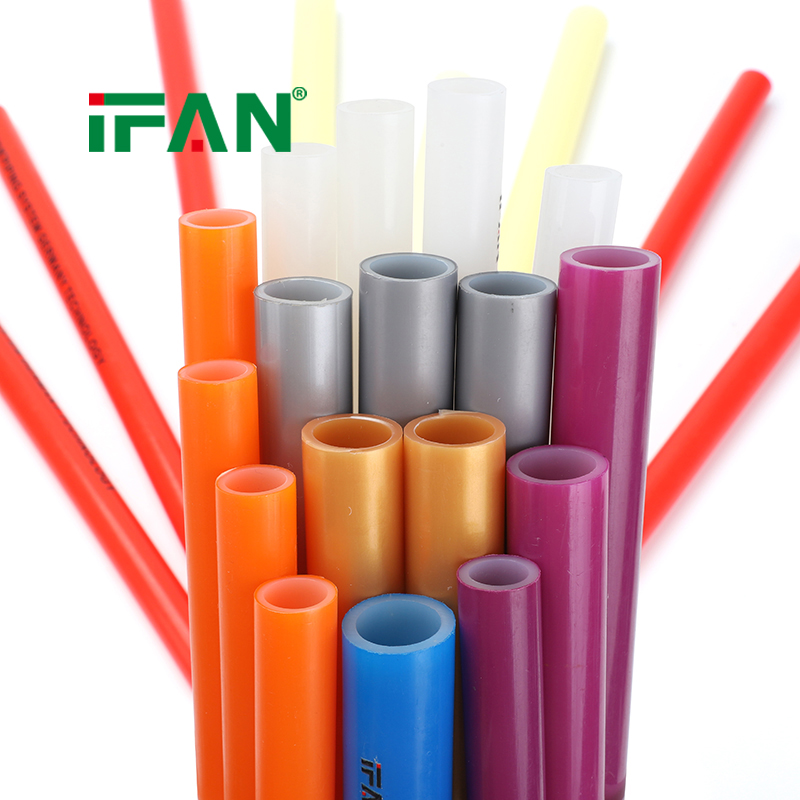
IFAN‘s underfloor heating line centers on PEX-A and PEX-B piping — high temperature resistant, pressure-rated, and creep-resistant, fully covering the demands of radiant heating systems. But great pipe needs a great base.
Three insulation board materials dominate the market:
| Material | Recommended Thickness | Notes |
|---|---|---|
| Extruded Polystyrene (XPS) | 2cm minimum | Best insulation performance — top choice for radiant heat |
| Polystyrene Foam Board | 2-3cm | Good value, sufficient for residential use |
| Imported Reflective Film | Composite aluminum foil | High reflectivity, works best with wire mesh |
IFAN officially recommends 2cm XPS board topped with an aluminum foil reflective membrane. This combo boosts thermal efficiency by 15%-20% — not a small gain.
Six Steps to Install the Insulation Board — Don’t Skip Any
Step 1: Level the Floor, Clean It Thoroughly
Before laying a single board, the floor must be flat, debris-free, and free of sharp objects. Uncleared debris can puncture the board or damage the pipe later — and you won’t even know until it’s too late.
Step 2: Lay the Insulation Boards — Seams Must Be Tight
Start from the far end of the room and work toward the door. Boards must fit tightly together, and every seam gets sealed with aluminum foil tape. Gaps are heat’s favorite escape route. One small opening and you’re paying for heat you’ll never feel.
Critical detail: Insulation should be denser near exterior walls and sparser toward the interior. Exterior walls lose more heat, so they need stronger insulation.
Step 3: Lay the Reflective Membrane — Use the Kind With Grid Lines
Over the insulation board, lay a vacuum-plated aluminum polyester film (reflective membrane). It must be flat and tightly overlapped, sealed with adhesive. Choose the version with coordinate grid lines — it makes pipe spacing much easier to control.
IFAN‘s installation standards require the membrane to lie completely flat. Wrinkles kill reflectivity.
Step 4: Install Wire Mesh — Don’t Skip This
Lay a Φ2mm steel wire mesh (typically 2m × 1m, 100×100mm grid) over the reflective membrane. Secure it with zip ties, and nail down any uneven sections.
This mesh reinforces the floor, prevents cracking, and protects the tubing. A double-layer setup (mesh below + mesh above) is significantly more durable than a single layer.
Step 5: Secure the IFAN PEX Tubing — Clip Spacing Matters
This is where it all comes together. Use plastic pipe clips to fasten IFAN PEX tubing onto the insulation board. Anchor at both ends and the midpoint of every curved section.
Hard rules you must follow:
- Bending radius ≥ 8× the pipe’s outer diameter — bend too tight and you’ll kink the pipe, restricting flow
- Pipe spacing: 15-30cm — tighter near exterior walls, looser toward interior
- Loop length difference ≤ 30 meters — bigger gaps mean some rooms are scorching while others are cold
- No pipe crossings, ever — crossing points wear down over time and become leak risks
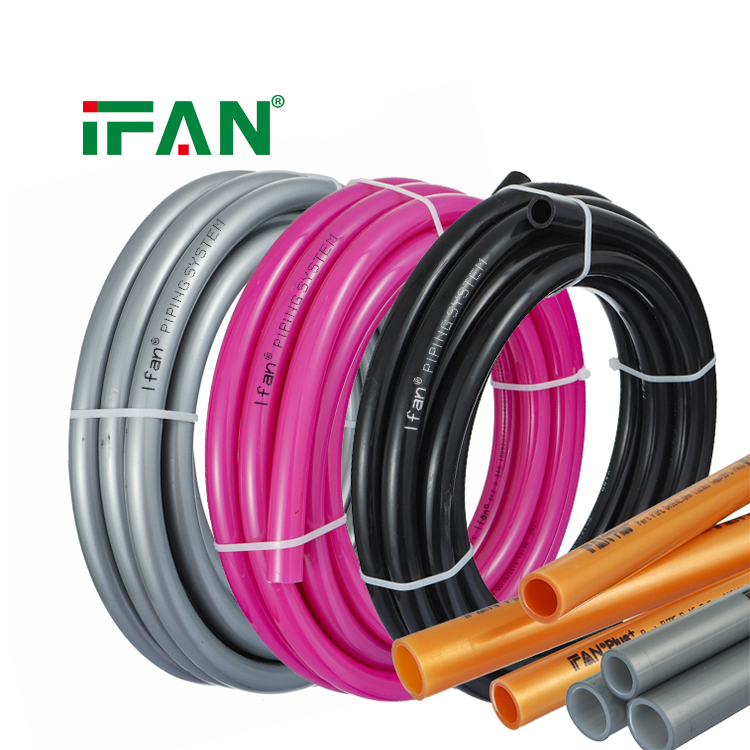
IFAN PEX tubing comes in dn16 and dn20 sizes (outer diameter). Match the diameter to your room area for even heat distribution.
Step 6: Connect to the Manifold, Pressure Test
After connecting all loops to the manifold, install protective sleeves where pipes meet the manifold at floor level. Then fill the system, bleed the air, and pressure test:
- Test pressure = 1.5× working pressure, minimum 0.6MPa
- Hold for 1 hour — pressure drop must not exceed 0.05MPa, zero leaks required
- Do not pour concrete until the test passes. Keep internal pressure above 0.4MPa during backfill
Hard-Earned Lessons to Save You Headaches
- Never run heating pipes under kitchen or bathroom fixtures — future plumbing work will drill right through them
- Mark doorways, hallways, and drain locations clearly — so later construction doesn’t destroy your system
- Keep supply water temperature between 35℃-60℃ during commissioning — exceeding 60℃ drastically shortens pipe life
- Every heating season, open the manifold filter and clean debris — check for damaged or clogged screens
- Maintain flow velocity above 0.3m/s for effective air purging
Bottom Line
The insulation board is the foundation of your entire radiant heating system. Mess it up, and everything above it — pipes, manifold, thermostat — is wasted effort. IFAN PEX tubing is built to last, but only if the installation follows the spec. Lay the board flat, tape the membrane tight, clip the pipe secure, test before you pour — do these four things right and your underfloor heating will run flawlessly for decades.