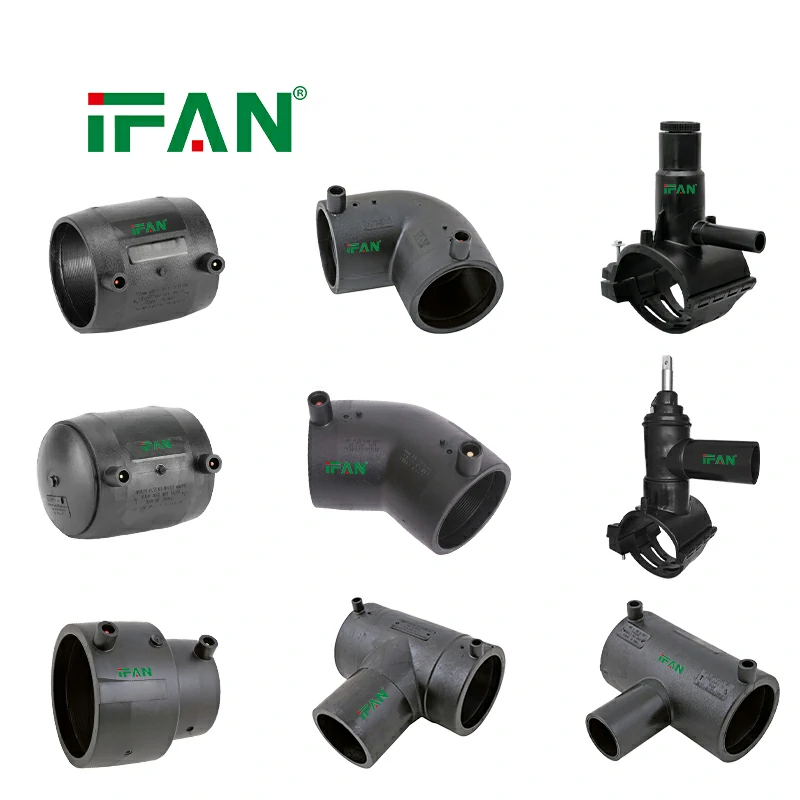
HDPE electrofusion fittings provide a reliable way to connect polyethylene pipes in water supply, gas distribution, industrial piping, and underground pipeline systems. They use an integrated electric heating element to create a permanent fusion joint between the fitting and the pipe.
However, a reliable electrofusion connection depends on more than the quality of the fitting. Pipe preparation, surface cleanliness, correct alignment, and controlled cooling all affect the final joint.
This guide explains how to install HDPE electrofusion fittings step by step. It also covers the tools required, common installation mistakes, and important quality checks.
1. How HDPE Electrofusion Fittings Work
HDPE electrofusion fittings contain resistance heating wires embedded inside the fitting’s socket or fusion zone. When connected to an electrofusion control unit, an electrical current passes through these wires.
The heat softens the inner surface of the fitting and the outer surface of the HDPE pipe. The polyethylene materials melt and fuse together under controlled conditions.
After the heating cycle, the joint must remain undisturbed during cooling. The melted materials gradually solidify and form a permanent connection.
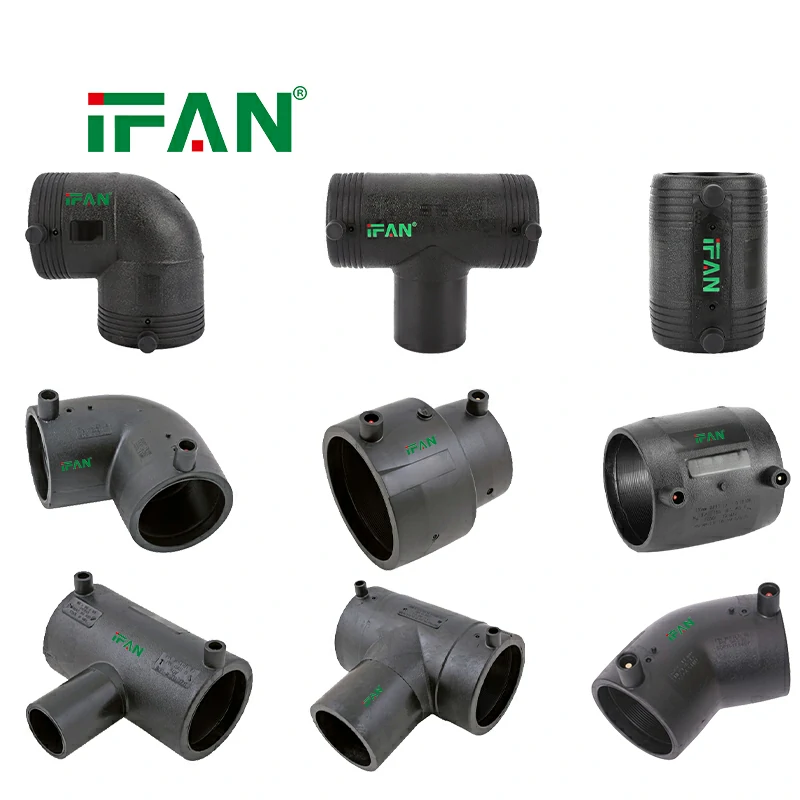
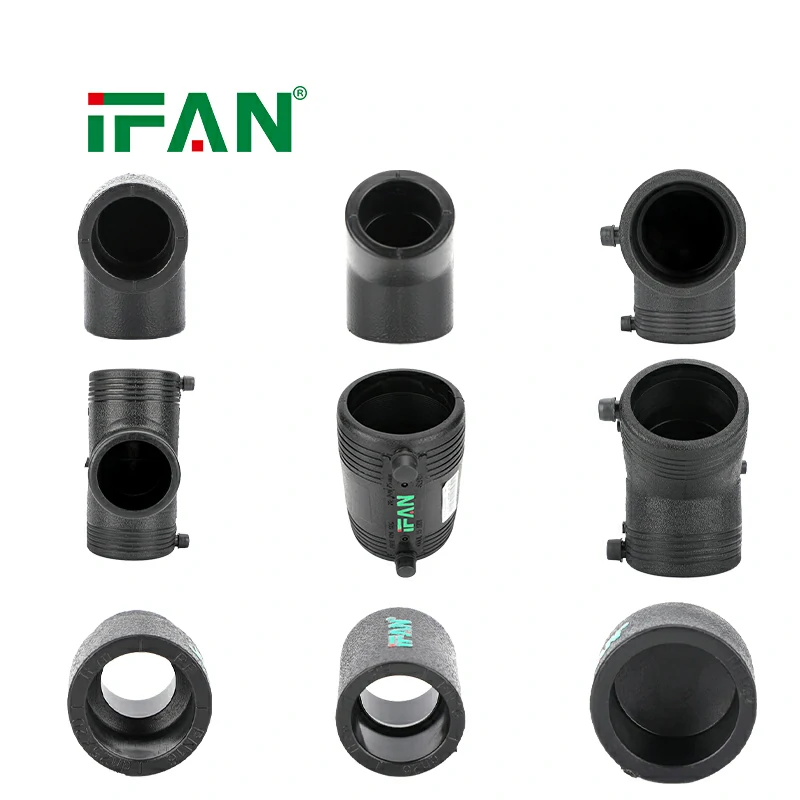
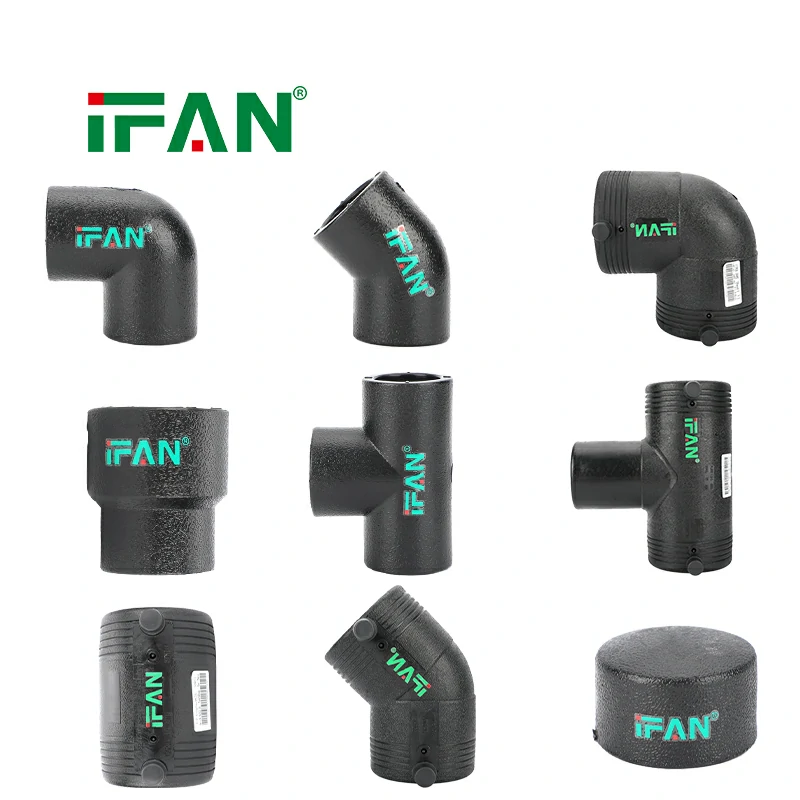
Common types of HDPE electrofusion fittings include:
- Electrofusion couplings for connecting two straight pipes.
- Electrofusion elbows for changing pipeline direction.
- Electrofusion tees for creating branch connections.
- Electrofusion reducers for joining pipes with different diameters.
- Electrofusion tapping tees for making branch connections to existing pipelines.
Each fitting type has its own installation requirements. Always check the product instructions before starting the work.
2. Tools and Equipment Required
Preparing the correct tools before installation helps reduce delays and prevent connection defects.
The following equipment is commonly required:
| Equipment | Main Purpose |
|---|---|
| HDPE pipe cutter | Cutting pipe ends squarely |
| Rotary scraper or peeling tool | Removing the oxidized outer pipe layer |
| Approved PE cleaning wipes | Removing dust and surface contamination |
| Measuring tape and marker | Marking insertion depth |
| Re-rounding tool | Correcting pipe ovality |
| Alignment clamps | Holding pipes and fittings in position |
| Electrofusion control unit | Supplying controlled electrical energy |
| Generator or suitable power supply | Providing stable power when required |
| Inspection tools | Checking dimensions and joint appearance |
The equipment must be compatible with the pipe diameter and fitting specifications.
For large-diameter pipelines, additional lifting, alignment, and pipe-handling equipment may be necessary.
3. Check Pipe and Fitting Compatibility
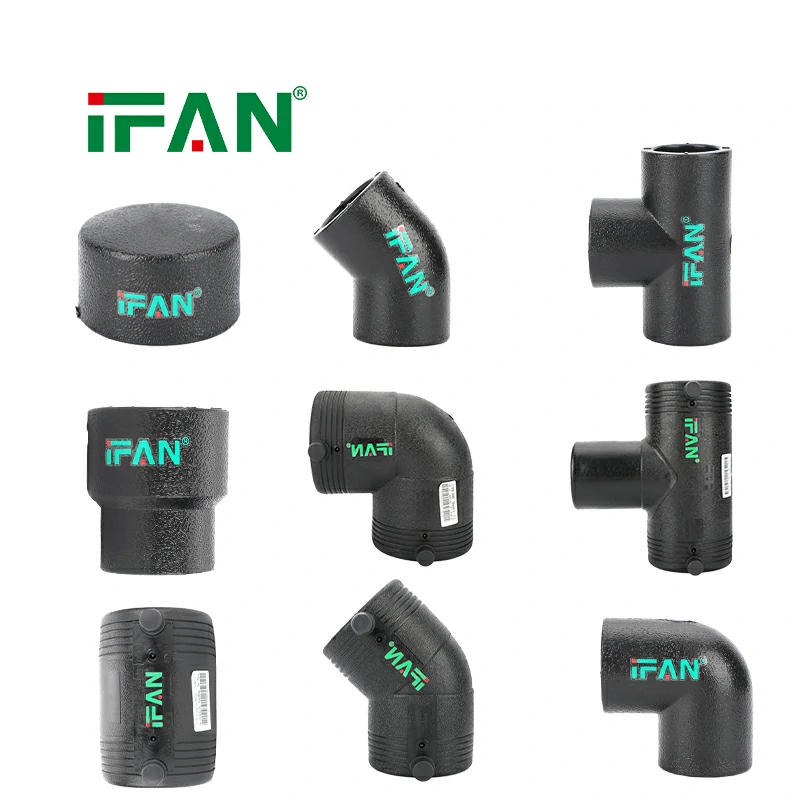
Before installation, confirm that the HDPE pipe and electrofusion fitting are suitable for each other.
Start by checking the following details:
- Pipe material and polyethylene grade.
- Nominal outside diameter.
- Pipe dimensional series, such as SDR.
- Fitting size and product specifications.
- Intended operating pressure and application.
- Compatibility with the applicable joining procedure.
PE100 pipes are commonly used with HDPE electrofusion fittings. However, matching the material grade alone does not guarantee compatibility.
The pipe dimensions must meet the fitting manufacturer’s requirements. The fitting must also be approved for the intended application.
Check the fitting’s packaging and product label for its identification code, fusion information, and recommended cooling time.
Do not use damaged fittings or products with unclear specifications.
4. Prepare the HDPE Pipe Surface
Pipe preparation is one of the most important stages of electrofusion installation.
The outer surface of an HDPE pipe can develop an oxidized layer during storage and exposure to the environment. Dirt, moisture, oil, and other contaminants can also interfere with the fusion process.
Poor preparation may result in incomplete fusion or a weak connection.
Step 1: Cut the Pipe Squarely
Cut the pipe end at a right angle to its axis.
An uneven cut can affect insertion depth and fitting alignment. It may also expose parts of the heating zone or create an uneven fusion area.
Remove burrs and loose material from the pipe end after cutting.
Step 2: Mark the Insertion Depth
Measure the required insertion depth according to the fitting dimensions.
Mark this position on the pipe with a suitable permanent marker. The mark helps the installer confirm that the pipe has entered the fitting fully.
For electrofusion couplings, each pipe must reach its specified insertion position.
Step 3: Scrape the Pipe Surface
Use a dedicated mechanical peeling or scraping tool to remove the oxidized outer layer.
The entire fusion area must be prepared evenly. Pay particular attention to the lower and hidden sections of the pipe.
A mechanical peeling tool is generally preferred because it provides more consistent surface removal.
Do not use sandpaper, emery cloth, metal files, or ordinary abrasive materials as substitutes for an approved peeling tool.
The required removal depth depends on the fitting manufacturer’s instructions and the applicable joining procedure.
Step 4: Clean the Prepared Surface
After scraping, remove loose shavings and surface dust.
Use an approved cleaning agent and a clean, lint-free cloth. Follow the fitting manufacturer’s requirements for the cleaning product and procedure.
Allow the prepared surface to dry completely before assembly.
Avoid touching the scraped area with bare hands. Skin oils and other contaminants can affect the fusion surface.
5. Check Pipe Roundness and Alignment
Pipe ovality can create uneven gaps between the pipe and the fitting. These gaps may affect heat transfer and fusion quality.
Inspect the pipe ends before inserting them into the fitting.
If the pipe is out of round, use a suitable re-rounding tool. This is particularly important for larger pipe diameters and pipes that have been stored in coils.
Next, position the pipes and fitting correctly.
For a coupling installation, both pipe ends should be aligned with the fitting’s central position. The insertion depth should match the marks made during preparation.
Install alignment clamps to prevent movement during the fusion process.
The pipes must remain properly restrained throughout heating and cooling.
6. Install the HDPE Electrofusion Fitting
Once the pipe surfaces are prepared, the fitting can be installed.
Follow these general steps:
- Check that the fitting is clean and undamaged.
- Remove the fitting from its protective packaging immediately before assembly.
- Inspect the internal fusion surfaces without touching them unnecessarily.
- Insert the prepared pipe ends into the fitting.
- Confirm that each pipe reaches the required insertion depth.
- Align the fitting and pipes correctly.
- Secure the assembly with suitable clamps.
Do not force an incorrectly sized pipe into a fitting.
If the pipe does not fit properly, stop and check its dimensions, roundness, and surface preparation. Do not attempt to solve a compatibility problem by applying excessive force.
7. Connect the Electrofusion Control Unit
The electrofusion control unit supplies the electrical energy needed to heat the fitting’s embedded wires.
Before connecting the machine, check the equipment and work area.
Make sure the power supply meets the machine’s requirements. Inspect the cables, connectors, and terminals for visible damage.
Connect the fusion leads to the fitting terminals.
Many modern electrofusion fittings use barcodes that contain the required fusion information. A compatible control unit can scan the barcode and read the relevant parameters.
For manual-entry systems, enter the specified fusion data according to the fitting label and manufacturer’s instructions.
Before starting the cycle, confirm that:
- The fitting size matches the pipe.
- The correct fusion procedure has been selected.
- The electrical connections are secure.
- The pipe and fitting remain properly aligned.
- The surrounding area is suitable for the operation.
Start the fusion cycle only after completing these checks.
Never use guessed voltage or heating time values. Fusion parameters vary by fitting design, size, and manufacturer.
8. Complete the Fusion and Cooling Process
During the fusion cycle, the heating wires raise the temperature of the polyethylene surfaces inside the fitting.
The materials soften and melt. The pipe and fitting surfaces then fuse together to form a continuous joint.
Do not move the pipe or fitting during this process.
After the heating cycle is complete, keep the assembly secured with its alignment clamps.
Why Cooling Time Matters
Cooling is an essential part of electrofusion installation.
The polyethylene material needs sufficient time to solidify and regain its mechanical strength. Movement during this stage can damage the developing joint.
The required cooling time depends on the fitting specifications and installation conditions.
Follow the cooling time shown on the fitting label or provided by the control unit.
Do not remove the clamps early. Do not bend, rotate, or apply external loads to the joint during cooling.
Pressure testing and further pipeline operations must wait until the required cooling period has been completed. Follow the project procedure and manufacturer’s instructions before applying pressure.
9. Inspect the Completed Electrofusion Joint
A completed fusion cycle does not automatically mean that the joint is acceptable.
Inspection should be carried out according to the project quality plan and applicable standards.
Common inspection points include:
Fitting position: Check that the fitting remains correctly positioned on the pipe.
Insertion depth: Confirm that the pipe reached the specified insertion position.
Pipe alignment: Look for signs of movement or misalignment.
Fusion indicators: Where provided, check the fitting’s indicators according to the manufacturer’s inspection instructions.
Visible damage: Look for cracks, deformation, abnormal melting, or damaged terminals.
Fusion records: Keep the control unit’s fusion records where the equipment supports data storage.
Visual inspection cannot confirm every aspect of internal fusion quality. Additional testing or verification may be required by the project specification.
10. Common HDPE Electrofusion Installation Mistakes
Even high-quality fittings can produce poor results when installation procedures are not followed.
The following mistakes deserve particular attention.
Incomplete Surface Scraping
Leaving oxidized material on the pipe can prevent proper fusion.
Use an appropriate peeling tool and inspect the entire preparation area before assembly.
Contaminated Fusion Surfaces
Dust, moisture, oil, and fingerprints can affect the connection.
Keep prepared surfaces clean and protect them from contamination before fusion.
Incorrect Insertion Depth
Insufficient insertion can reduce the effective fusion area.
Mark the correct depth before assembly and check the marks after inserting the pipe.
Poor Pipe Alignment
Misaligned pipes can place unwanted stress on the fitting.
Use suitable clamps to maintain the correct position throughout the process.
Unstable Power Supply
An unsuitable or unstable power source may interrupt the fusion cycle.
Check the control unit’s power requirements before starting work.
Removing Clamps Too Early
Premature movement can disturb the joint while the polyethylene is still cooling.
Keep the assembly restrained for the full specified cooling period.
Ignoring Environmental Conditions
Rain, dust, wind, and unsuitable temperatures can affect field installation.
Use appropriate protection and follow the manufacturer’s environmental limits.
11. Installation Requirements for Different Applications
HDPE electrofusion fittings are used in several types of pipeline systems. However, each application may have different technical and regulatory requirements.
Water Supply Systems
Electrofusion fittings are commonly used for underground water distribution and service connections. Installers should confirm that the pipe and fitting are approved for potable water where required.
Gas Distribution Systems
Gas pipeline installation requires strict control of materials, procedures, operator qualifications, and joint inspection. Only fittings and joining procedures approved for the specific gas application should be used.
Industrial Pipelines
Industrial systems may transport different fluids under varying operating conditions. Material compatibility, chemical resistance, pressure requirements, and operating temperature must be evaluated before installation.
Agricultural and Irrigation Systems
Electrofusion connections can be used in irrigation networks and water distribution projects. Correct sizing and installation help reduce leakage and maintenance requirements.
For every application, local regulations and project specifications take priority over general installation guidance.
12. Why Choose Quality HDPE Electrofusion Fittings?
The performance of an HDPE pipeline depends on both the pipe system and the quality of its connections.
Reliable electrofusion fittings should provide consistent dimensions, suitable material properties, and dependable heating performance.
When selecting products, consider these factors:
- Material grade and product specifications.
- Dimensional compatibility with the HDPE pipe.
- Pressure rating for the intended application.
- Fusion parameters and barcode information.
- Manufacturing quality control.
- Technical documentation and traceability.
- Supplier experience and after-sales support.
A suitable fitting helps installers achieve consistent connections when the correct procedure is followed.
13. IFAN HDPE Electrofusion Fittings for Pipeline Projects
IFAN supplies plumbing and piping products for different water supply, construction, and industrial applications.
Our product range covers plastic pipes, pipe fittings, valves, and related pipeline components. We support customers looking for products for distribution, wholesale, and engineering projects.
When sourcing HDPE electrofusion fittings, buyers should consider product compatibility, dimensional accuracy, material specifications, and consistent manufacturing quality.
IFAN also supports OEM and ODM cooperation for customers with specific product and packaging requirements. Our team can discuss product specifications and customized sourcing needs for different markets.
Whether you are purchasing fittings for a water supply project or expanding your plumbing product range, selecting a suitable supplier is an important part of building a reliable supply chain.
Conclusion
Installing HDPE electrofusion fittings requires careful preparation and strict control at every stage.
The most important steps include checking pipe compatibility, cutting the pipe squarely, removing the oxidized surface, cleaning the fusion area, maintaining correct alignment, and following the specified fusion and cooling parameters.
Avoiding contamination and preventing movement during cooling are especially important.
A reliable electrofusion joint comes from combining suitable fittings, compatible equipment, qualified installers, and a controlled installation procedure. By following the manufacturer’s instructions and applicable project standards, installers can build dependable HDPE pipeline connections for a wide range of applications.