IFAN factory 30+ years manufacture experience support color /size customization support free sample.Welcome to consult for catalog and free samples.This is our Facebook Website:www.facebook.com,Click to watch IFAN’s product video.Compared with Tomex products, our IFAN products from quality to price are your best choice, welcome to buy!
Installing and maintaining a bibcock, an essential outdoor faucet, can be a straightforward task with the right instructions. Bibcocks, usually made from materials like brass or stainless steel, are designed to provide easy access to water outside your home, whether it’s for watering the garden or washing the car. This article will guide you through the process of installing and maintaining your bibcock, ensuring it works efficiently for years to come.
What is a Bibcock?
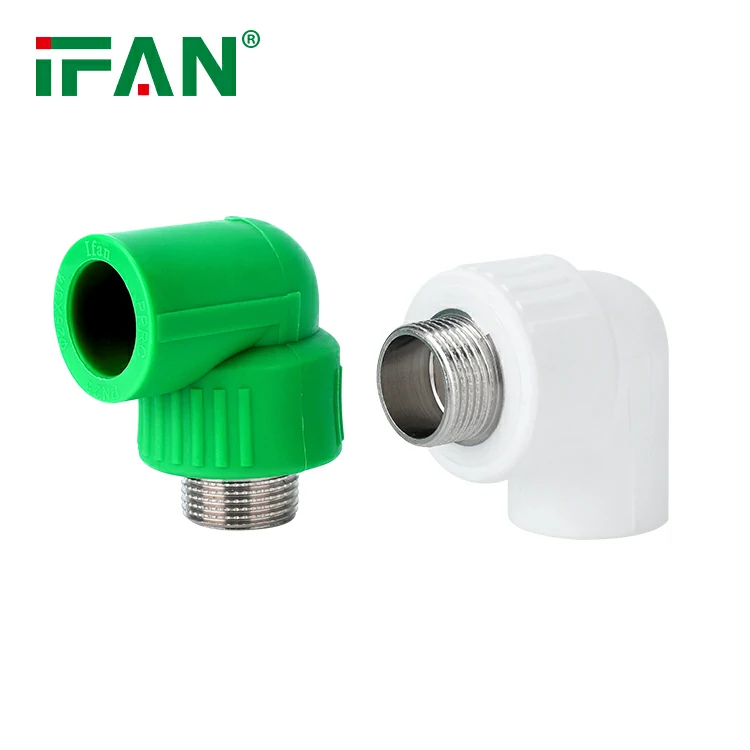
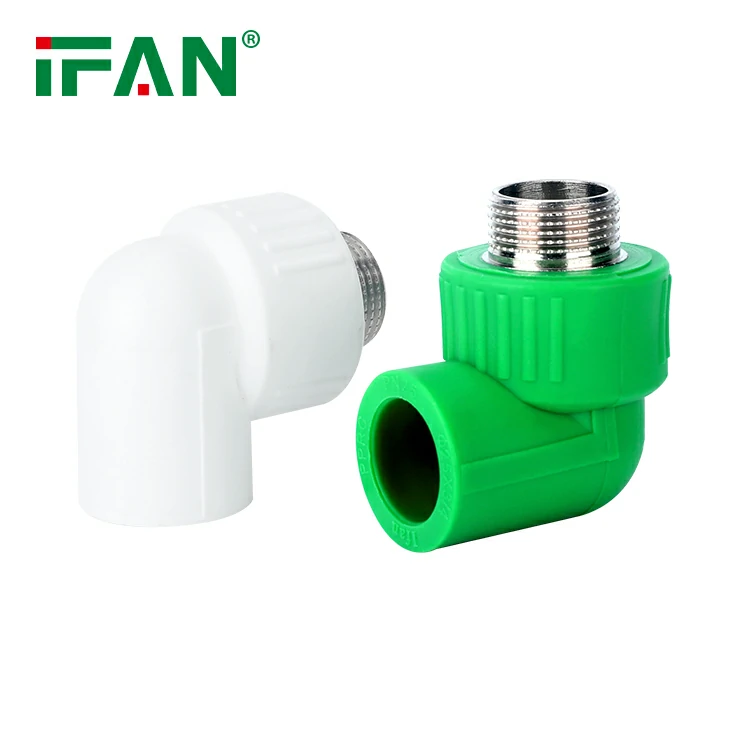
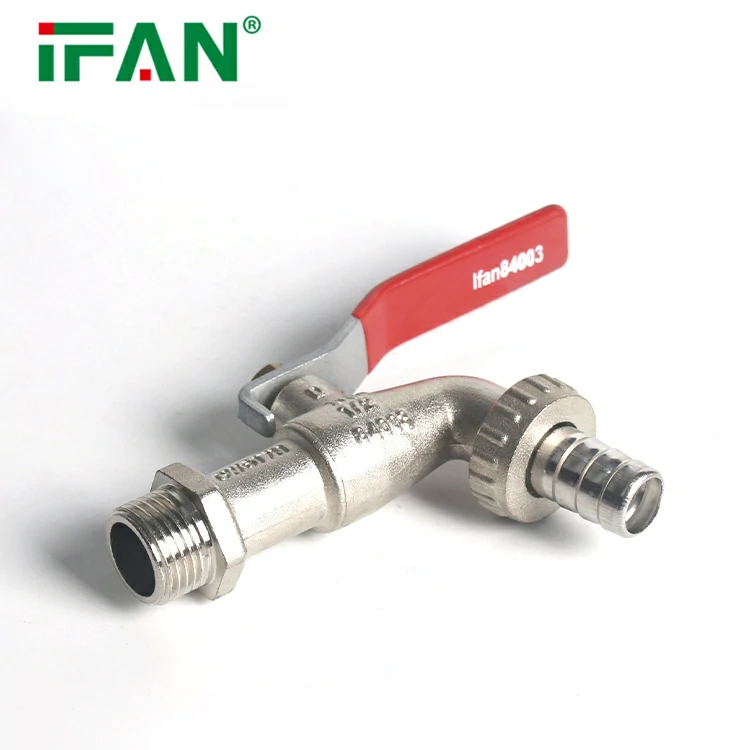
A bibcock is a type of faucet typically installed on the exterior wall of a house. It is commonly used to control water flow in outdoor spaces for purposes like irrigation, washing, or other water-related tasks. Bibcocks can be made from different materials, but the most common are brass and stainless steel. These materials are chosen for their durability, rust resistance, and aesthetic appeal.
Step-by-Step Guide: How to Install a Bibcock
1. Gather the Necessary Tools and Materials
Before starting the installation, make sure you have the following tools and materials:
- Bibcock faucet
- Pipe wrench
- Pipe cutter or hacksaw
- Pipe fittings (e.g., couplings, elbows, T-joints)
- Teflon tape or plumber’s tape
- Adjustable wrench
- Silicone sealant (optional)
2. Shut Off the Water Supply
Ensure that the water supply to the area where the bibcock will be installed is turned off. This is an essential first step to prevent water leakage or flooding during the installation process.
3. Measure and Mark the Installation Spot
Use a measuring tape to determine the ideal location for your bibcock. The bibcock should be installed at a height that is convenient for access but not too low to the ground. Mark the spot on the wall where you want to install the bibcock.
4. Cut the Pipe
If the existing pipe needs to be modified to fit the bibcock, use a pipe cutter or hacksaw to make the necessary cuts. Ensure that the cut is clean and smooth to prevent leaks. After cutting, deburr the edges of the pipe using a deburring tool or sandpaper to avoid damaging the seals.
5. Install the Pipe Fittings
Connect the pipe fittings to the cut pipe. This might involve attaching a coupler or elbow joint depending on the configuration of your plumbing. Make sure the fittings are secure and positioned correctly.
6. Attach the Bibcock to the Pipe
Apply Teflon tape to the threads of the pipe and bibcock. This will ensure a watertight seal and prevent leaks. Once the tape is applied, screw the bibcock onto the pipe fitting. Tighten it using an adjustable wrench, but avoid overtightening, as this can damage the threads or cause stress on the faucet.
7. Seal the Installation (Optional)
For extra protection against leaks, apply a small amount of silicone sealant around the base of the bibcock where it meets the wall. This will help create a more secure and leak-free installation, especially in areas where moisture may be prevalent.
8. Test the Installation
Turn the water supply back on and test the bibcock by opening it and checking for any leaks around the pipe connections or the faucet itself. If there are any leaks, tighten the connections or reapply Teflon tape as necessary.
Maintenance Tips for Your Bibcock
Proper maintenance is essential for ensuring that your bibcock remains in good working order for many years. Here are some important tips to keep in mind:
1. Inspect for Leaks Regularly
Check your bibcock regularly for any signs of leakage. Look for water around the base of the faucet, the pipe connections, or the handle. If you notice a leak, turn off the water supply and tighten the connections. If the leak persists, you may need to replace the washers or seals.
2. Clean the Faucet Periodically
Debris and mineral deposits can build up inside the faucet over time, reducing water flow and potentially causing blockages. Clean the bibcock periodically by removing the nozzle and soaking it in vinegar or a descaling solution to remove any buildup. You can also use a small brush to scrub the nozzle and other components.
3. Winterize Your Bibcock
In areas where freezing temperatures occur, it’s important to winterize your bibcock to prevent it from freezing and potentially breaking. To do this:
- Turn off the water supply to the bibcock.
- Open the faucet to drain any water left inside the pipes.
- If you have an insulated bibcock, use insulation to cover the faucet and protect it from freezing.
4. Replace Worn Parts
Over time, the components of your bibcock, such as washers, O-rings, or the valve stem, can wear out. If you notice that the faucet is not working as smoothly as it once did or is leaking, inspect the parts for wear and replace them if necessary. This will help maintain the faucet’s performance and extend its lifespan.
5. Lubricate Moving Parts
The handle and valve stem of the bibcock may become stiff or difficult to turn over time. Lubricate these moving parts with a silicone-based lubricant to keep them operating smoothly. Avoid using petroleum-based lubricants, as they can damage the rubber seals and cause leaks.
Conclusion
Installing and maintaining a bibcock is a simple yet essential task for any homeowner. By following the steps outlined above, you can easily install your bibcock and keep it in good condition with regular maintenance. A well-maintained bibcock will provide years of reliable service for all your outdoor water needs. Remember to check for leaks, clean the faucet regularly, and winterize it to ensure its longevity.
FAQs
1. What is a bibcock used for?
A bibcock is an outdoor faucet used for accessing water for various tasks like gardening, washing cars, or outdoor cleaning.
2. Can I install a bibcock myself?
Yes, installing a bibcock is a relatively simple task that can be done with basic plumbing tools. However, if you’re unsure, it’s best to hire a professional plumber.
3. How can I prevent my bibcock from freezing in the winter?
To prevent freezing, turn off the water supply to the bibcock, drain any remaining water, and insulate the faucet with foam or an insulated cover.
4. What should I do if my bibcock is leaking?
If your bibcock is leaking, check the connections for tightness, inspect the washers and seals, and replace any worn-out parts.
5. How often should I maintain my bibcock?
You should inspect your bibcock for leaks and clean it every few months. Winterizing it in colder climates is also essential to avoid freezing damage.