Introduction to Underfloor Heating and Piping Layout
Benefits of Underfloor Heating
Systems that rely on hot water running through pipes are called wet underfloor systems. Wet systems are far less expensive to run than conventional radiators, furnaces, or electric underfloor systems, which are called dry systems.
It’s possible, too, to install different thermostats in each room so that people who live in the house can select their own temperatures. Because they use continuous pipes that have no fittings, wet systems leak only very rarely. It’s not unheard of for a properly installed wet system to last for the lifetime of the house.
They’re also much cleaner than gas-based or oil-based furnaces. If you also have a heat pump, then you can switch to cold water during the summer and use the system as sort of an “in-floor air conditioner.”
Understanding the Different Types of Underfloor Systems
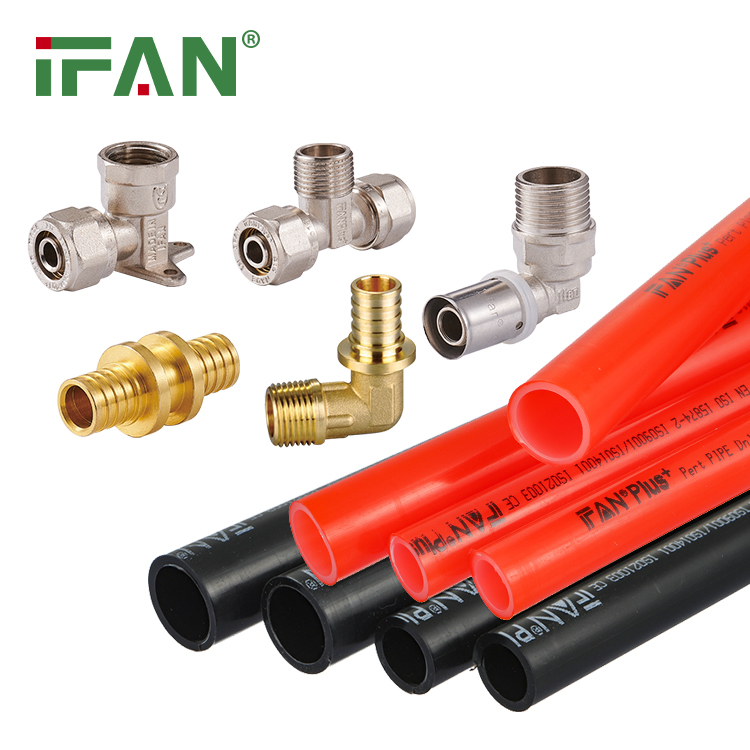
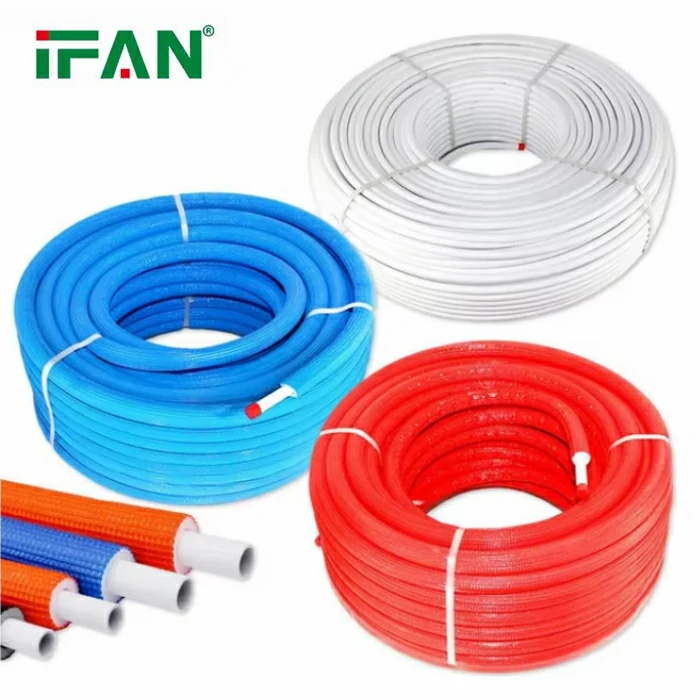
Infloor heat tubing uses water from a central heating system. It pumps the water to a centrally located manifold that then disperses the heated water throughout the rest of the home.
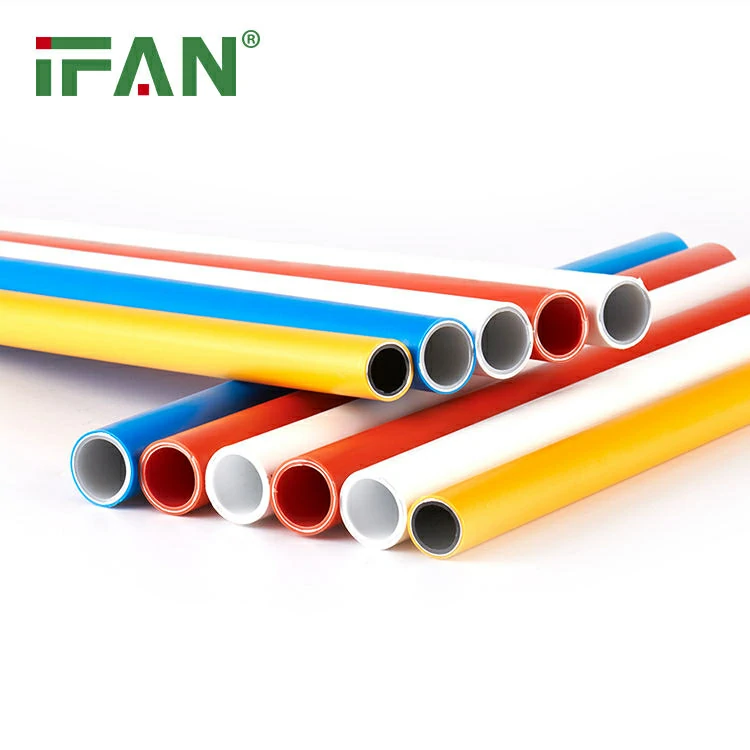
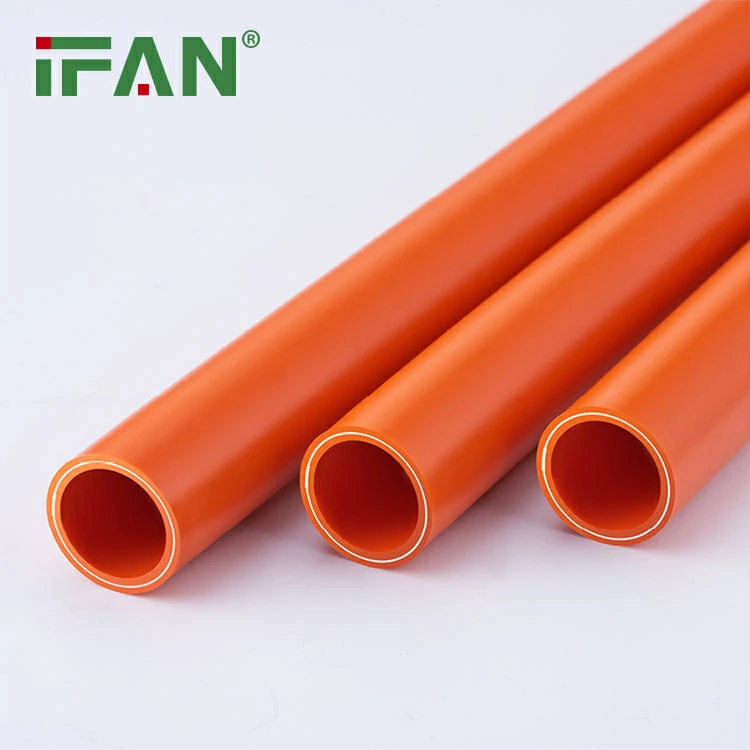
The polymer tubes are flexible and will easily form coils and wind around corners. The same is true of the coils used for electric heat. Electric systems are cheaper to install than water-based systems, but their ongoing costs are much higher. Electric systems also heat up and cool down faster than water-based systems.
When making a piping diagram for radiant floor heat, you’ll have to account for a small amount of space when you install a floor over the water-based system. You won’t have to do that with an electrical system.
Factors to Consider
When designing the piping diagram for radiant floor heat, other than needing to raise the floor slightly when reinstalling, the first thing you need to do is to pick a central spot for the manifold. You also need to know how the floor is constructed and supported.
For example, you would use one kind of underfloor heating system in a room where there are floor joists and a different system in a room with a screeded floor. In some cases, a water-based system must be installed in a layer of concrete to protect the pipes.
If that’s the case, then you need to account for the extra weight of the concrete if you happen to be installing the in floor heat tubing layout in a flat that’s not on the ground floor or in one of the upper stories of a detached home.
Tools and Materials
You’ll need just a smattering of pipe-related tools to complete an installation project. A high-quality tape measure, whether physical or laser-based, is a must. You have to be able to measure all dimensions accurately so that what you install fits without problems.
You need to be able to cut the pipe, so a sturdy pipe cutter will do. You also need to be able to fasten the cut pipes to the manifold and to the central water heater or heat pump. The right size of fixing clips will take care of that.
A rounding tool will enable you to get everything to fit with little or no problem. As far as materials go, you’ll need the pipes themselves, the heating manifold, and if you need to use concrete for your installation, then you’ll need both it and screed.
You’ll also need a screeding tool. Choosing IFAN underfloor heating pipe for your heating system will be a wise decision. It’s important to ensure that you have all the necessary tools and materials before you begin installation to avoid delays and complications.
Step-By-Step Guide
First, you have to remove the old flooring. Once you’ve done that, clean the subfloor completely. If you have to use screed, concrete, or both, prepare what you need. While it’s mixing, be sure to gather what you need to install the right kind of insulation. Remember, by law, the insulation on new builds must be 10 cm thick whereas it only needs to be 5 cm thick when it comes to renovations.
Find a good spot for the manifold in the center of the dwelling. There is an old joke about, “When all else fails, read the instructions.” In the case of installing this kind of heating system, it’s best to read the instructions before beginning to lay pipe or pour concrete.
When you label the pipes to make sure you get the flow correctly, start at the boiler. While connecting pipes the wrong part of the manifold won’t destroy the system, it will make the system grossly inefficient.
As with any job like this, double check everything. “Measure twice, install once,” is a good rule to follow. To prevent air pockets from building up within the system, fill it with water slowly. Check for such air pockets and pressurize the system before you reinstall the floor.
If you’ve missed something, then it’s much easier to deal with any possible leak if you don’t have to take the floor back up again. If you’re installing this system during the winter, remember to add antifreeze to the system.
Troubleshooting Tips
Perhaps one room is not heating up once you’ve installed the system. It could be the thermostat. There could be air in the system. There could also be a loose wire.
Check the batteries in the thermostat. If the whole system doesn’t heat up, then there might be a problem with the manifold’s isolation valves. Or, the pump may have failed. A blending valve could have gotten caked with gunk.
When troubleshooting, always check just one thing at a time. Check each item in succession, and make note of what you find. For example, if you check the batteries in the thermostat, and they’re good, then any problem would have to be in the wiring or inside the pipes if everything else is working.
Likewise, if the wires are good, there is no air, and the thermostat has good batteries, then the blending valve could be stuck in the wrong position. Remember, you might have to call a professional repair person to handle some of these issues.
Common Mistakes to Avoid
The No. 1 mistake you can make when installing an underfloor system is to fail to plan. “Winging it” just doesn’t work. Don’t install the insulation under the concrete.
That defeats the purpose. Don’t forget to perform the pressure test. You don’t want your freshly installed underfloor system to burst. Don’t do an air pressure test. Do a water test instead.
Conclusion
It’s not super-difficult to install an underfloor system. You just have to play correctly, have the right materials and tools, and a clear set of installation instructions that you should follow in order. Remember to subscribe to IFAN, where you can find more useful guides and tips!