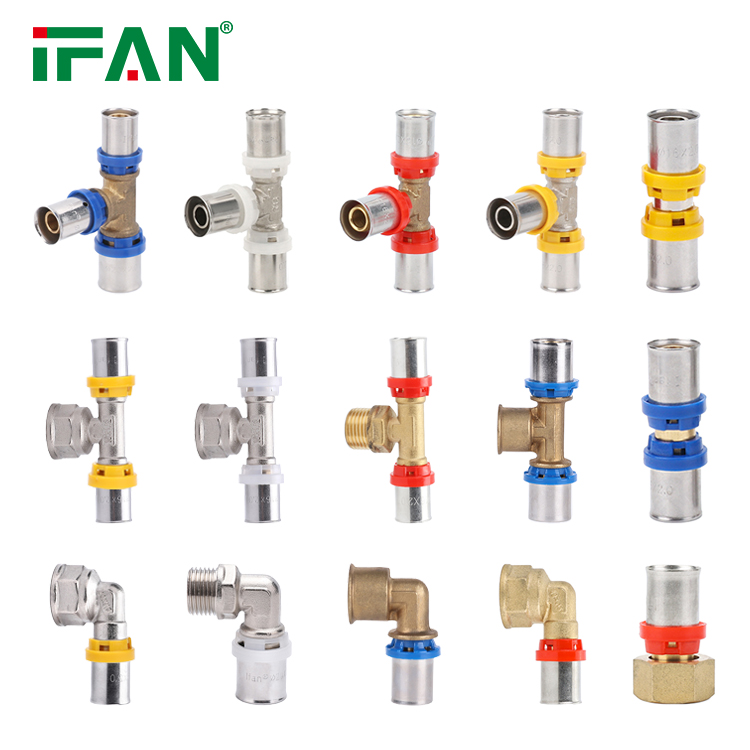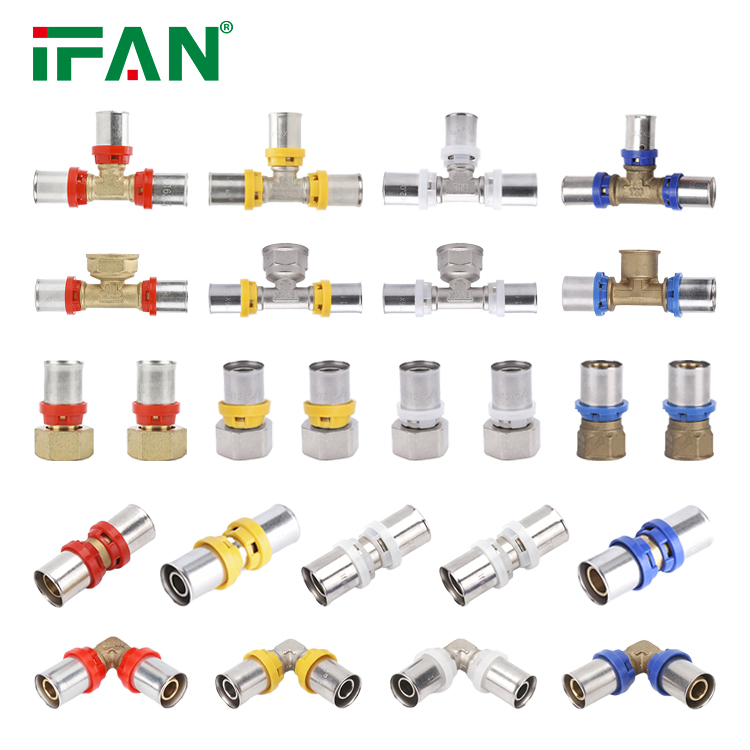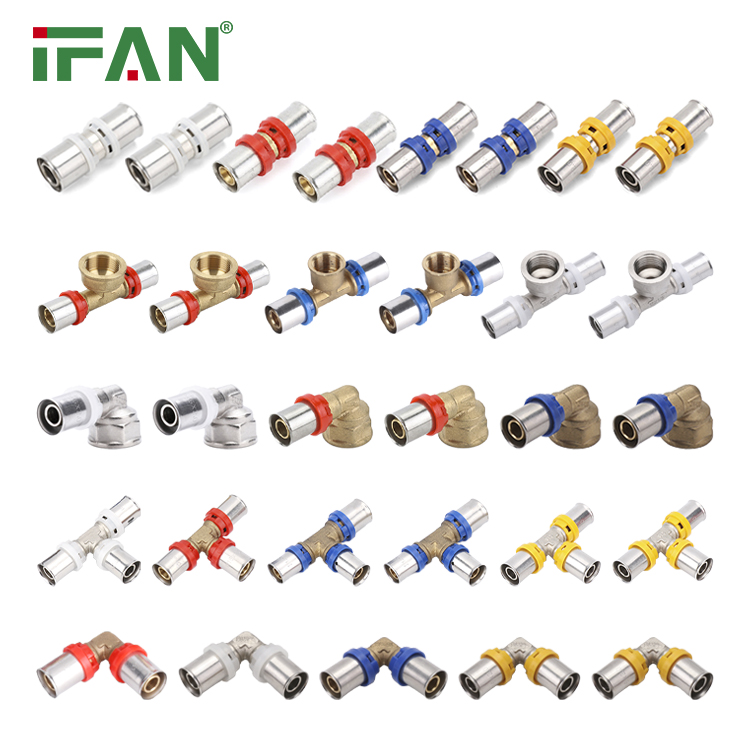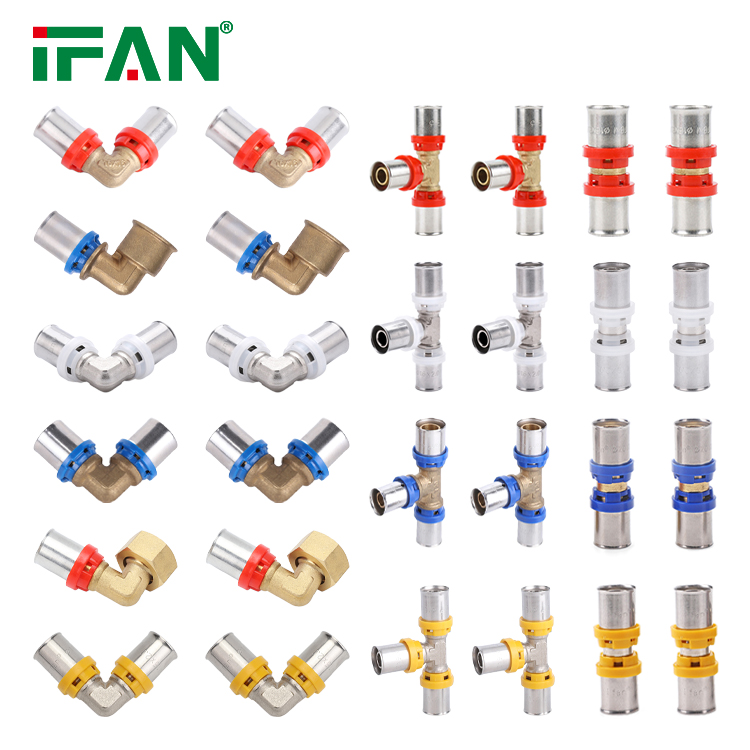
IFAN factory 30+ years manufacture experience support color /size customization support free sample.Welcome to consult for catalog and free samples.This is our Facebook Website:www.facebook.com,Click to watch IFAN’s product video.Compared with Tomex products, our IFAN products from quality to price are your best choice, welcome to buy!
CPVC (Chlorinated Polyvinyl Chloride) fittings are a popular choice for hot water and high-temperature fluid systems due to their heat resistance, chemical durability, and ease of installation. Whether you are working on a residential plumbing project or an industrial setup, properly installing CPVC fittings is crucial to ensure a leak-free, long-lasting system. This guide will walk you through the installation process, offering key tips and best practices for successful CPVC fitting installation.
Why Choose CPVC Fittings?
Before diving into the installation process, let’s first review why CPVC fittings are preferred for many plumbing applications.
- Heat Resistance: CPVC fittings can withstand temperatures up to 200°F (93°C), making them suitable for hot water systems.
- Chemical Resistance: CPVC is highly resistant to a variety of chemicals, including acids, bases, and salts.
- Durability: CPVC is durable and long-lasting, offering a lifespan of 50-75 years with proper maintenance.
- Easy to Install: CPVC fittings are lightweight, reducing installation time and effort.
Step-by-Step Installation Guide for CPVC Fittings
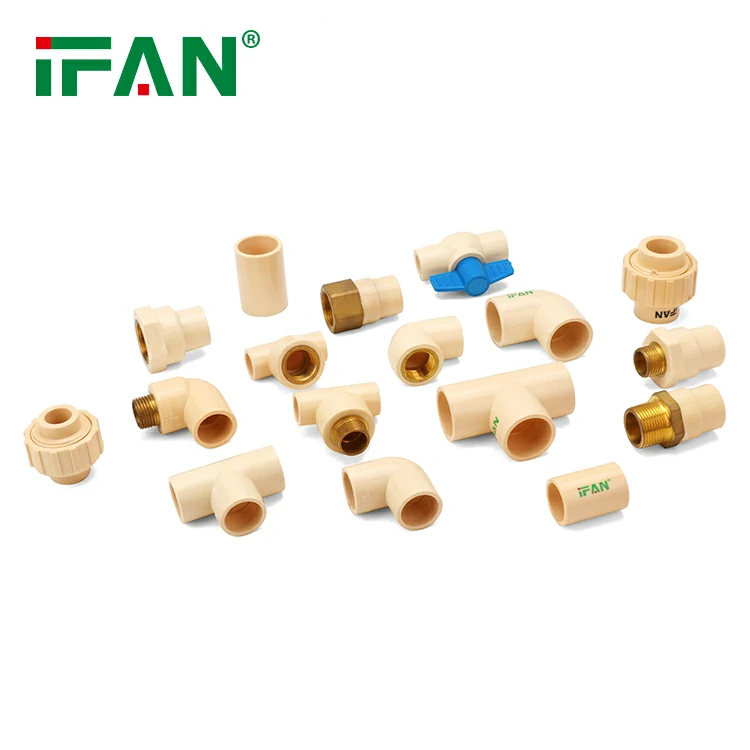
Follow these steps to ensure your CPVC fittings are installed correctly and securely.
1. Gather the Necessary Tools and Materials
To start the installation, ensure you have all the necessary tools and materials at hand:
- CPVC fittings and pipes
- Pipe cutter or saw
- Sandpaper or a deburring tool
- Solvent cement and primer (specific for CPVC)
- PVC cleaner (optional but recommended)
- Measuring tape
- Marker or pencil for measurements
- Safety gloves and goggles
2. Measure and Cut the Pipes
Begin by measuring the length of the CPVC pipe required for your installation. Use a measuring tape to mark the correct length on the pipe. Then, use a pipe cutter or saw to cut the CPVC pipe to size. It’s essential to ensure the cuts are straight and clean for proper fitting alignment.
- Tip: If using a saw, make sure to use a fine-toothed blade to avoid splintering the edges of the CPVC pipe.
3. Deburr the Edges
After cutting the pipe, deburr the edges to remove any sharp edges or debris that could affect the fitting. You can use sandpaper or a deburring tool for this task.
- Tip: If left unchecked, burrs can lead to leaks at the joint, so ensure all edges are smooth before proceeding.
4. Clean the Pipe and Fitting
Before applying solvent cement, it’s essential to clean both the inside of the fitting and the outside of the pipe. Use a PVC cleaner or rubbing alcohol to remove dust, dirt, and grease.
- Tip: Cleaning ensures better adhesion between the pipe and fitting, improving the overall strength of the bond.
5. Apply Primer (Optional, but Recommended)
While some CPVC cement products do not require primer, using a primer before applying solvent cement can enhance the bond strength. Apply a thin layer of CPVC primer to both the pipe and the inside of the fitting. Allow the primer to dry for a few seconds.
- Tip: Always use a primer recommended by the manufacturer for CPVC installations to ensure compatibility.
6. Apply Solvent Cement
After the primer has dried, apply an even layer of CPVC solvent cement to both the pipe and the inside of the fitting. Use a generous amount, but avoid over-application, as this can lead to excess cement and potential leaks.
- Tip: Work quickly, as CPVC solvent cement sets rapidly. Be ready to insert the pipe into the fitting immediately after applying the cement.
7. Join the Pipe and Fitting
Quickly push the pipe into the fitting while twisting it slightly to ensure an even spread of the solvent cement. Hold the pipe and fitting together for about 30 seconds to allow the bond to set.
- Tip: Align the pipe and fitting properly before pushing them together, as the solvent cement makes repositioning difficult after bonding.
8. Wipe Away Excess Cement
Once the pipe and fitting are secured, wipe away any excess solvent cement using a clean rag. This will prevent the cement from creating unsightly streaks on the pipe.
9. Allow to Cure
After the installation, allow the CPVC joints to cure for the time recommended by the manufacturer, usually around 15-30 minutes before handling, and 24 hours for full curing before testing the system.
- Tip: If you’re working with a large system, it’s a good idea to work in sections to allow the cement to cure before proceeding further.
10. Test the System
After the joints have fully cured, it’s time to test the system. Slowly turn on the water and check for any signs of leaks around the joints. If you notice any leaks, allow the system to dry, disassemble, clean the parts, and reapply solvent cement.
- Tip: Do not pressurize the system immediately after installation. Gradually increase the pressure to ensure the joints hold up under operational conditions.
Common Mistakes to Avoid During CPVC Installation
- Not Cleaning the Pipes and Fittings: Failing to clean the surfaces before cementing can result in a weak bond.
- Incorrect Application of Solvent Cement: Using too little or too much solvent cement can affect the integrity of the joint.
- Over-tightening the Pipe: Twisting the pipe too forcefully after applying cement can cause the bond to break before it sets.
Frequently Asked Questions (FAQ)
1. How long should I wait before using CPVC fittings?
After installing the CPVC fittings, allow them to cure for at least 15-30 minutes before handling. Wait 24 hours for full curing before pressurizing the system.
2. Can CPVC fittings be used for cold water systems?
Yes, CPVC fittings are suitable for both hot and cold water systems, but they are particularly ideal for systems with temperatures up to 200°F (93°C).
3. What happens if I don’t use primer before applying cement?
While not always necessary, using primer helps enhance the bond strength between the pipe and fitting. Skipping this step may result in a weaker joint.
4. Can CPVC fittings be used outside?
CPVC fittings can be used outdoors but must be protected from prolonged UV exposure, which can cause brittleness. You can paint the pipes with UV-resistant paint or cover them with insulation.
5. How do I fix a leaking CPVC joint?
If a CPVC joint is leaking, the best solution is to disassemble it, clean the surfaces, and reapply solvent cement. Ensure that all surfaces are properly cleaned and free of any debris.
By following these installation tips and best practices, you can ensure that your CPVC fittings are installed correctly and securely, providing you with a long-lasting, leak-free plumbing system. Always follow the manufacturer’s instructions and take your time during installation for the best results.