Through-hull fittings are essential components in marine plumbing systems, allowing water to flow in and out of a vessel. However, over time, these fittings can corrode, especially if they are made of brass. Replacing ageing through-hull brass fittings is crucial to maintaining the integrity and safety of your boat. This comprehensive guide will walk you through the process of replacing these fittings, ensuring that your vessel remains seaworthy and safe.
1. Understanding Through-Hull Brass Fittings
1.1. What Are Through-Hull Fittings?
Through-hull fittings are installed in the hull of a boat, allowing for the passage of water into and out of the vessel. They are typically used for various systems, including:
- Cooling Systems: Allowing water to enter the engine for cooling.
- Bilge Pumps: Draining water from the bilge area.
- Live Wells: Supplying water to live fish wells.
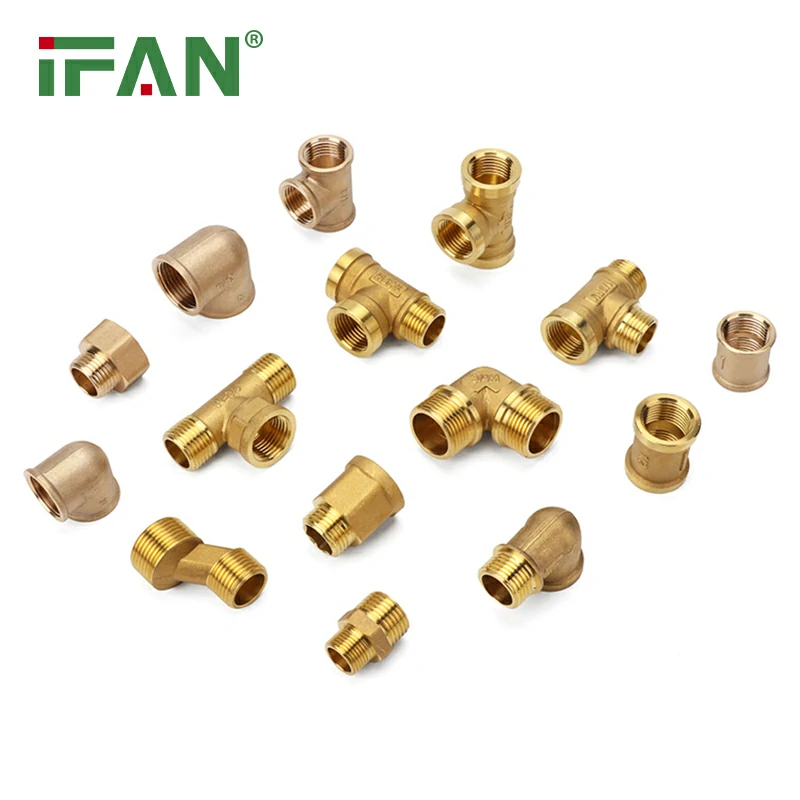
Brass fittings are popular due to their strength and resistance to corrosion, but they can deteriorate over time, especially in saltwater environments.
1.2. Why Replace Ageing Brass Fittings?
Ageing brass fittings can lead to several issues, including:
- Corrosion: Over time, brass can corrode, leading to leaks.
- Structural Integrity: Weakening fittings can compromise the vessel’s safety.
- Water Contamination: Corroded fittings can introduce contaminants into the water supply.
Regular inspection and timely replacement of ageing fittings are essential for the longevity of your vessel.
2. Tools and Materials Needed
Before you start replacing ageing through-hull brass fittings, gather the necessary tools and materials:
2.1. Tools
- Wrench Set: For loosening and tightening fittings.
- Pipe Cutter or Saw: To cut pipes if necessary.
- Screwdrivers: For removing screws and clamps.
- Pliers: For gripping and twisting fittings.
- Sealant: Marine-grade sealant to ensure a watertight seal.
- Safety Gear: Gloves and goggles to protect yourself during the process.
2.2. Materials
- Replacement Brass Fittings: Ensure they are marine-grade and suitable for your application.
- New Hose Clamps: To secure hoses to the new fittings.
- Pipe Thread Tape: For sealing threaded connections.
3. Steps to Replace Ageing Through-Hull Brass Fittings
3.1. Safety First
Before starting any work on your vessel, ensure that safety is your top priority. Turn off any systems connected to the through-hull fittings, and wear safety gear to protect yourself from debris and sharp edges.
3.2. Locate the Fitting
Identify the ageing through-hull brass fitting that needs replacement. Check for signs of corrosion, leaks, or other damage. It’s essential to replace fittings that show any signs of deterioration.
3.3. Drain the System
Before removing the fitting, drain any water from the connected system. This may involve:
- Turning Off the Pump: Ensure the bilge pump or other systems are turned off.
- Opening Valves: If applicable, open valves to drain water from the system.
3.4. Remove the Old Fitting
- Loosen the Fitting: Use a wrench to carefully loosen the old brass fitting. Be cautious not to apply too much force, as this could damage the hull.
- Disconnect Hoses: If hoses are connected, use pliers to loosen and remove hose clamps. Slide the hoses off the fitting.
- Remove the Fitting: Once everything is disconnected, carefully pull the fitting out of the hull. Check for any debris or old sealant that may be left behind.
3.5. Prepare the New Fitting
- Inspect the New Fitting: Ensure that the replacement brass fitting is in good condition and matches the size and type of the old fitting.
- Apply Thread Tape: If the fitting has threads, wrap pipe thread tape around the threads to ensure a watertight seal.
3.6. Install the New Fitting
- Insert the New Fitting: Carefully insert the new brass fitting into the hull. Ensure it is aligned correctly.
- Tighten the Fitting: Use a wrench to tighten the fitting securely, but avoid overtightening, which can damage the hull.
- Reconnect Hoses: Slide the hoses back onto the new fitting and secure them with new hose clamps. Ensure they are tight to prevent leaks.
3.7. Seal the Fitting
To ensure a watertight seal, apply a marine-grade sealant around the base of the fitting where it meets the hull. This will help prevent any potential leaks.